To my other GT6 pages
March 26, 2023
Luggage Floor
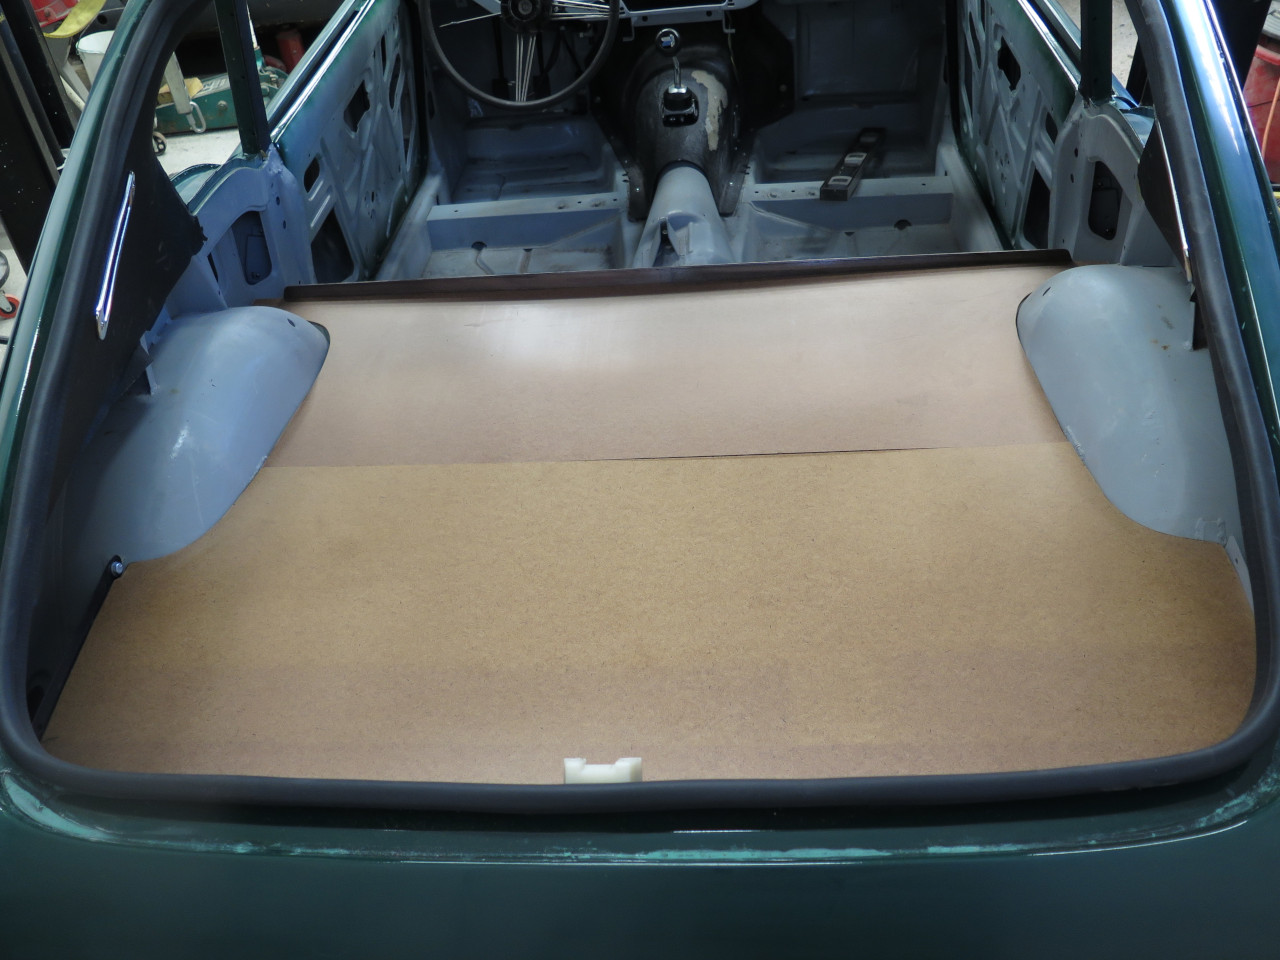
The GT6 roof
is of a "fastback" design, which features a smooth uninterrupted flow
from the top of the windscreen to the tail of the car. This design
doesn't offer a traditional boot or trunk, but rather a continuous open
cabin that extends to the rear end of the car. In the GT6, the lower part of
this rear space is occupied by the fuel tank and the spare tire
compartment, and these utility spaces are covered by panels that form
the floor of the rear stowage space, apparently called by the factory
the "luggage floor".
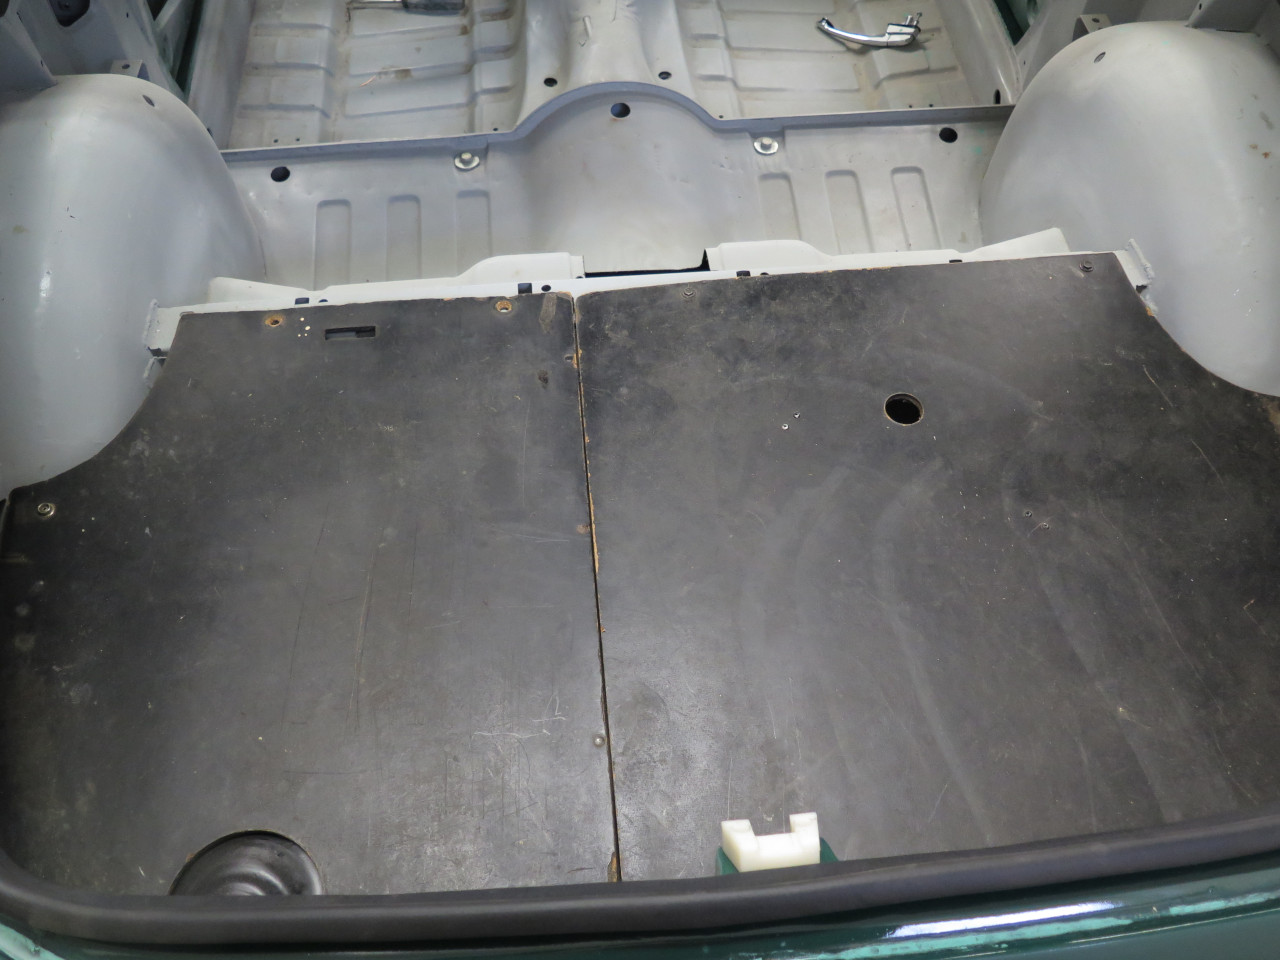
The luggage floor in this car consisted of three panels, each made of a
hardboard material of nominal 1/4" thickness. There are two aft
panels, the left of which is fixed over the fuel tank. The right
rear panel is removable, and covers the spare tire well. these
panels are supported at their forward edges by a crossmember.
There is also a fixed forward panel that spans the car from side to
side, and is supported by the same crossmember at its rear, and another
crossmember at its front.
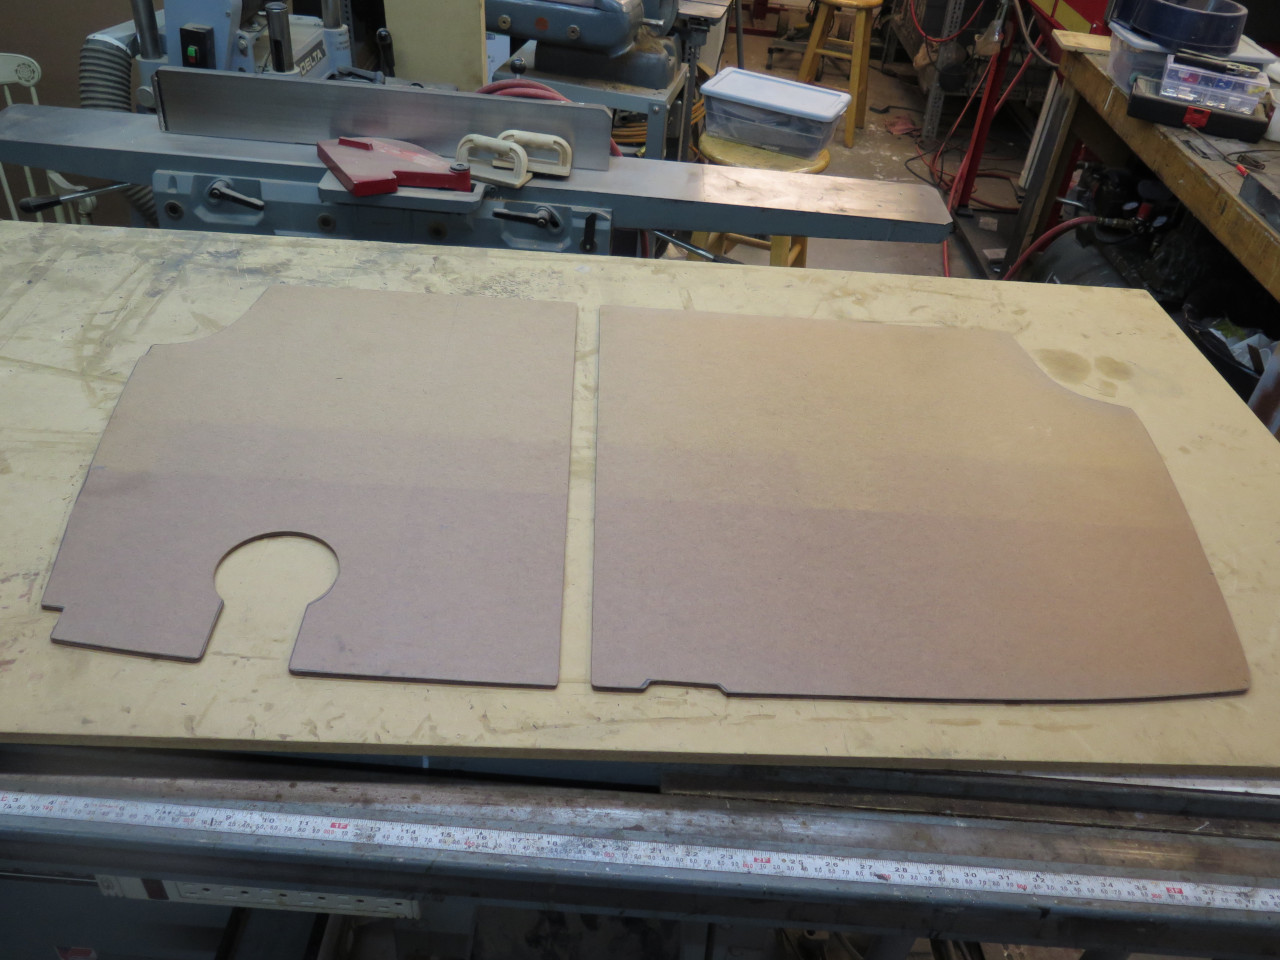
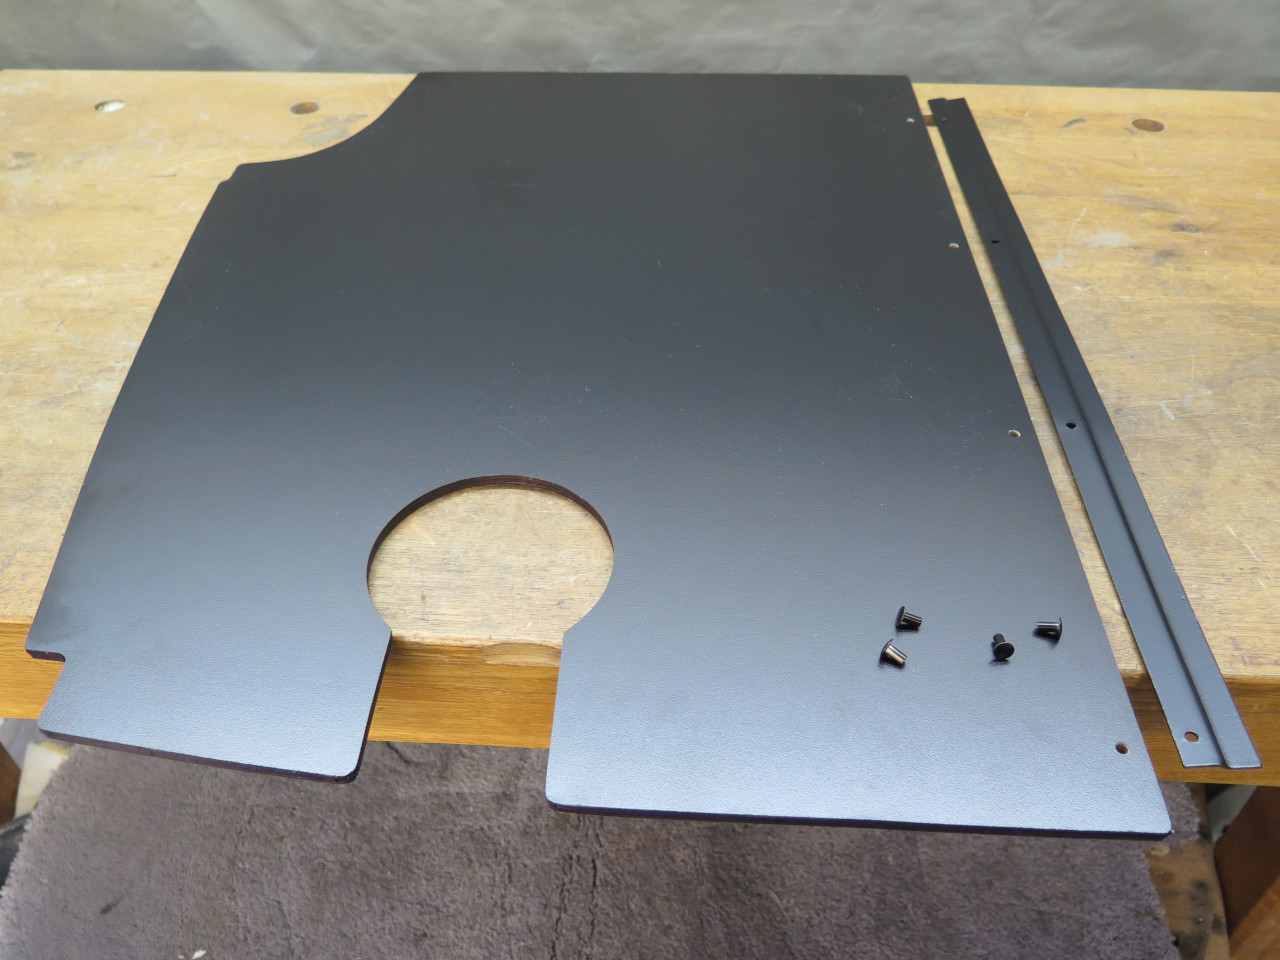
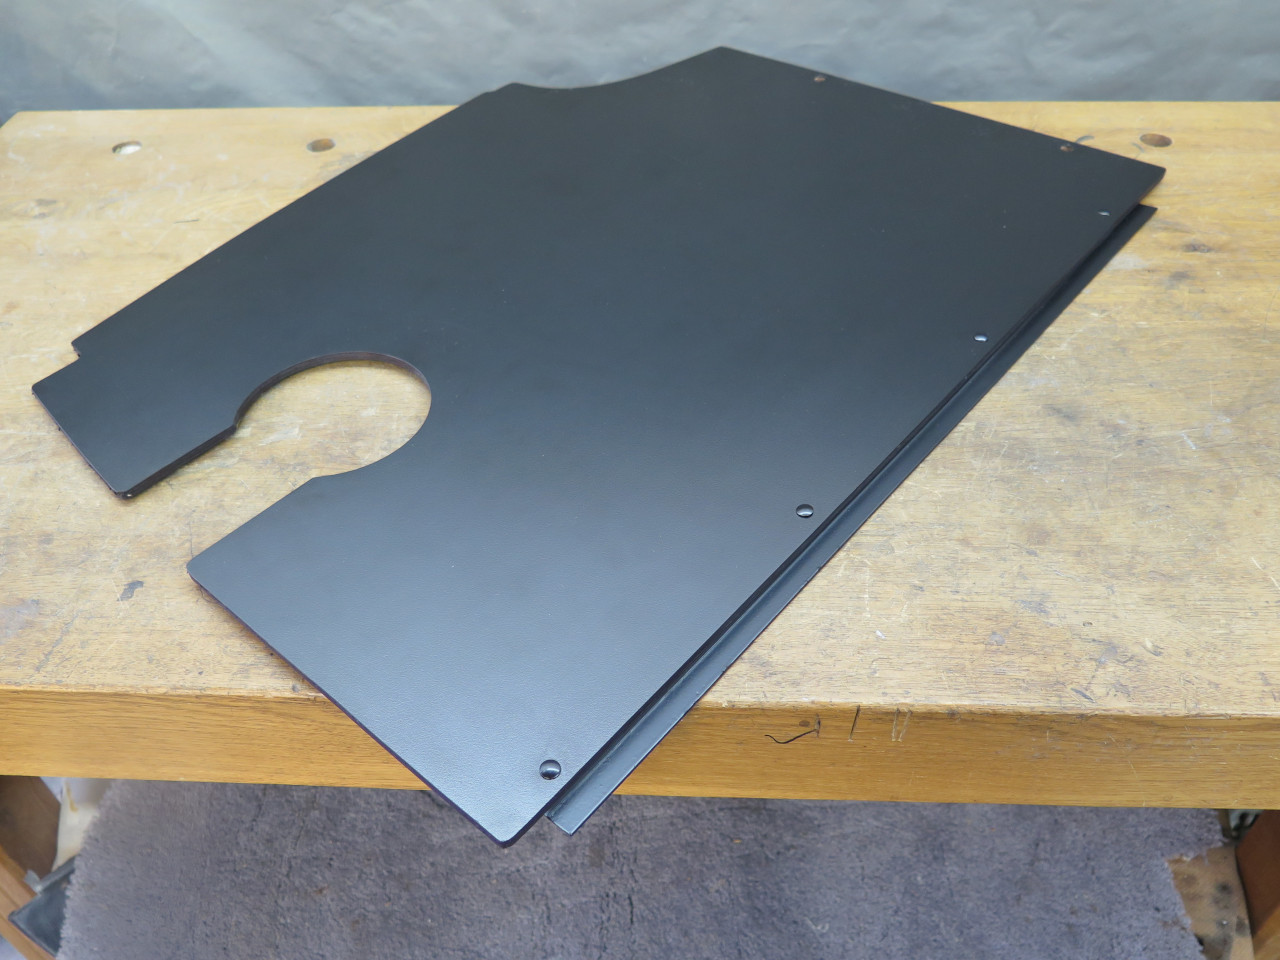
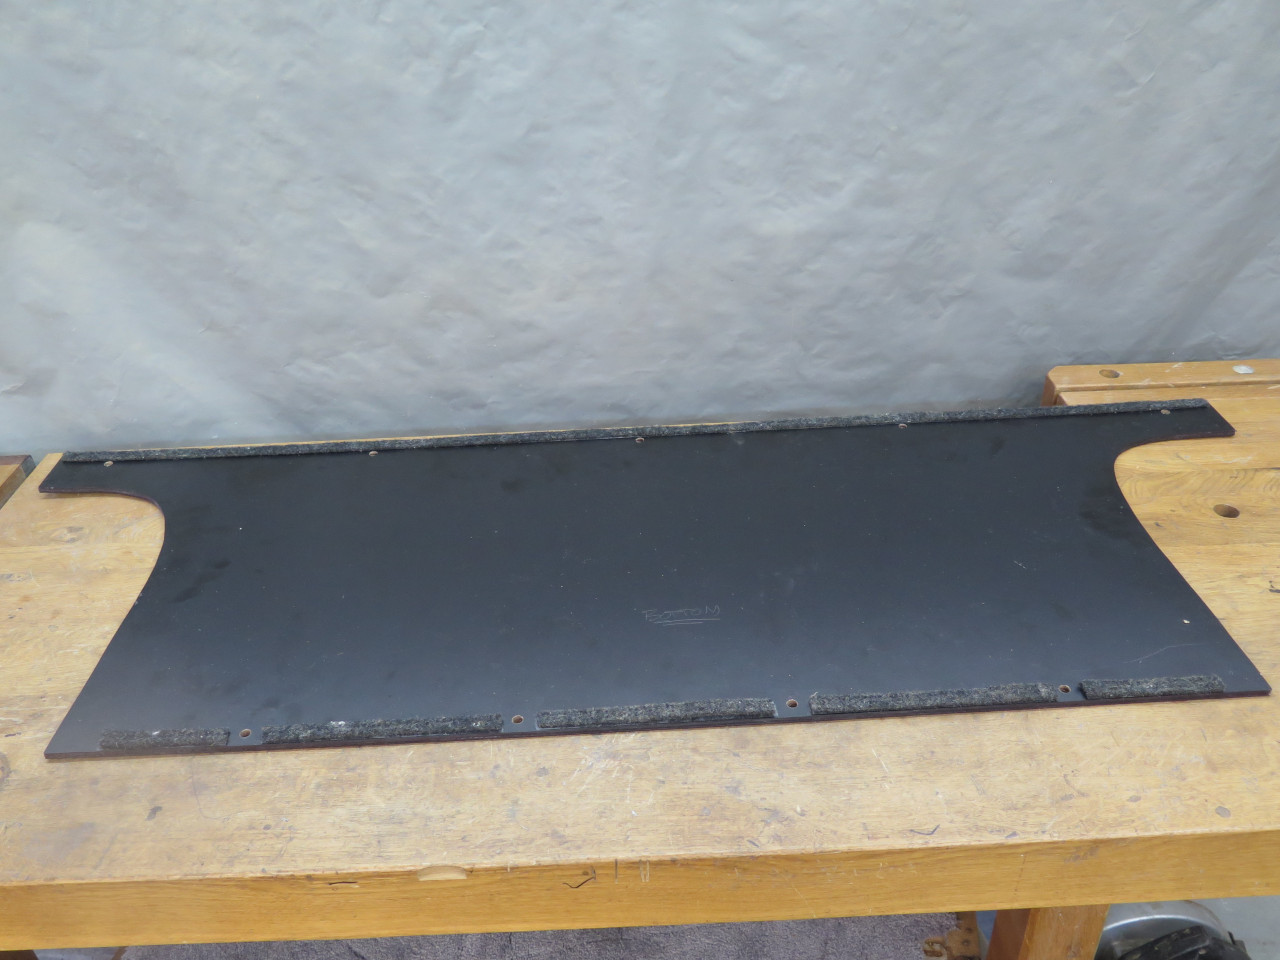
These are the original rear panels. The odd-shaped cutout in the left one is to accommodate the fuel filler neck.
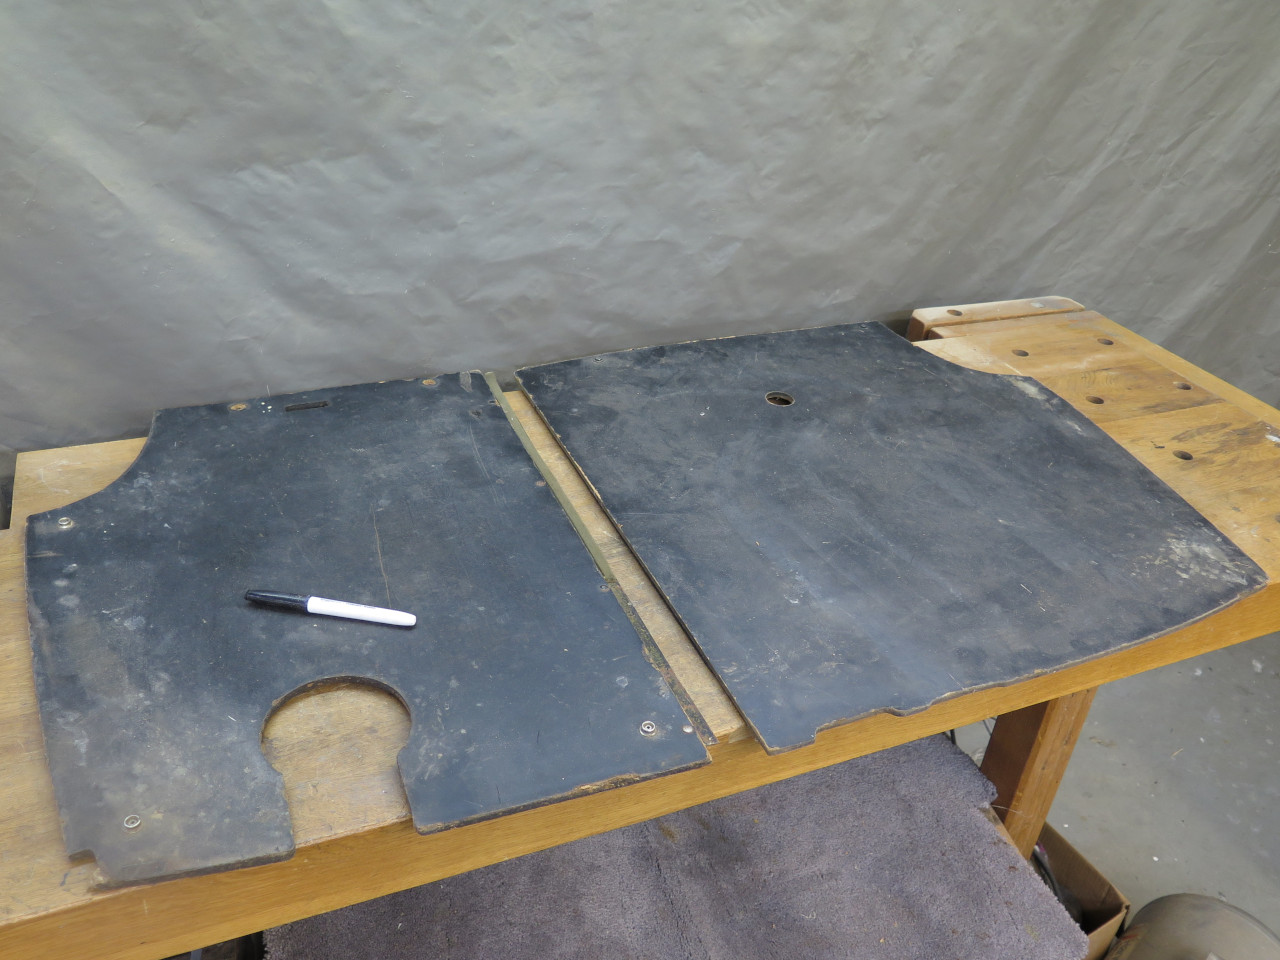
The original panels were beat up, dirty, and frayed at the edges and around the mounting holes.
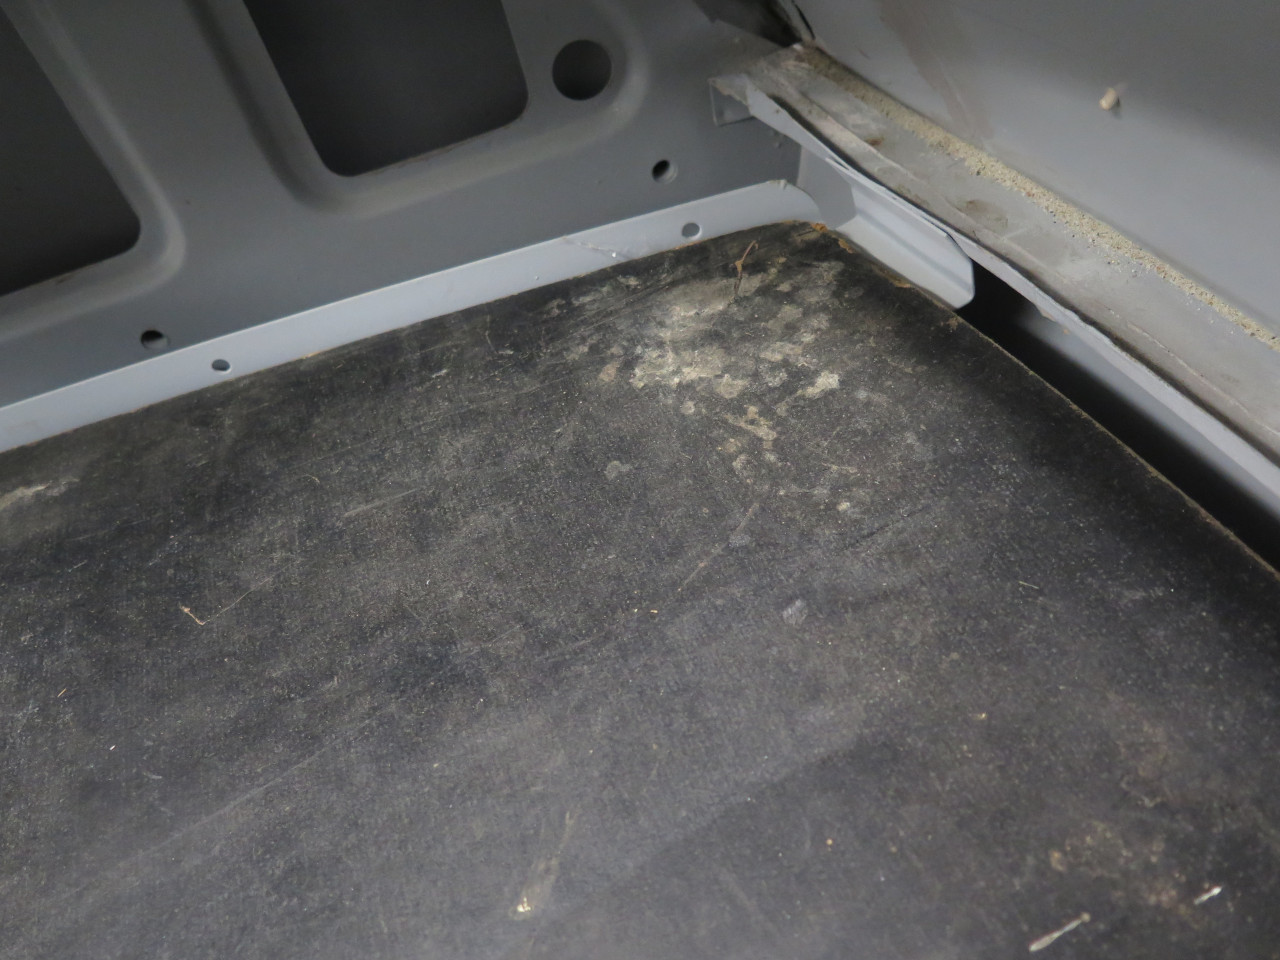
And they also didn't fit the car very well. There were
considerable gaps around all of the edges. I thought new panels
would be an improvement, but since they are apparently not available
anywhere, they became a project.
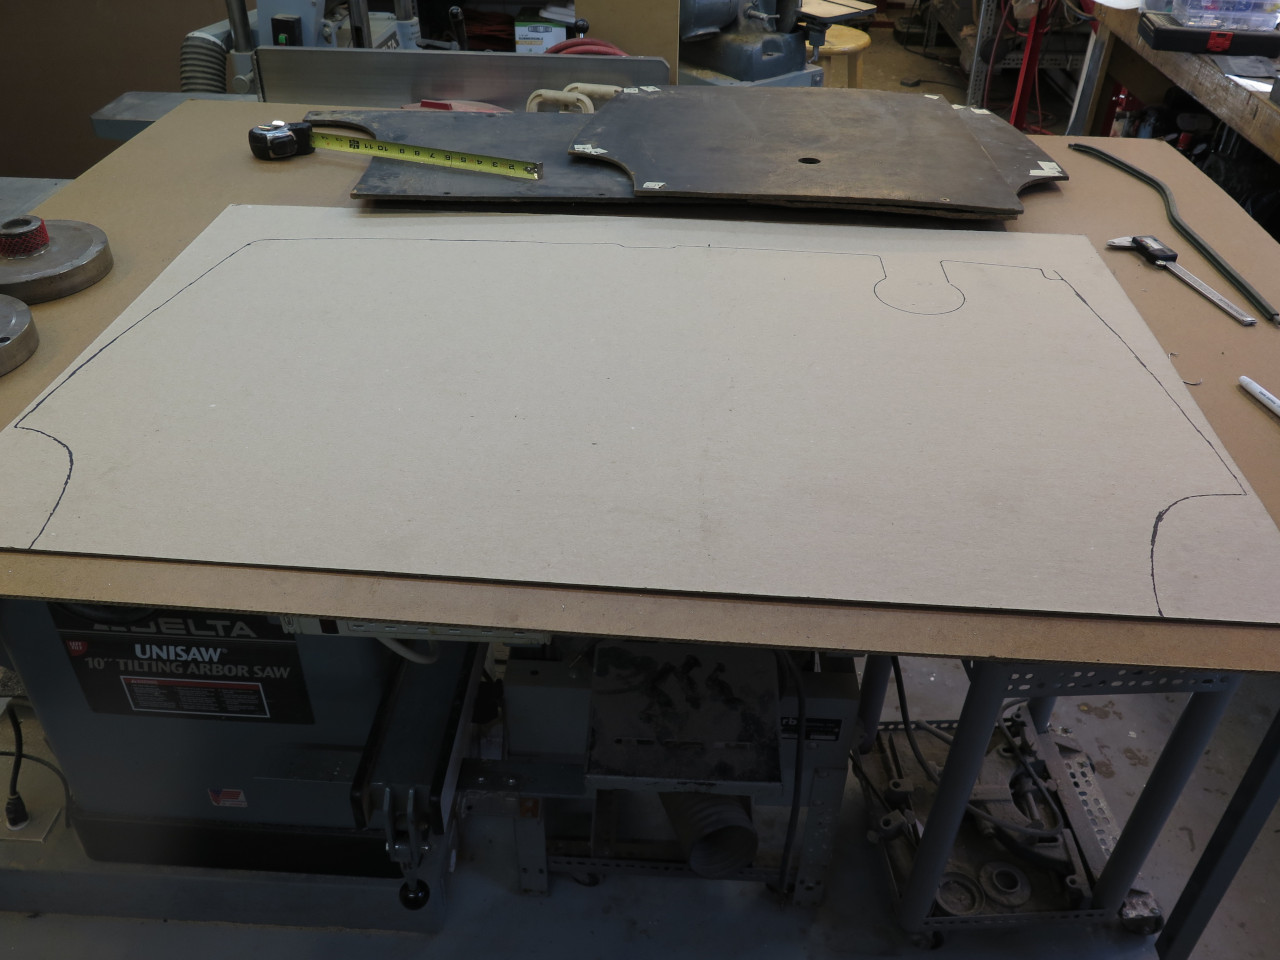
First task was to make patterns that fit better. I marked the gap sizes on the originals.
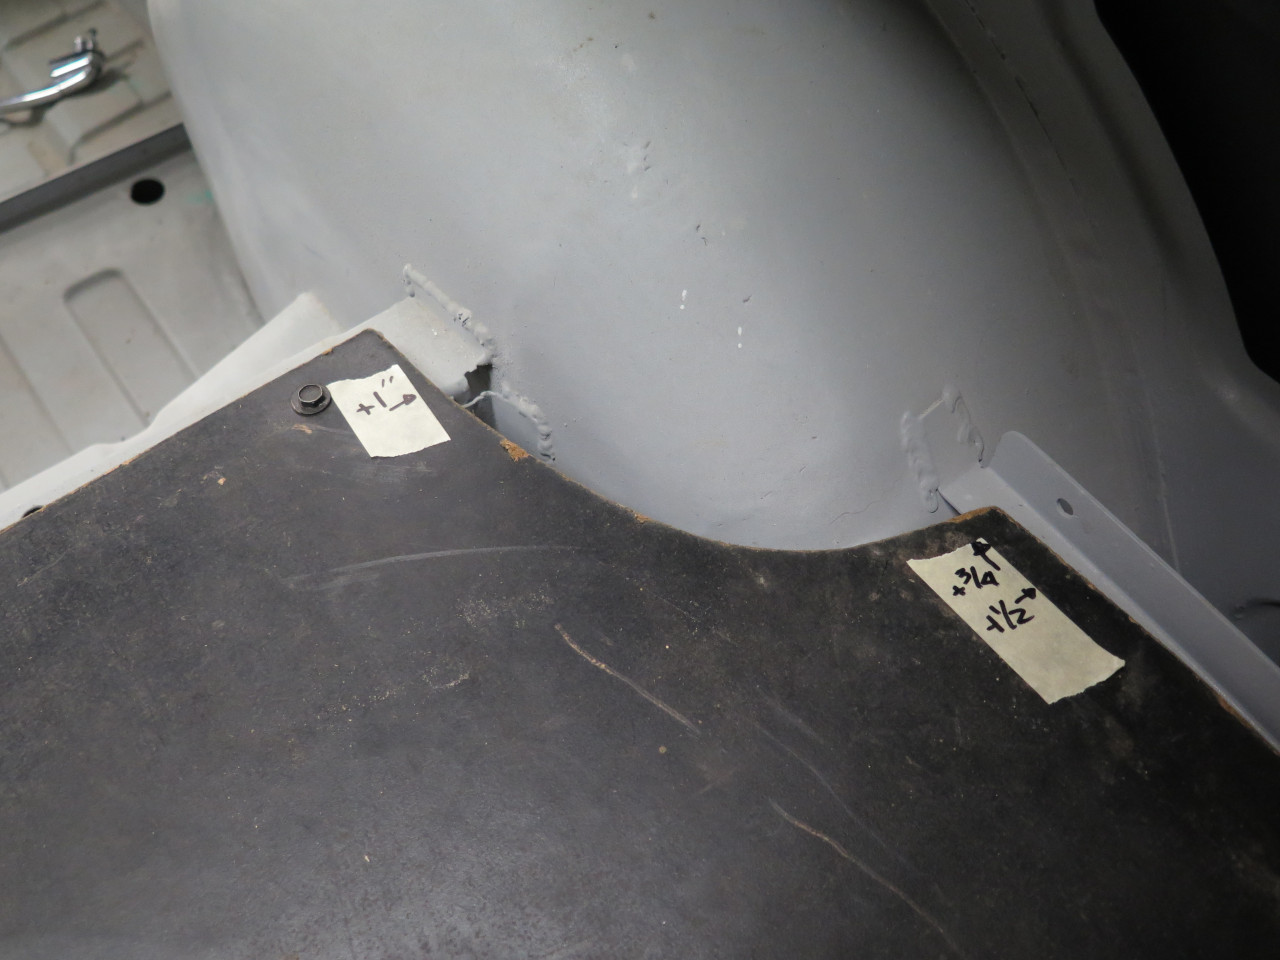


Then transferred the shape, including corrections for better fit to some
chip board as a pattern. I did the two rear panels temporarily as
a single piece.

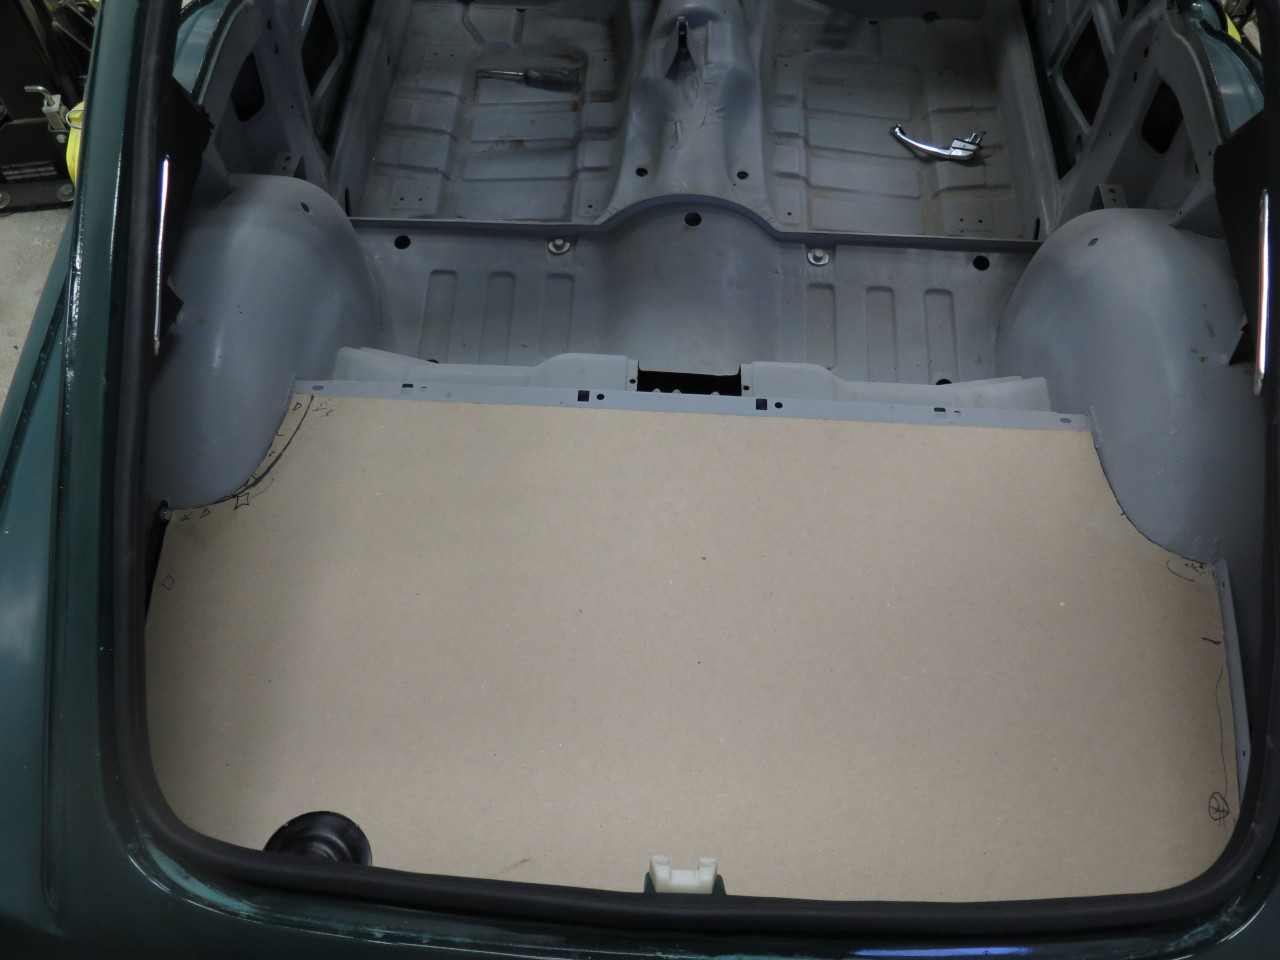
I test fit the new pattern in the car. After a few corrections here and there, it finally fit pretty well.
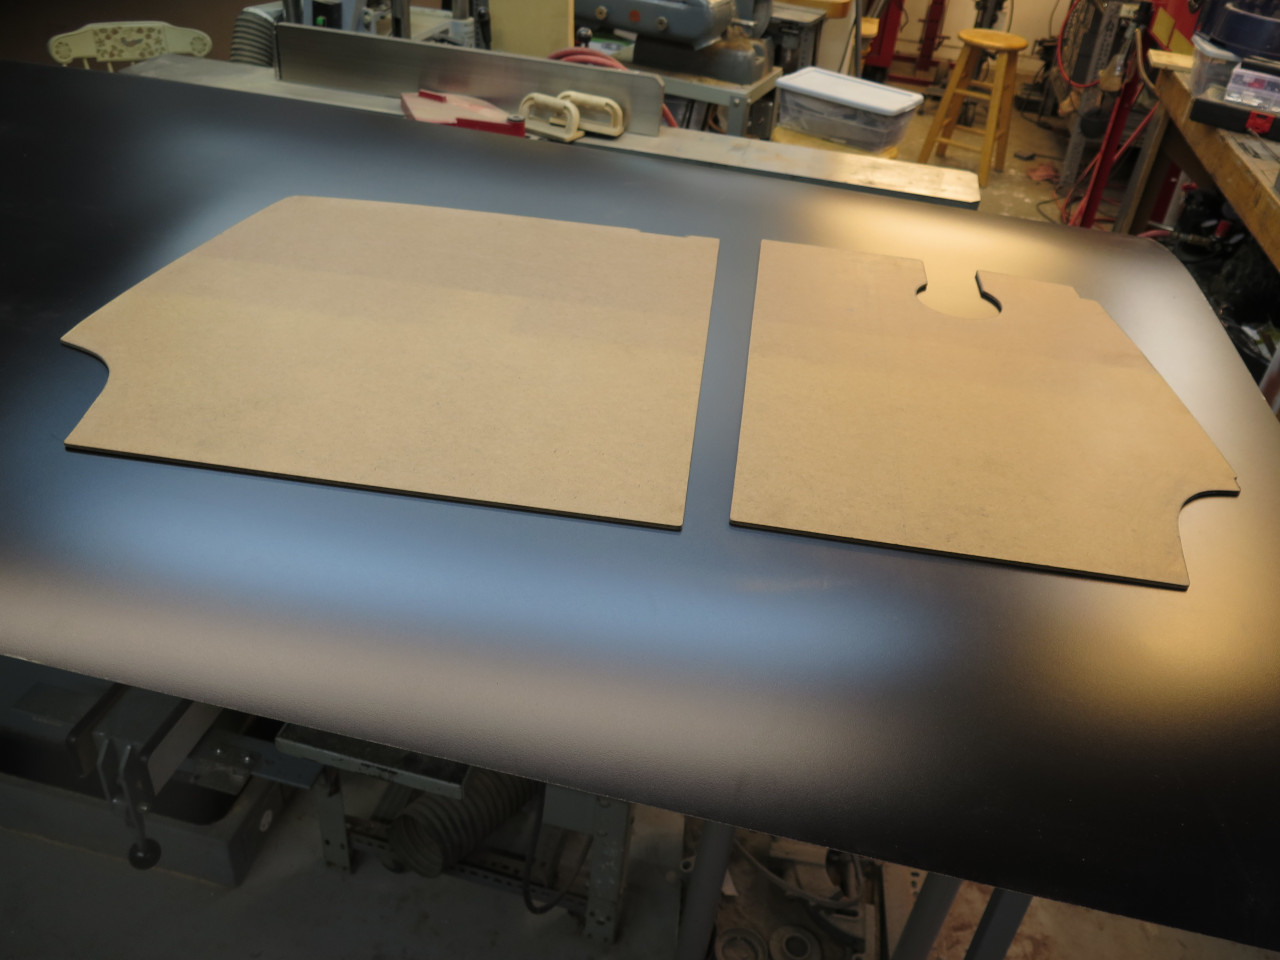
Then transferred the pattern to some new hardboard. It's not easy
to get actual 1/4" hardboard these days. This stuff is advertised
as 3/16", but it's actually only about 0.160", so probably manufactured
as 4 mm.
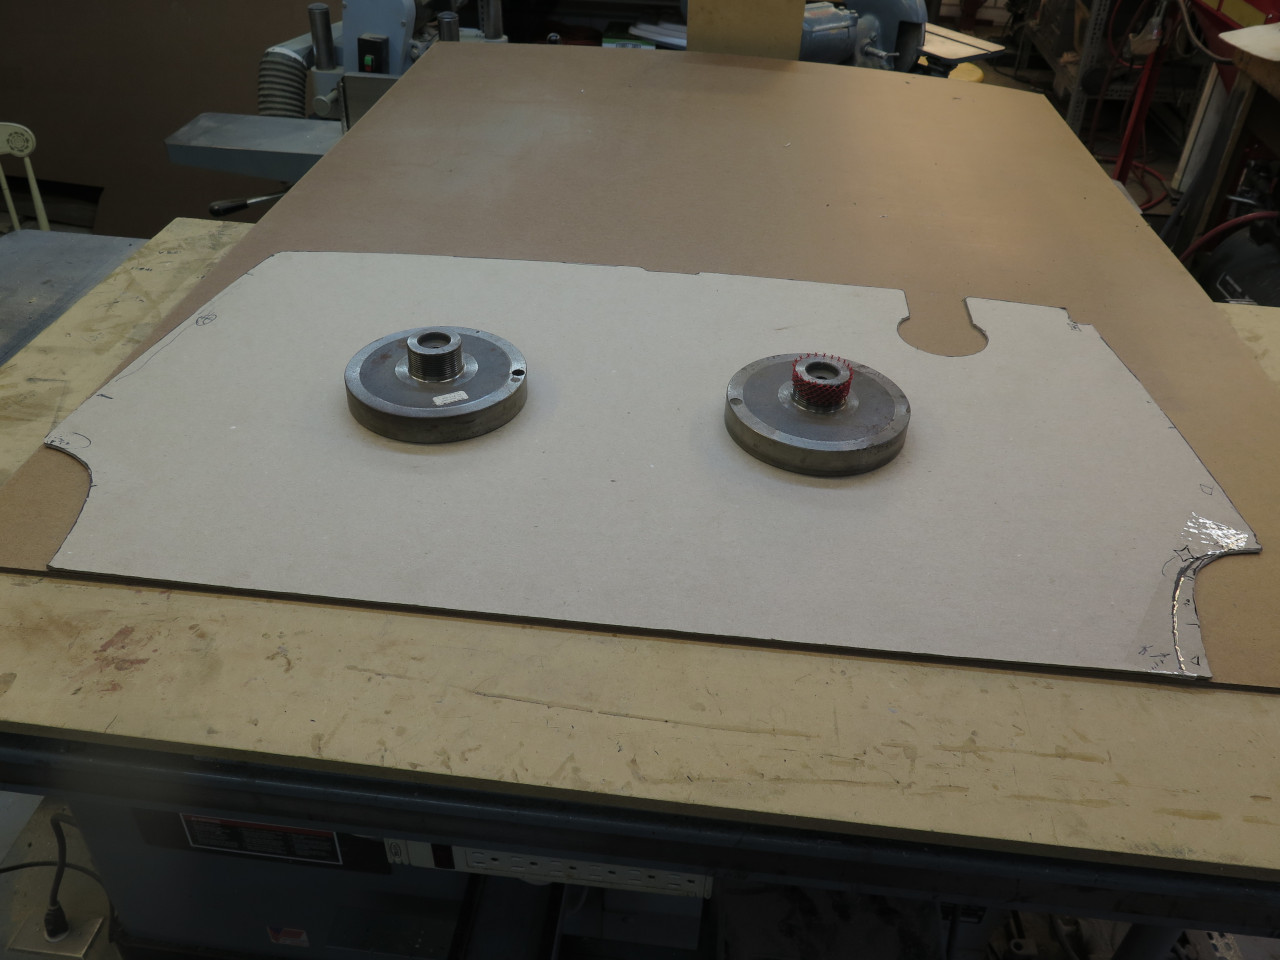
I brought the front panel to the same stage and test fit them both in the car.
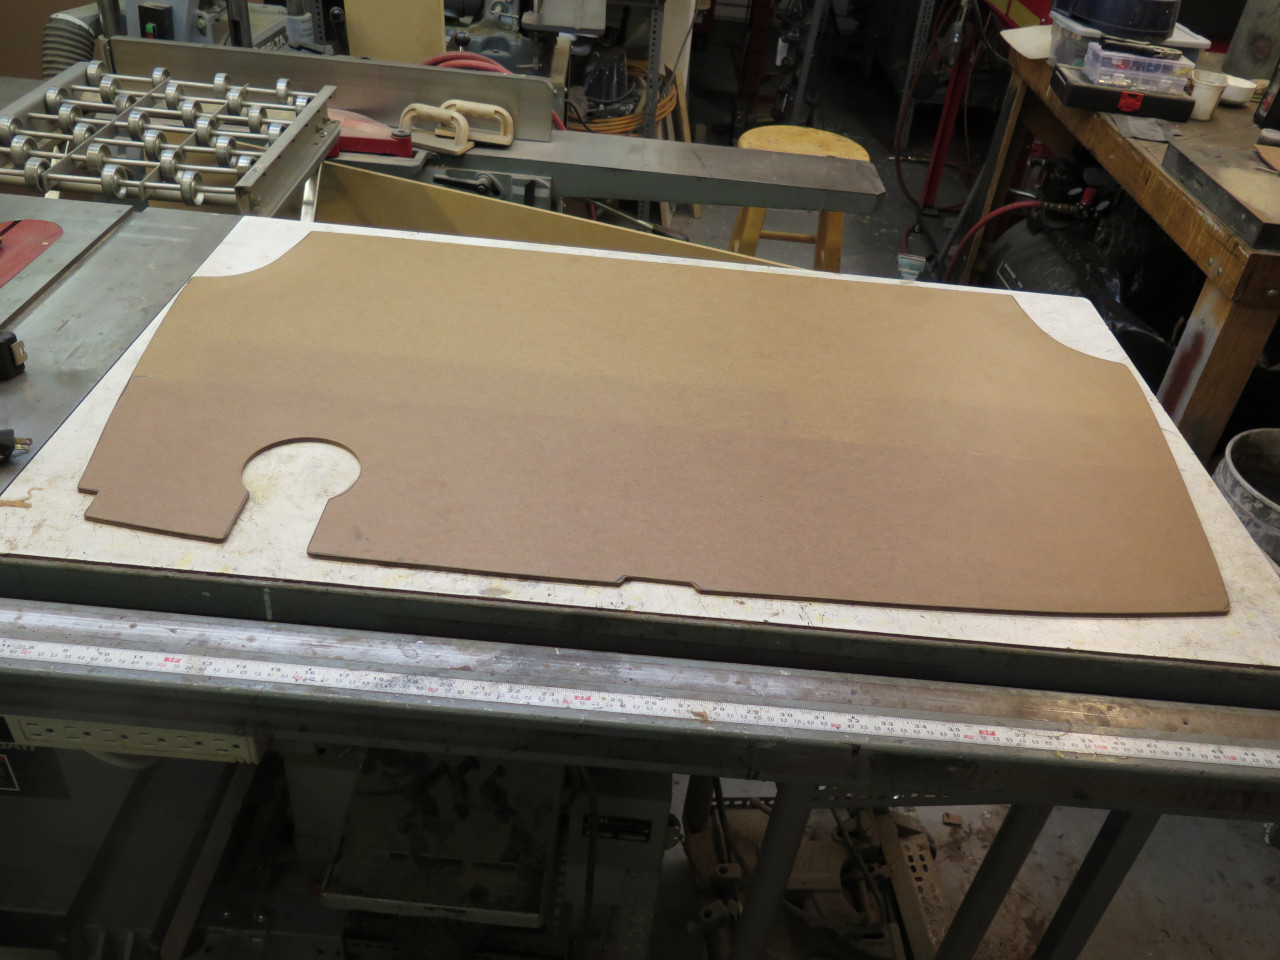
The rear panels were then separated with a straight saw cut.
The reason I wasn't too concerned about the thickness of the hardboard
is because I planned to cover both sides with a plastic laminate.
This is Formica brand, but there are others.
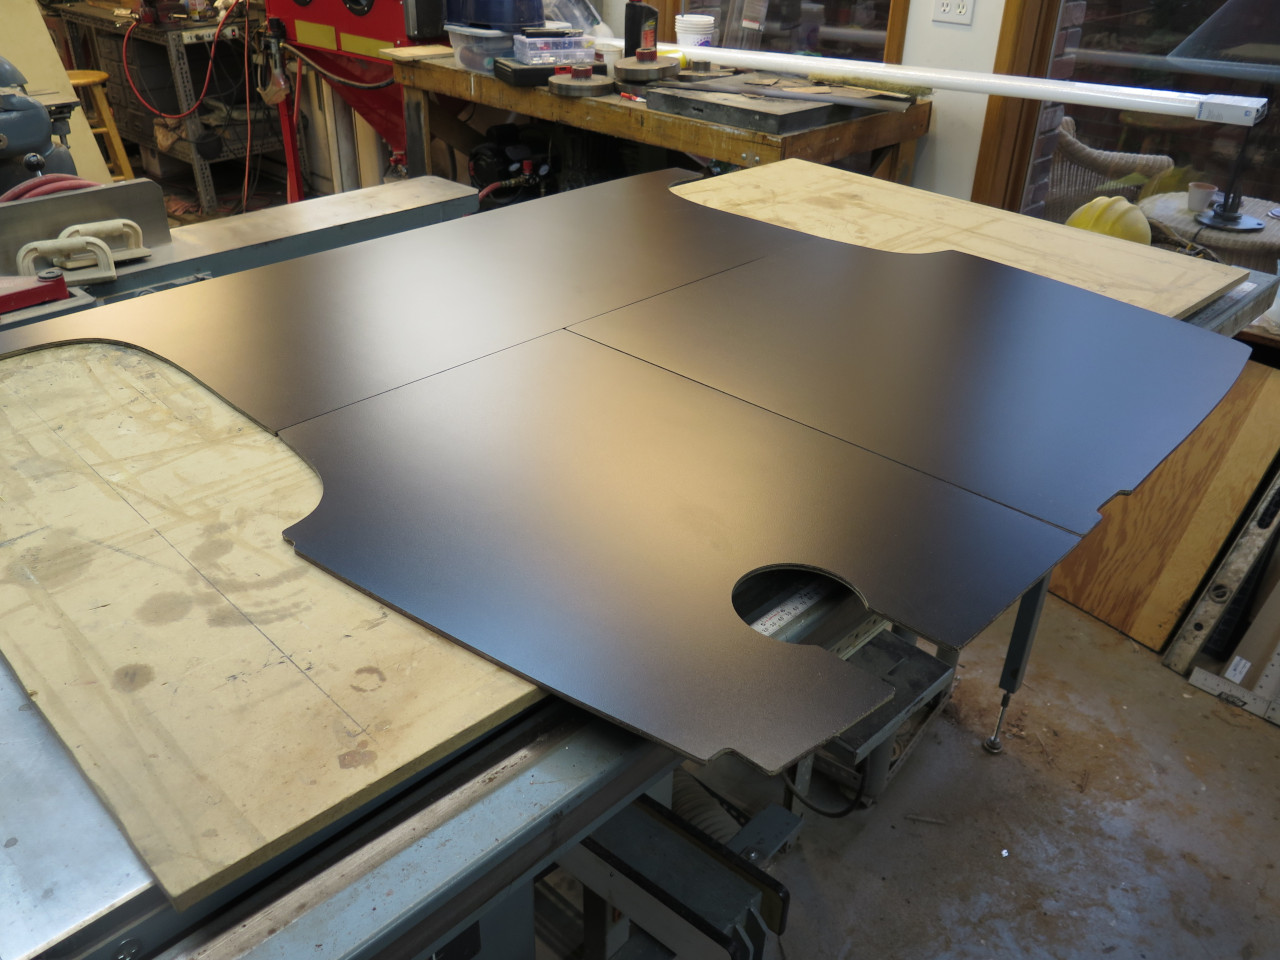
The laminated panels measure at about 0.220", which is still a little
thinner than the originals, but in handling them, they seemed stiffer
than the originals. Concerned that this may have been just some
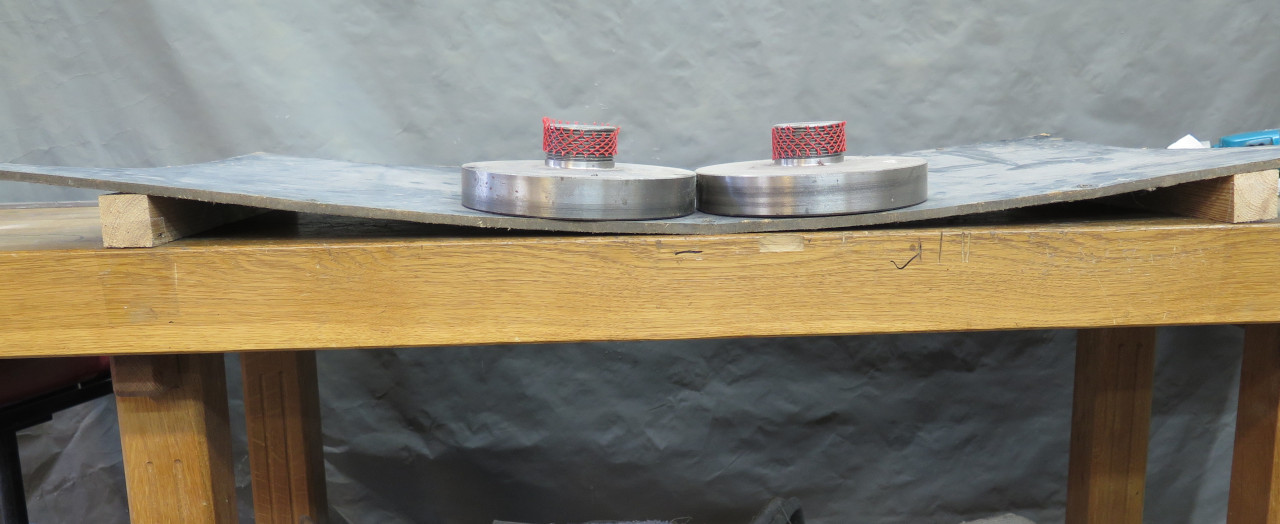
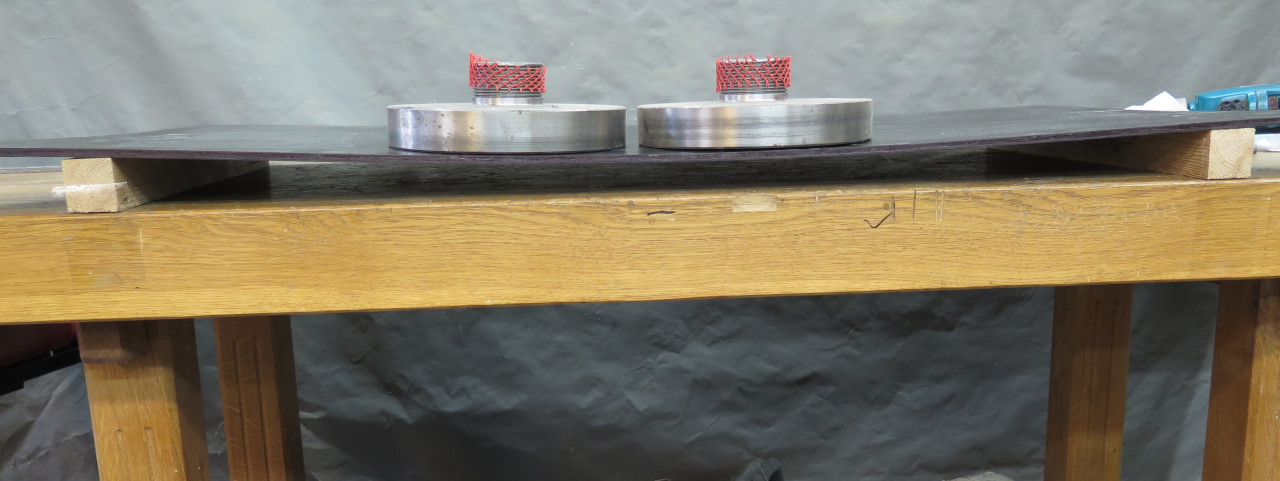
confirmation bias talking, I decided to do some science. I set up
some supports 30 inches apart, so that the front panel would fit nicely
across them. I then placed 20 pounds of weight in the center of
the span, and measured the deflection. The original panel
deflected the full 1.5 inches to the table, and might have gone a little
further. The new laminated panel deflected a little over
0.5". This tells me that the new panels are around three times
stiffer than the originals. It is possible that the old panels
were stiffer when new.
This made me happy, so I pressed on in preparing the panels for installation.
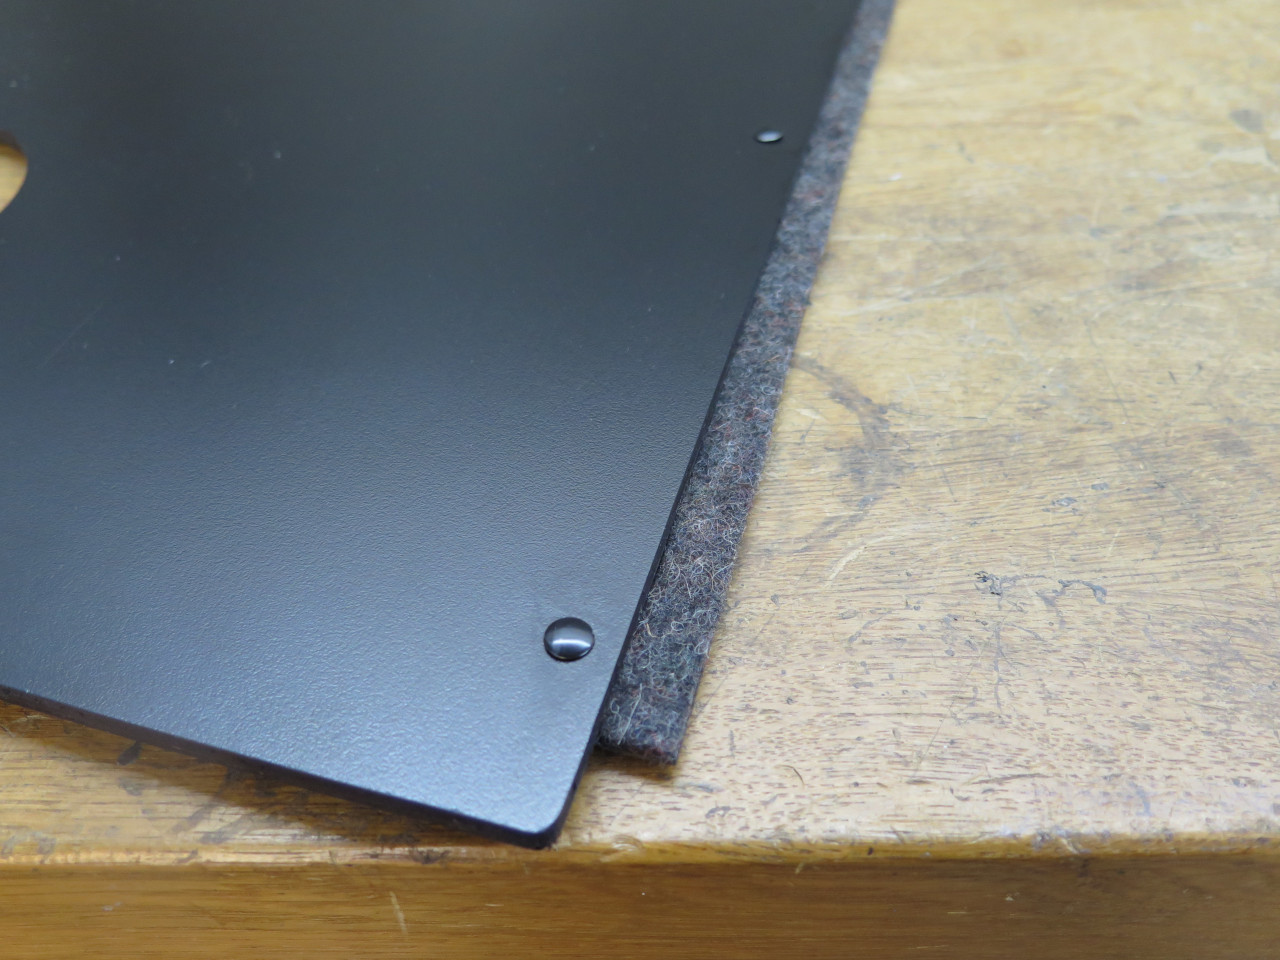
The fuel tank cover gets a stepped metal strip riveted to its inboard
edge. This strip serves as a flange for the removable spare tire
cover panel to rest on. Rivets were standard semi-tubular type,
but I powder coated the heads to duplicate the originals.
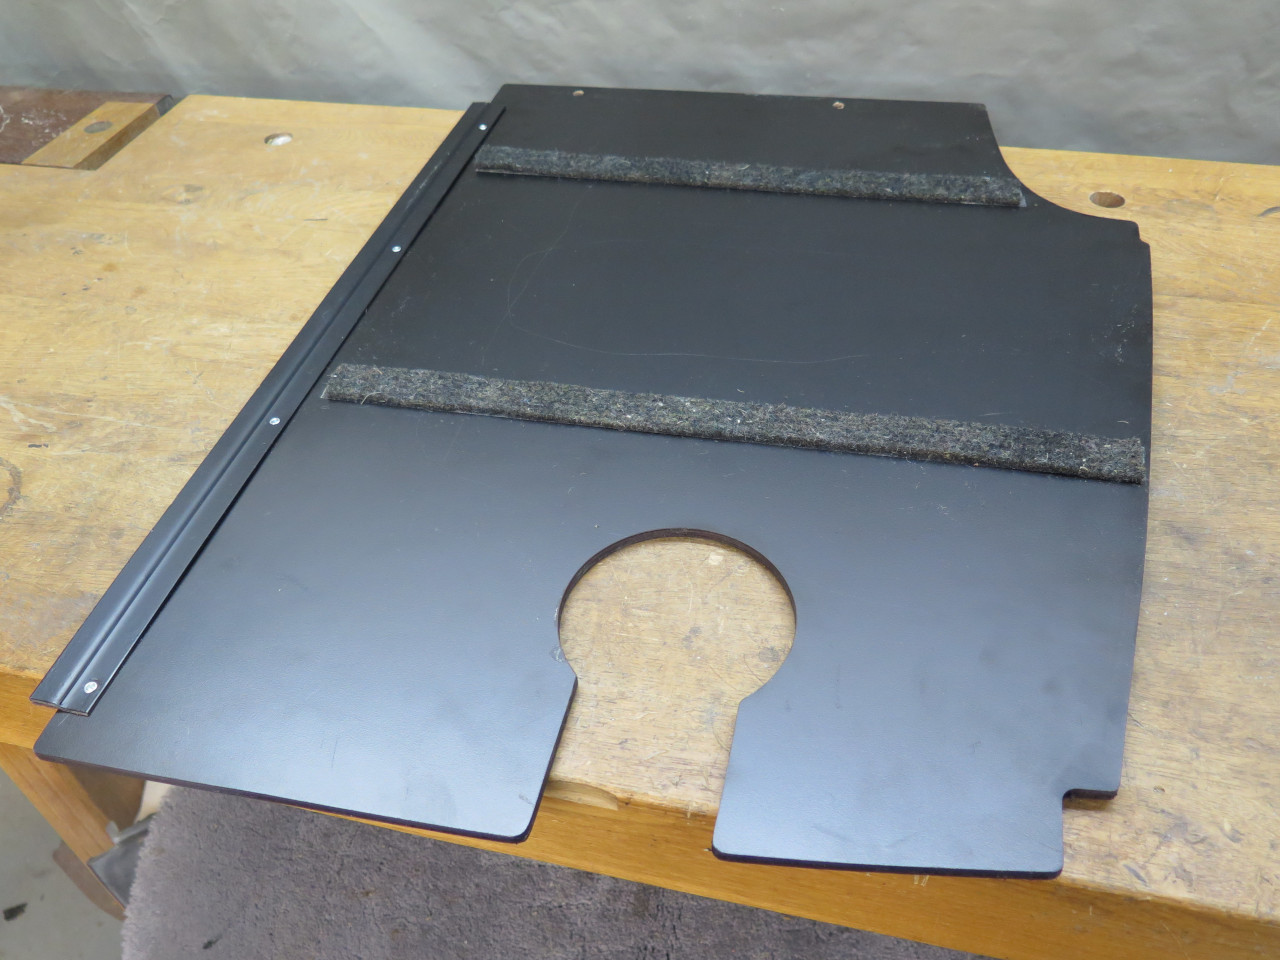
The bottom side of the panel is very close to the fuel tank, so to
prevent rattles and to provide some support, there were felt strips
glued to the underside. The support strip also gets a felt layer.
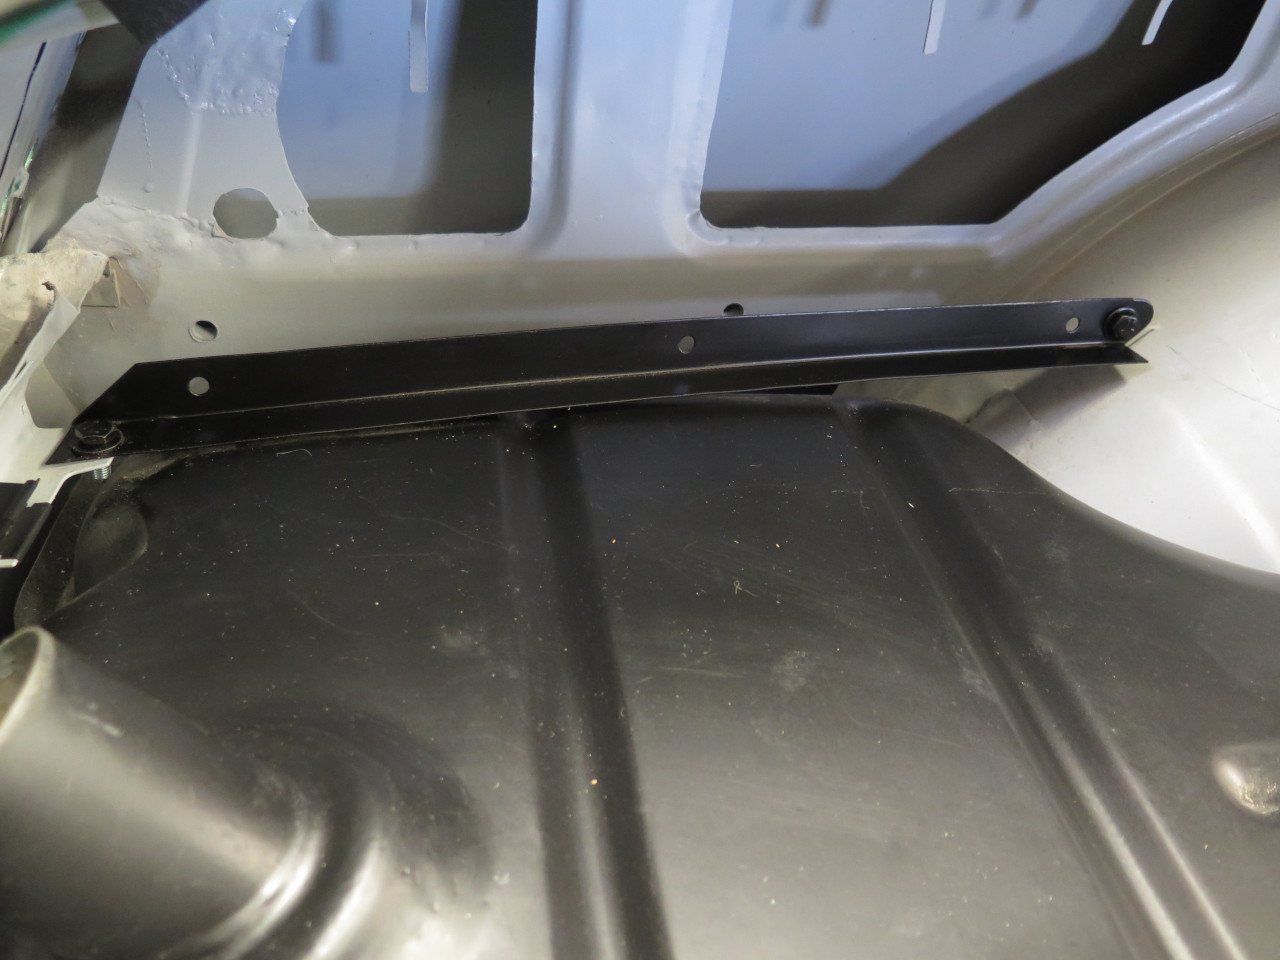
For a time, I was baffled as to why the outboard edge of the fuel tank
cover appeared to be unsupported. I finally realized I was missing
a part. Rummaging through he shed, I finally came up with
it. Maybe this support flange had to be removable to get the gas
tank in and out.
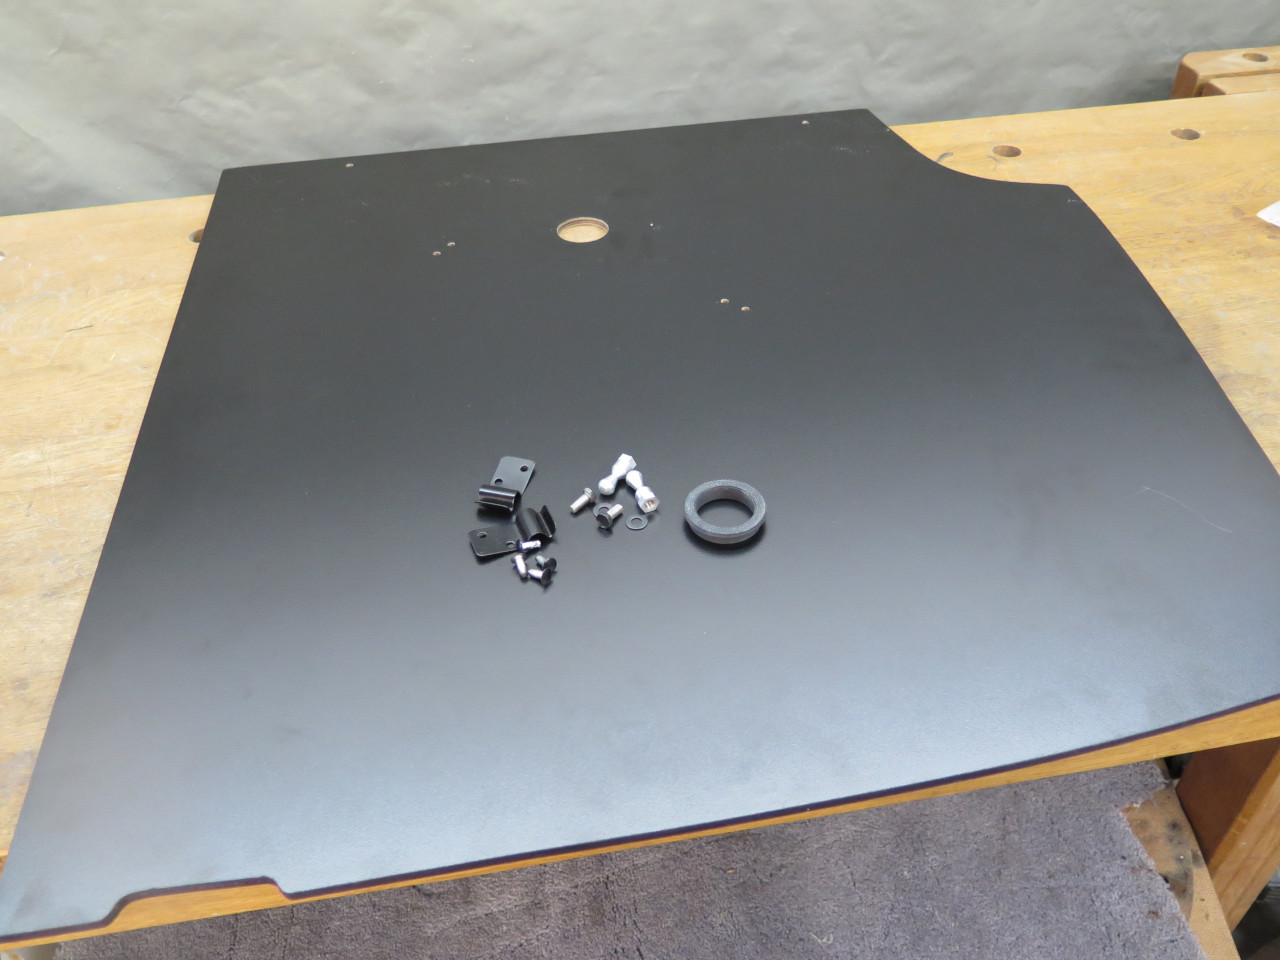
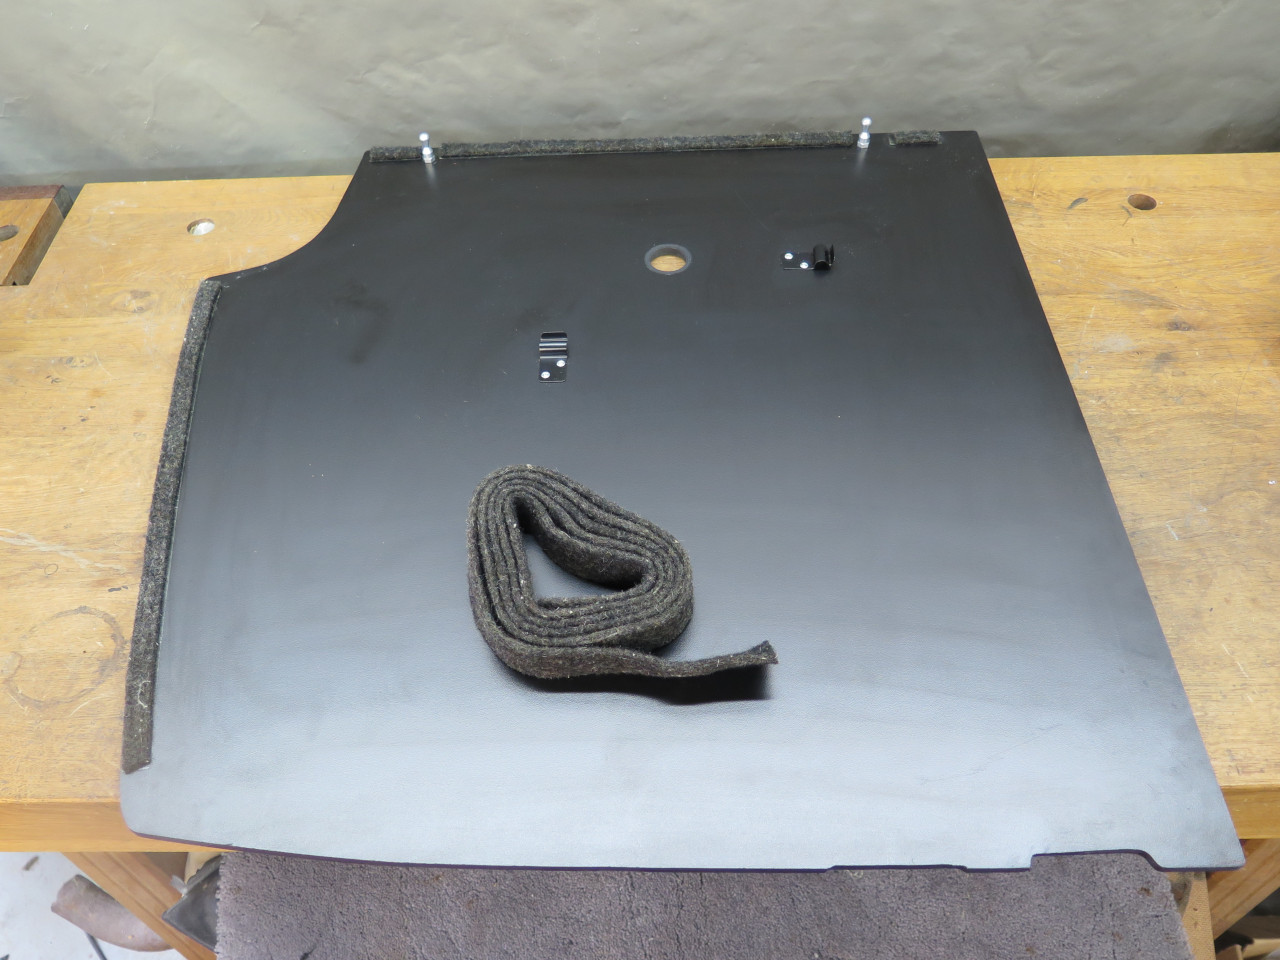
Then took the panel home. I discovered just before installing it
that it also needed felt strips on its mounting surfaces around the
perimeter except at the rear edge, so I added those. I used some
largish powder coated finish washers around the fasteners to spread the
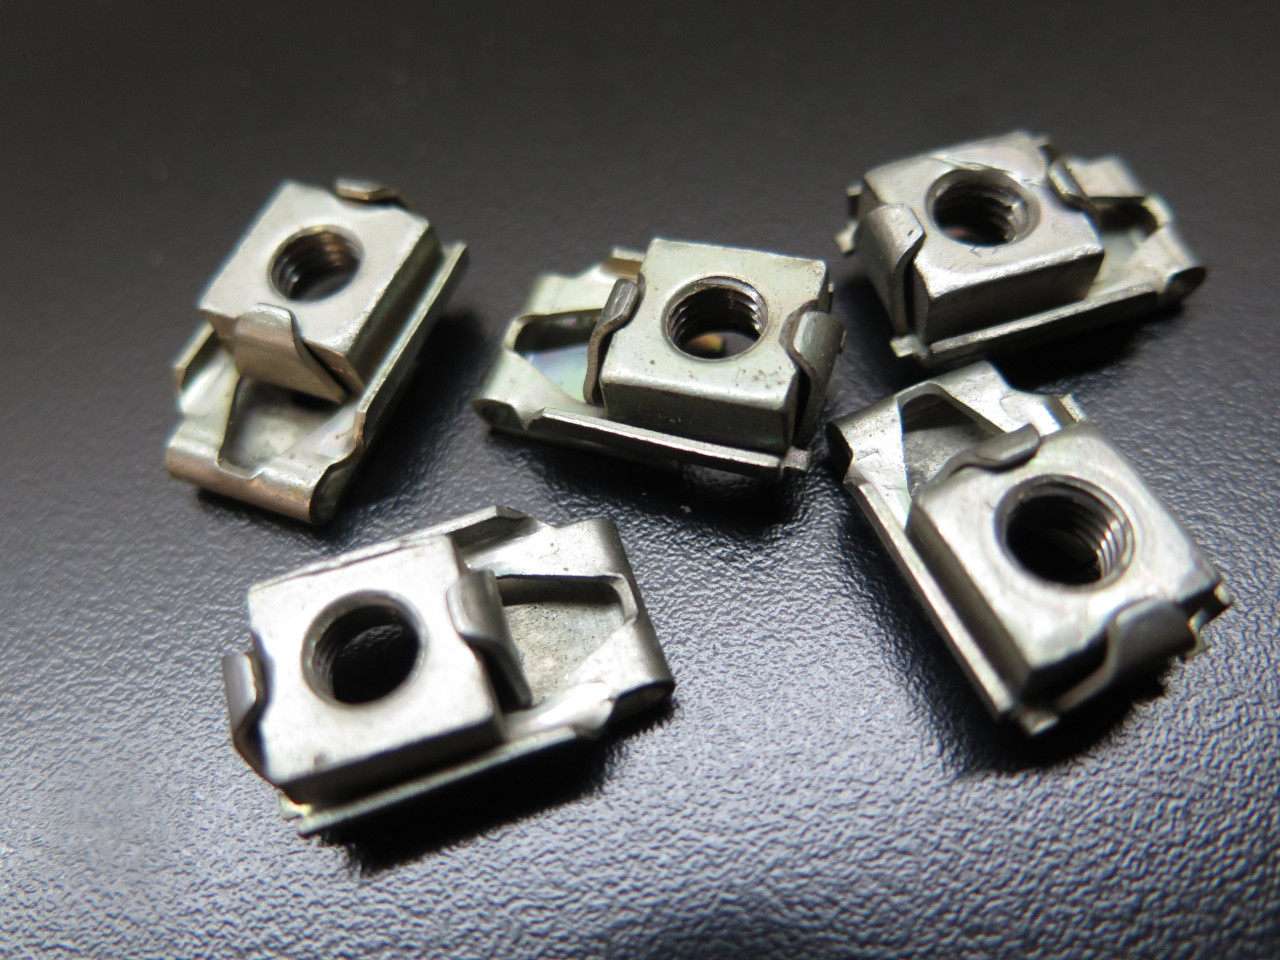
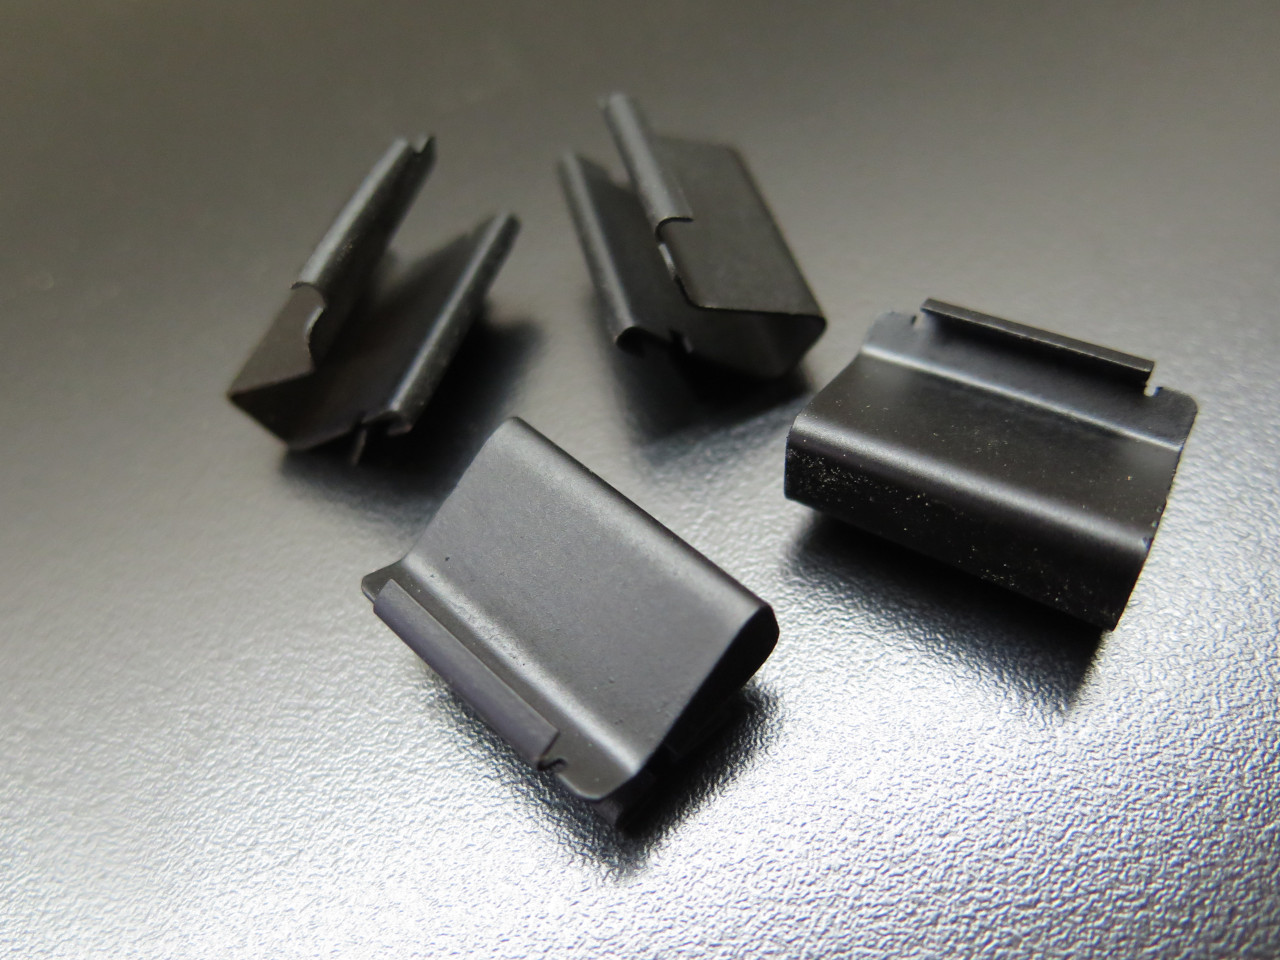
stress. Right most image shows the spring nuts that go in the
crossmember.
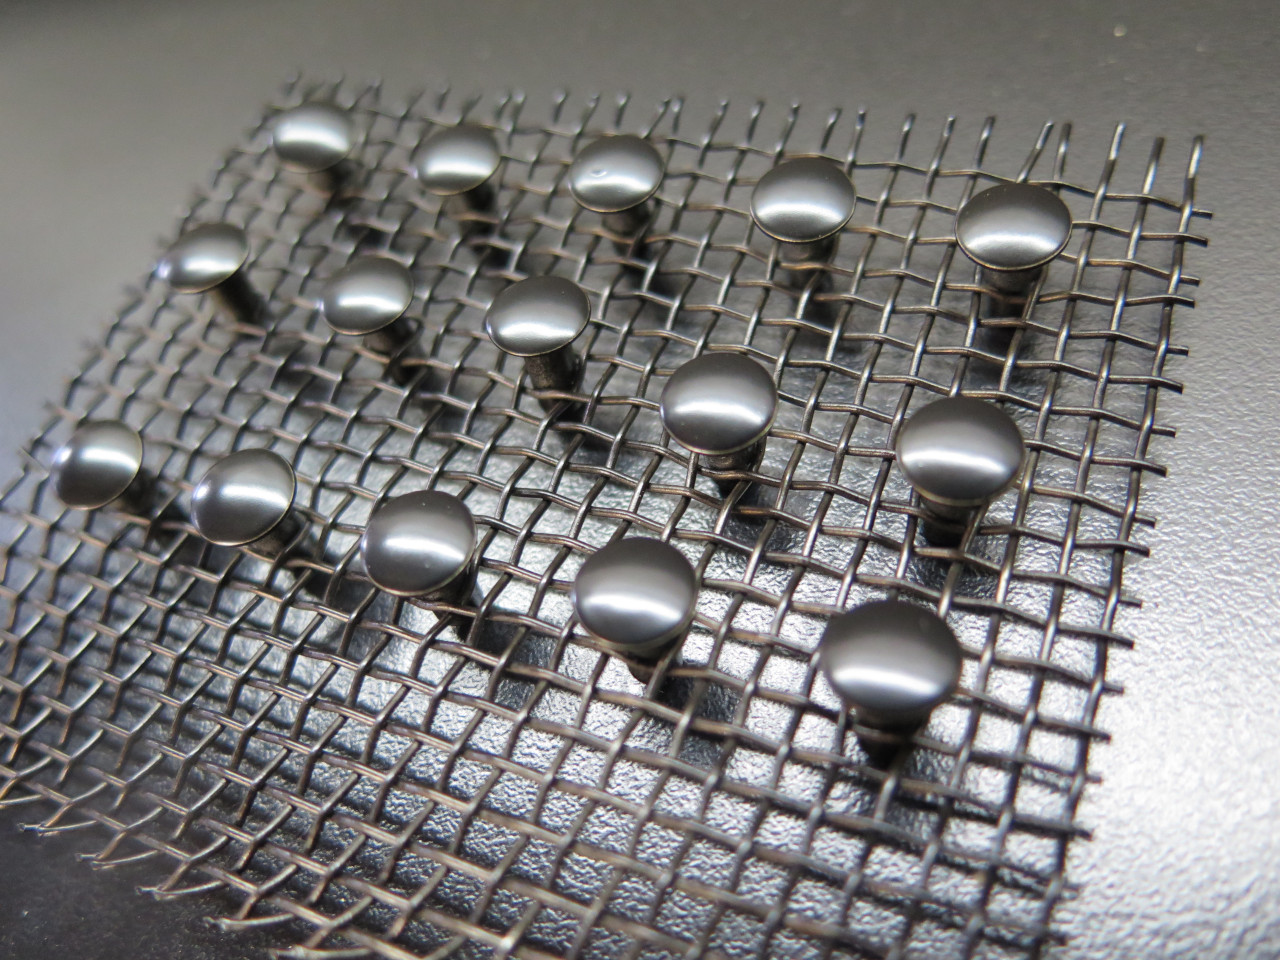
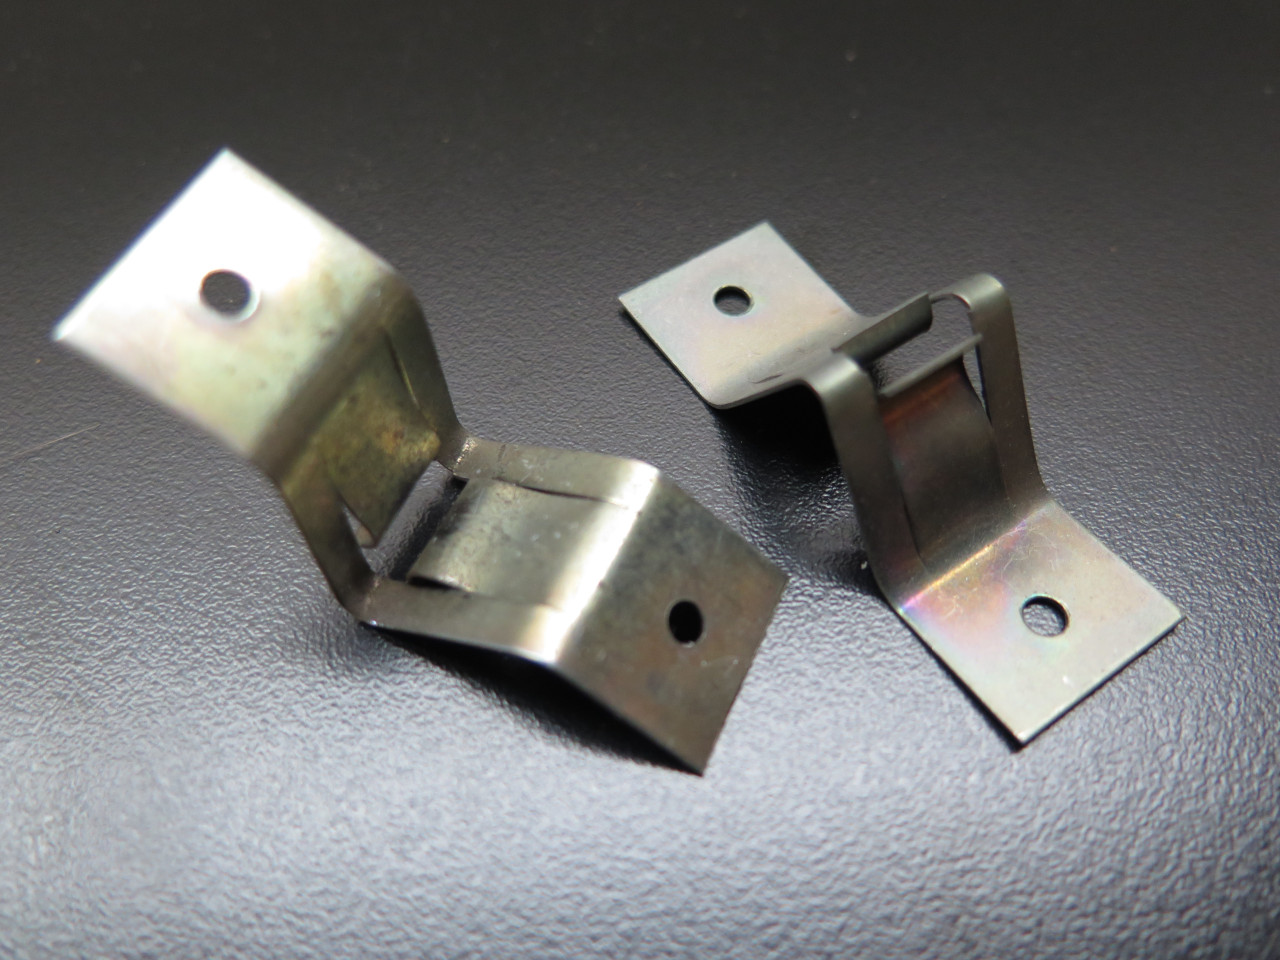
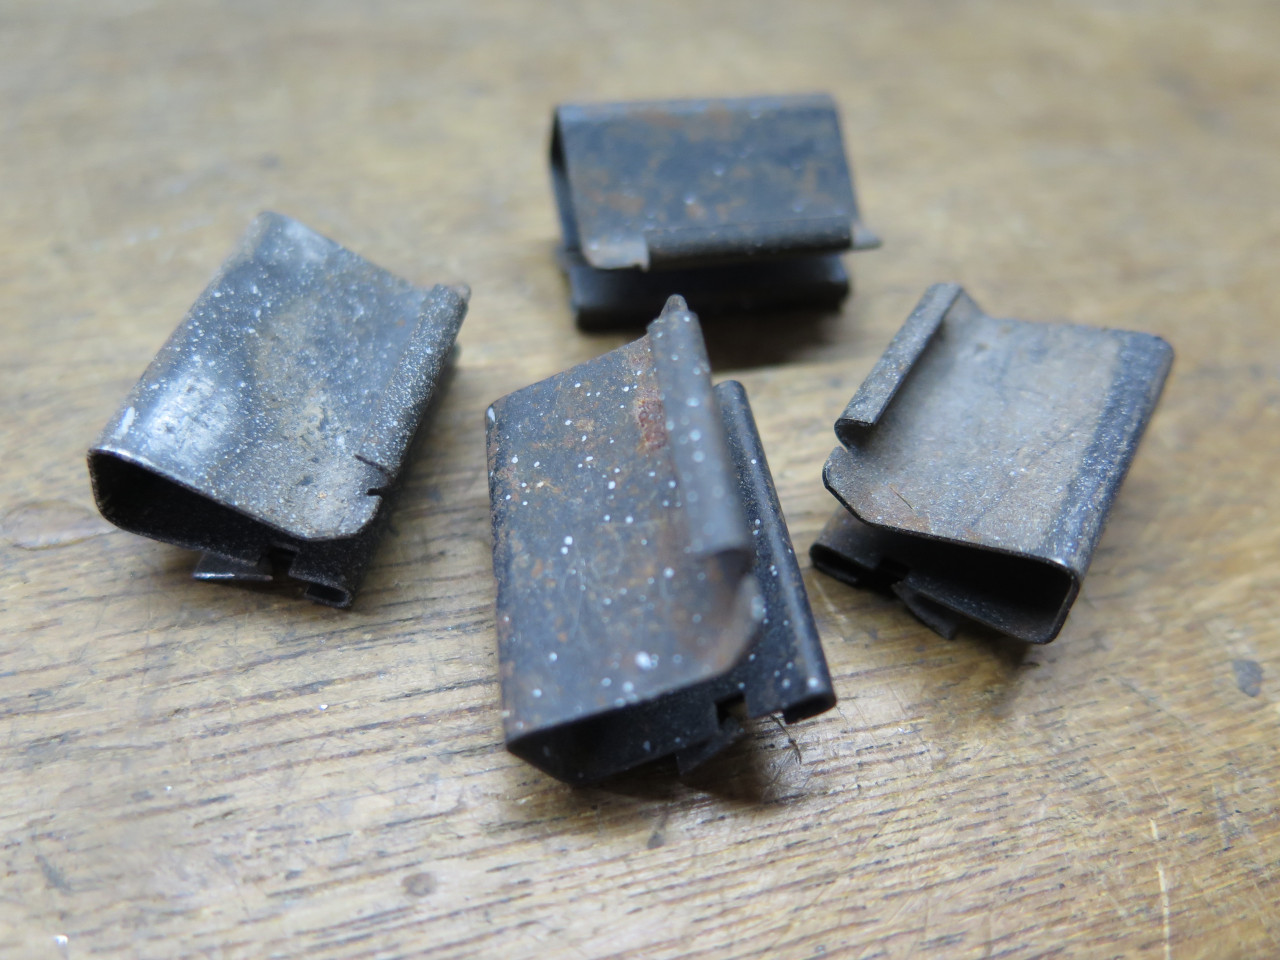
The spare tire cover also has various attachments. A couple of
spring clips are riveted on to hold the crank handle for the jack, and
there are the "spire studs" that go on the leading edge to mate with
spring latches in the crossmember, holding the panel in
place. The pic on the right shows the spring latches.
One thing of note on the spire studs: What appears to be 8-32
fasteners are actually British 2BA. The Brits do like their odd
ball threads.
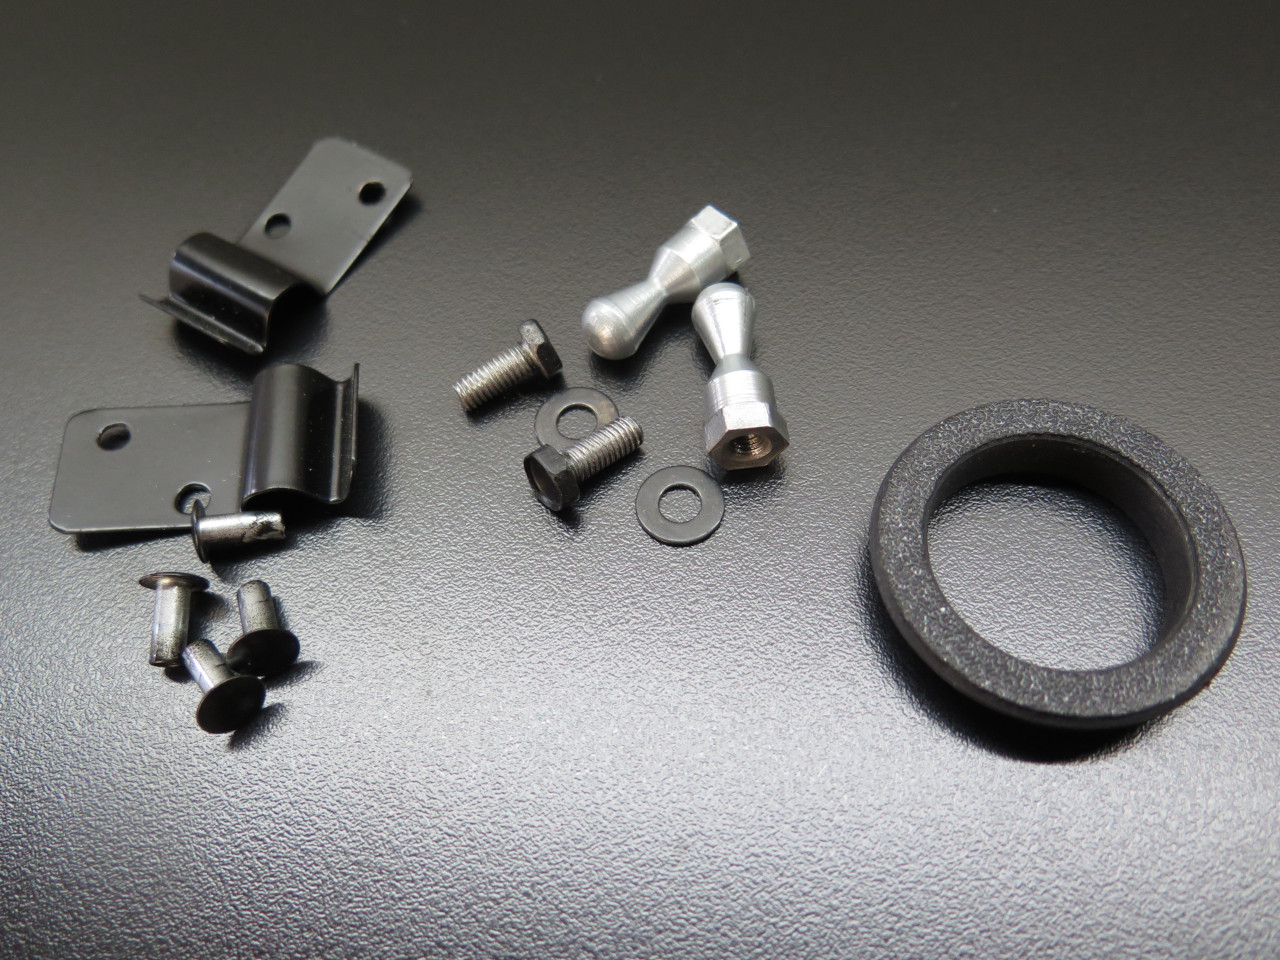
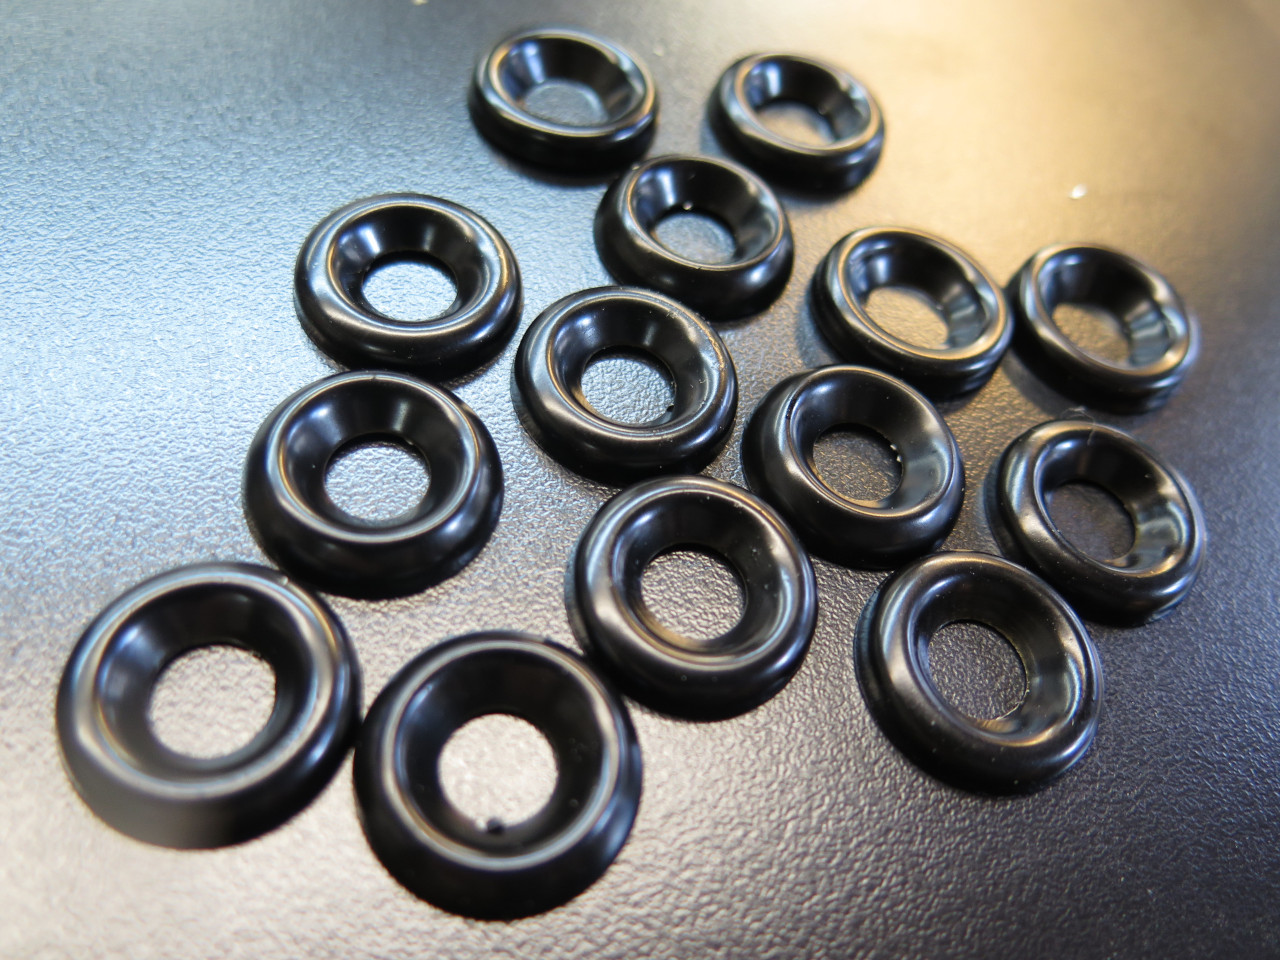
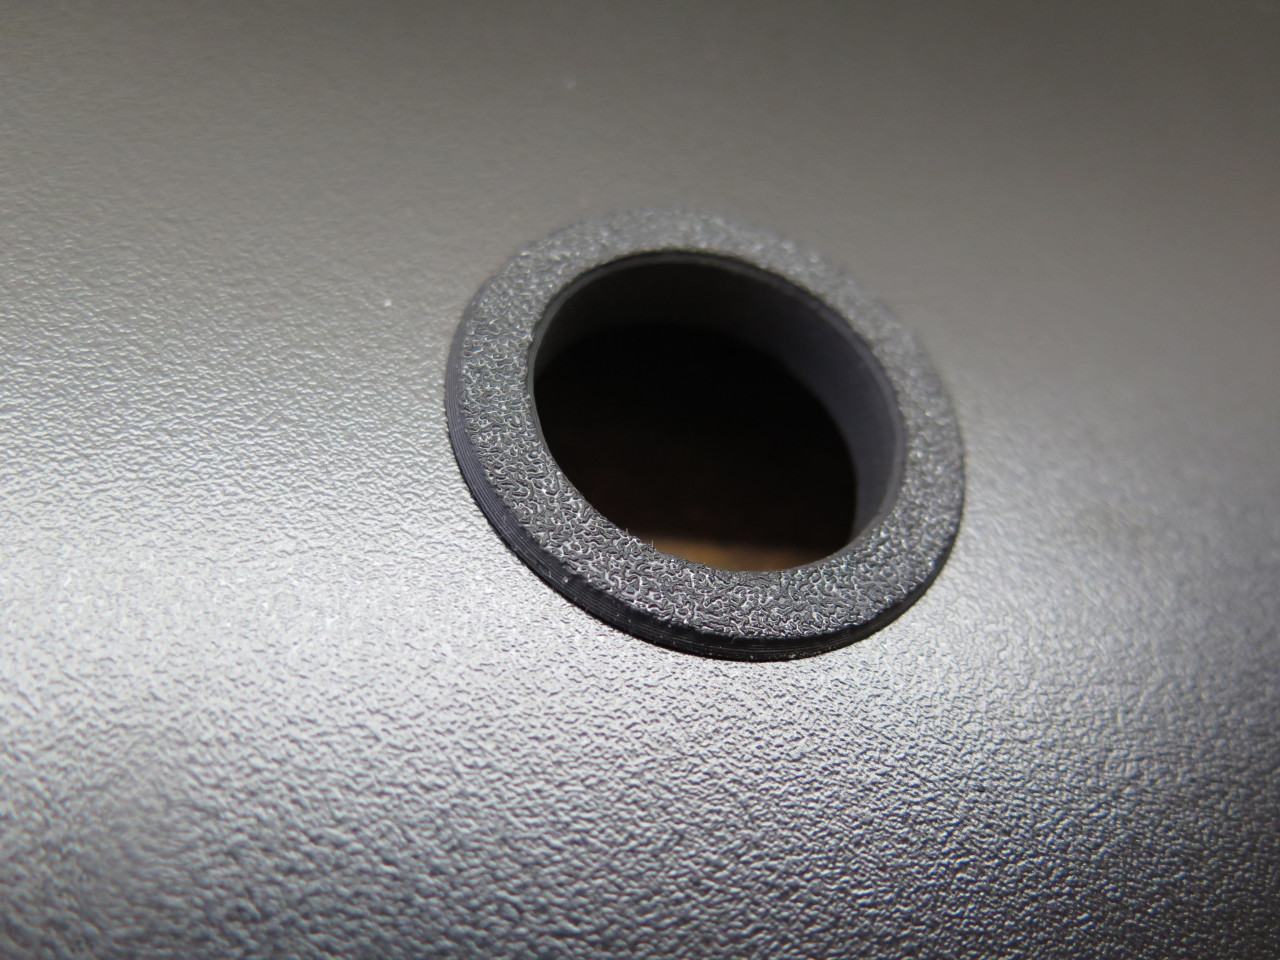
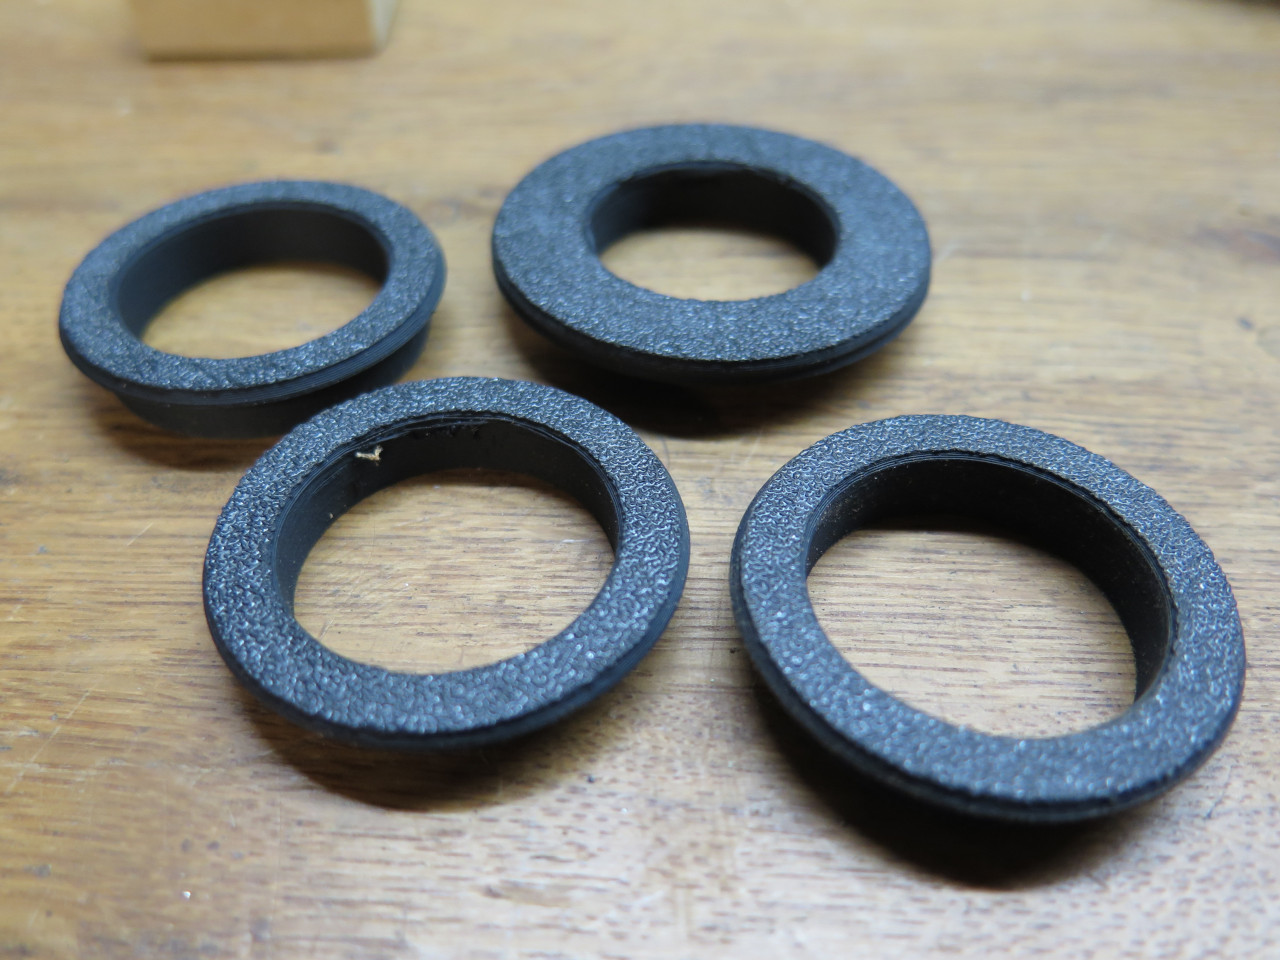
There is a finger hole in the panel to allow for removing the
panel. I thought it a nice touch to provide a little finish ring
to the hole. This one is 3D printed (after three previous
iterations that didn't look right or fit snugly).
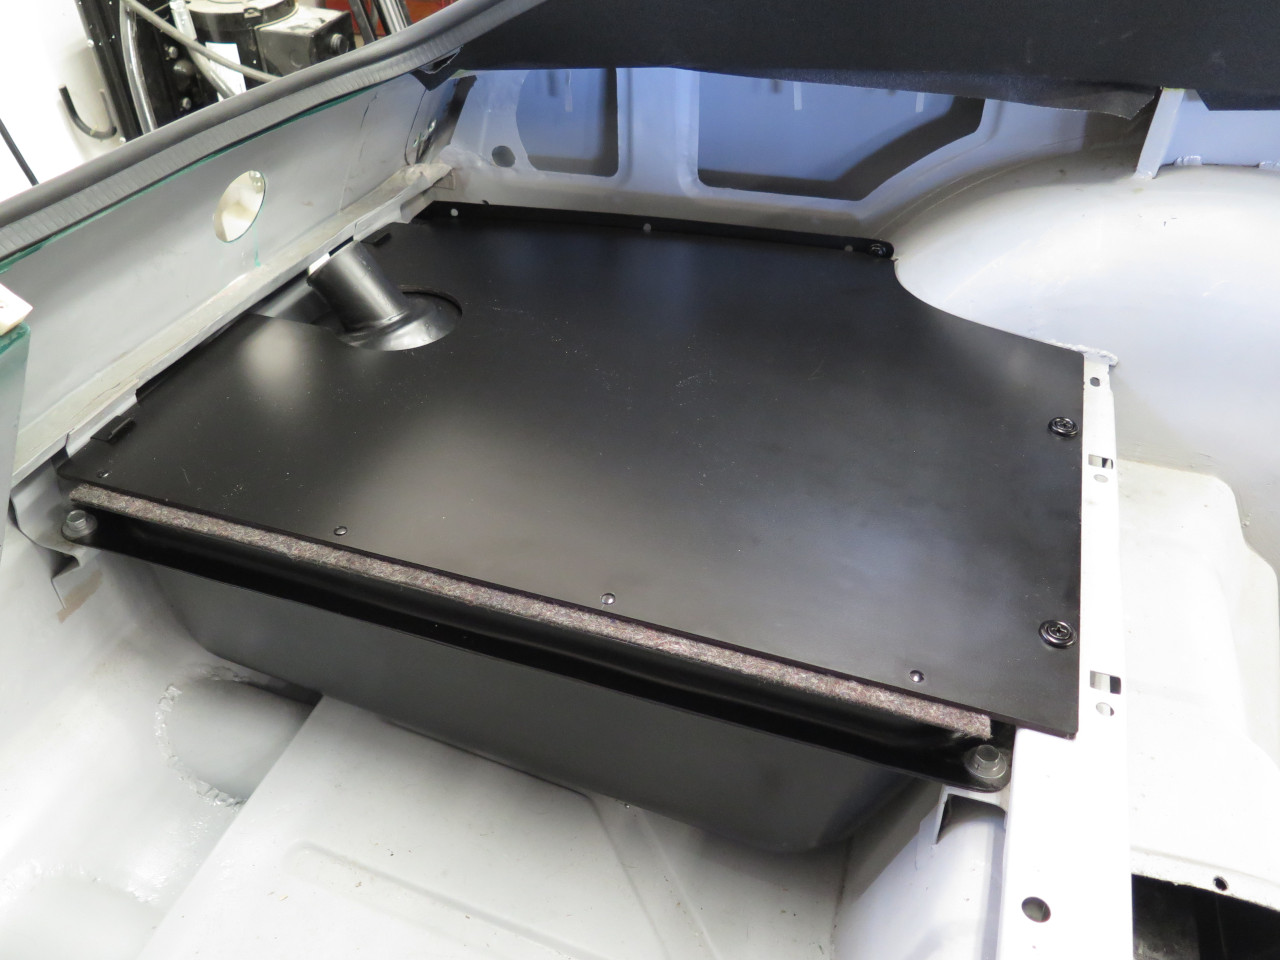
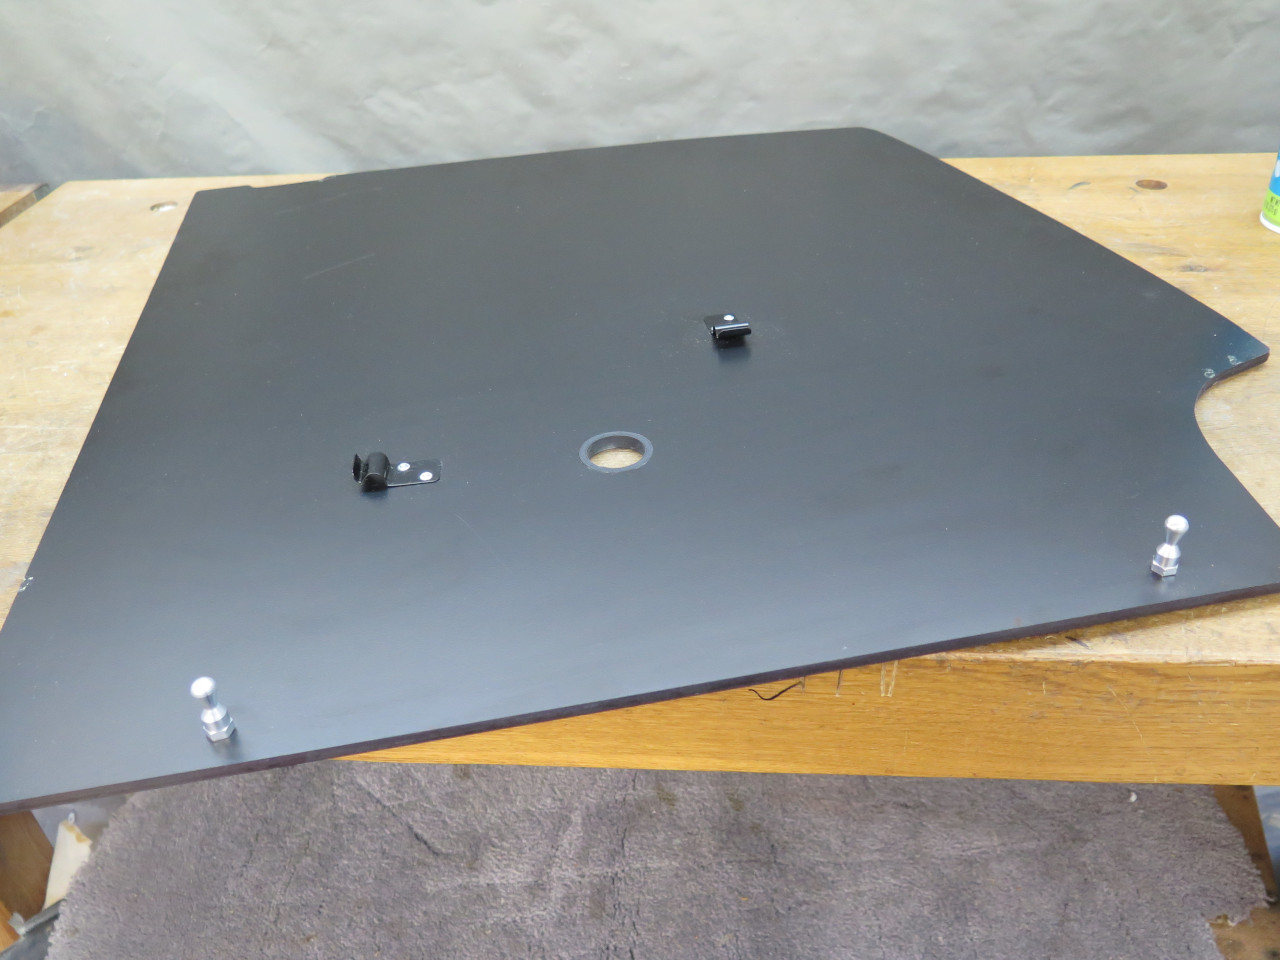
Felt around the edges to stop rattles.
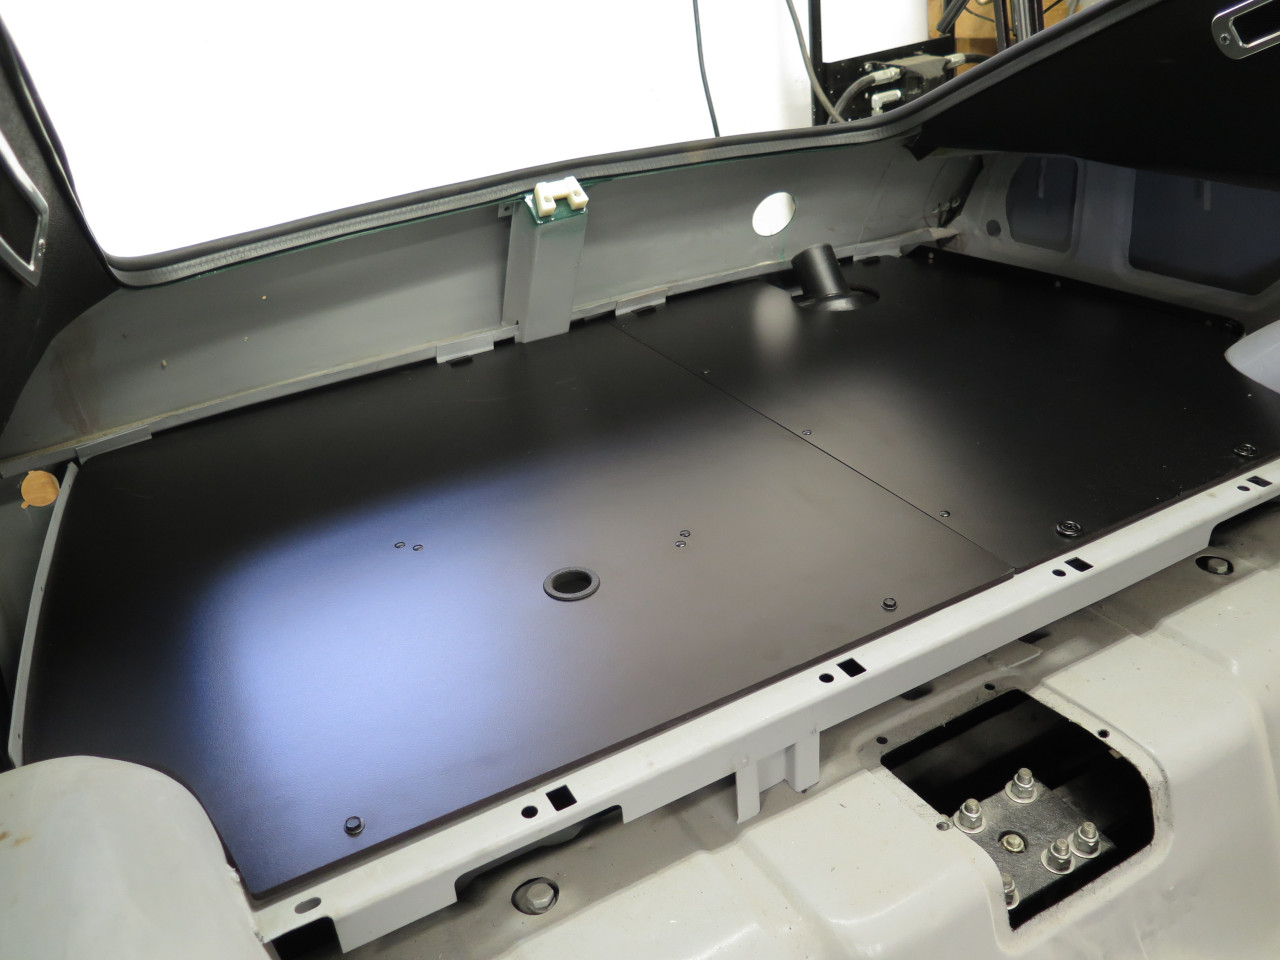
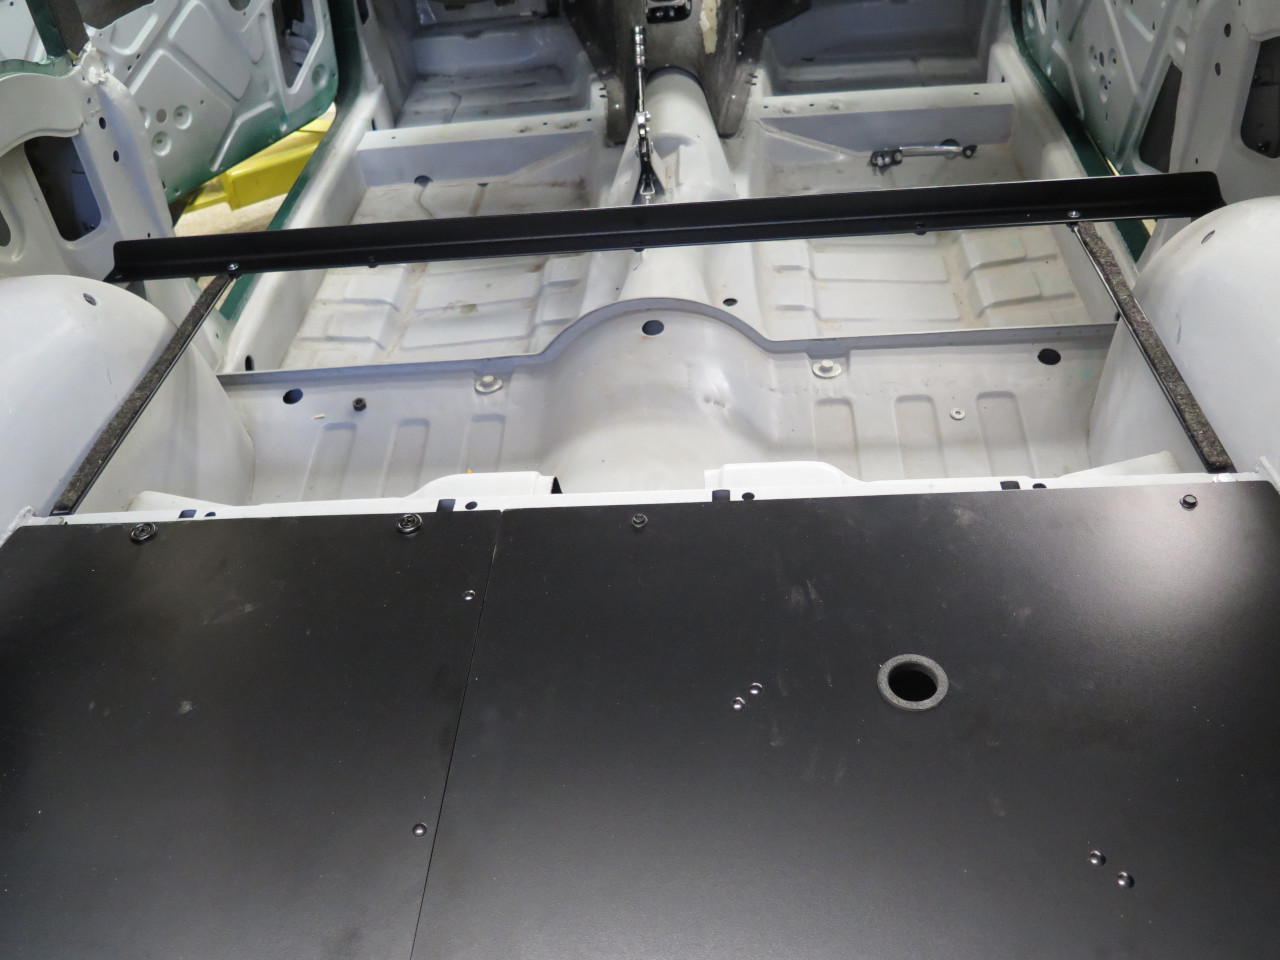
The two rear panels installed. There are some spring clips that hold the trailing edges of the panels in place.
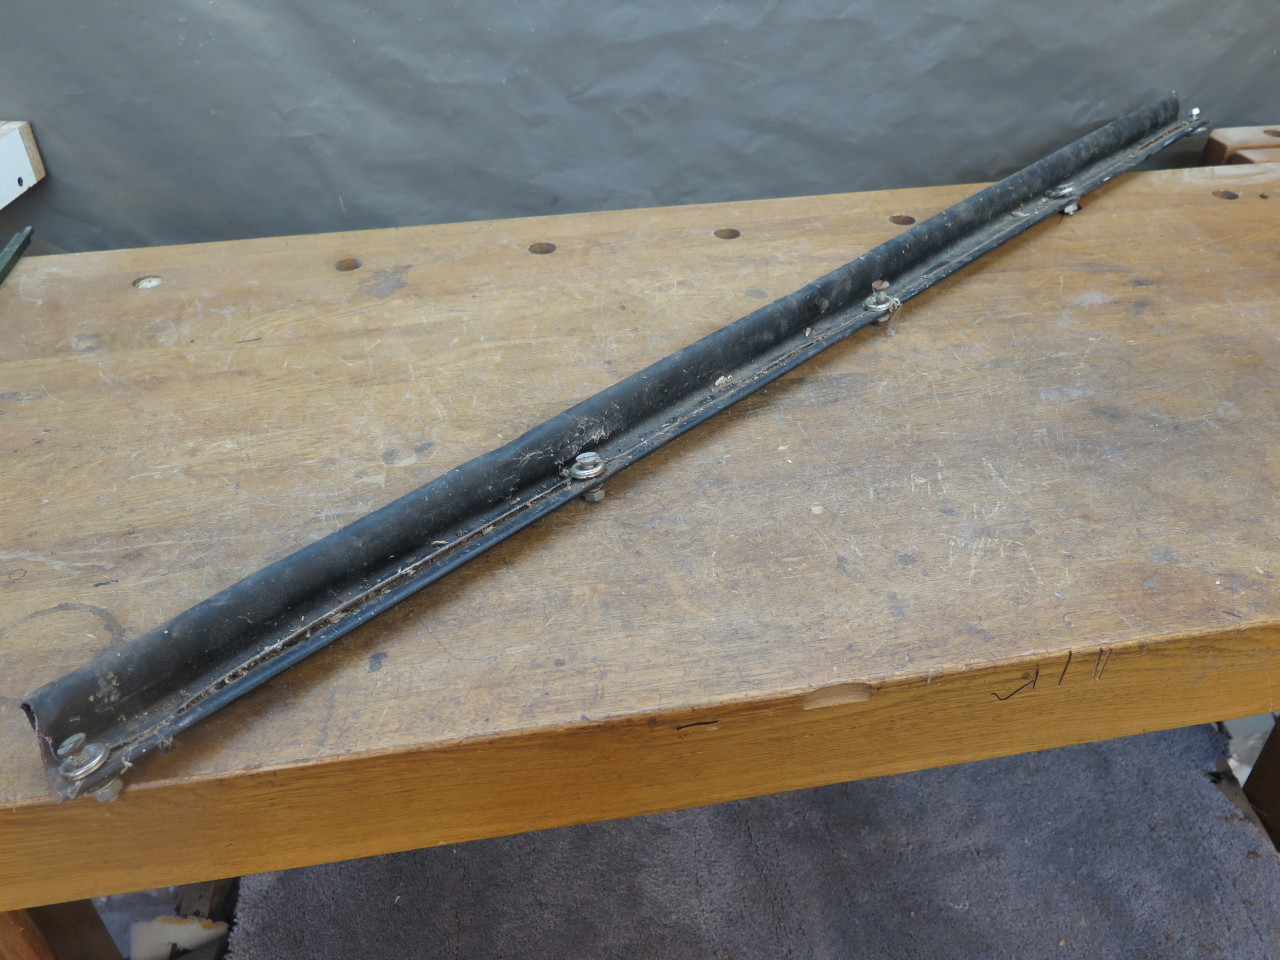
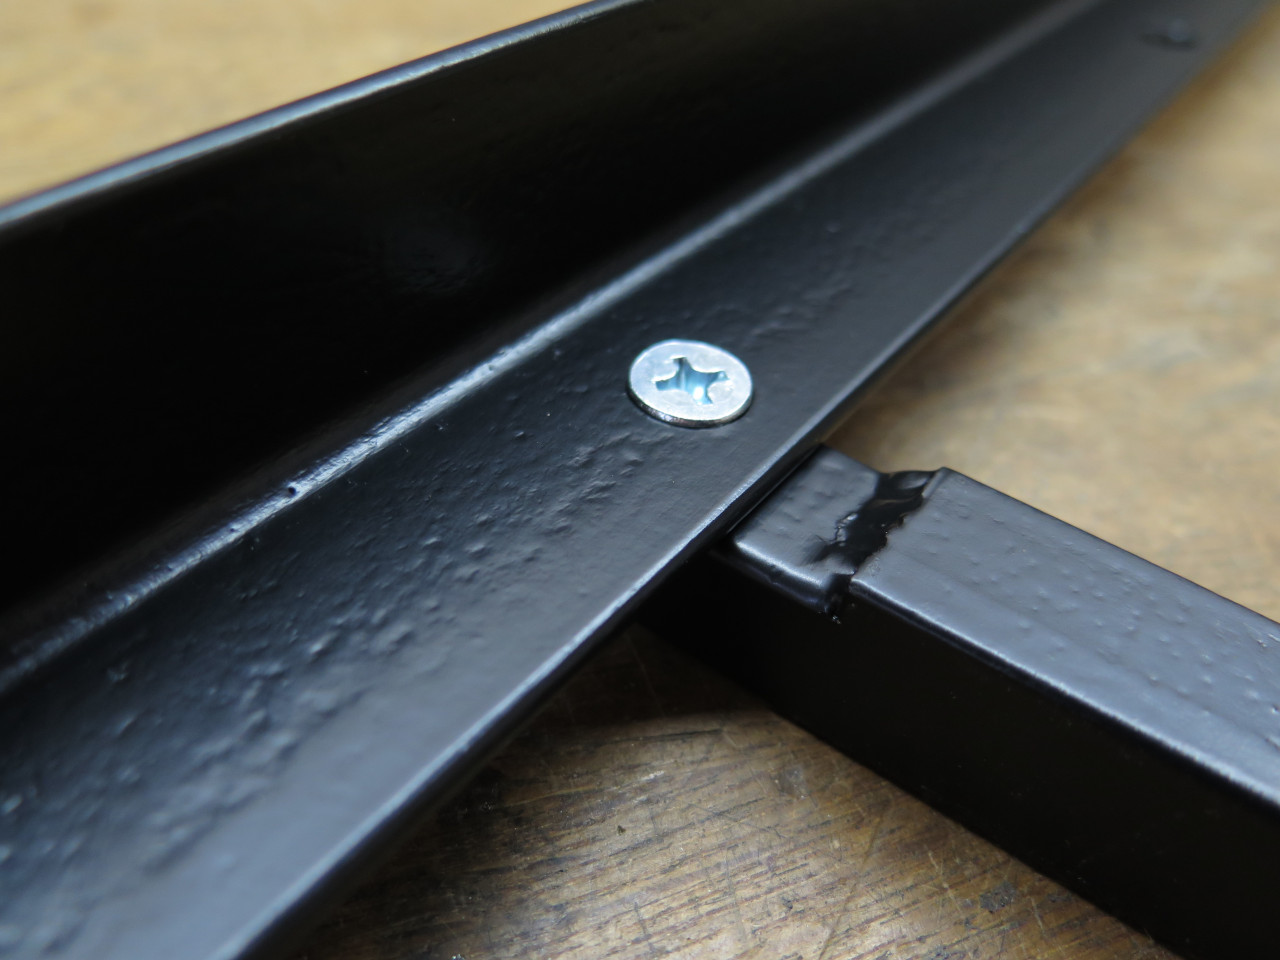
The forward edge of the front panel is supported by a removable
crossmember. This was originally just a sheet metal angle, and
when I got the car decades ago, this piece was buckled. I replaced
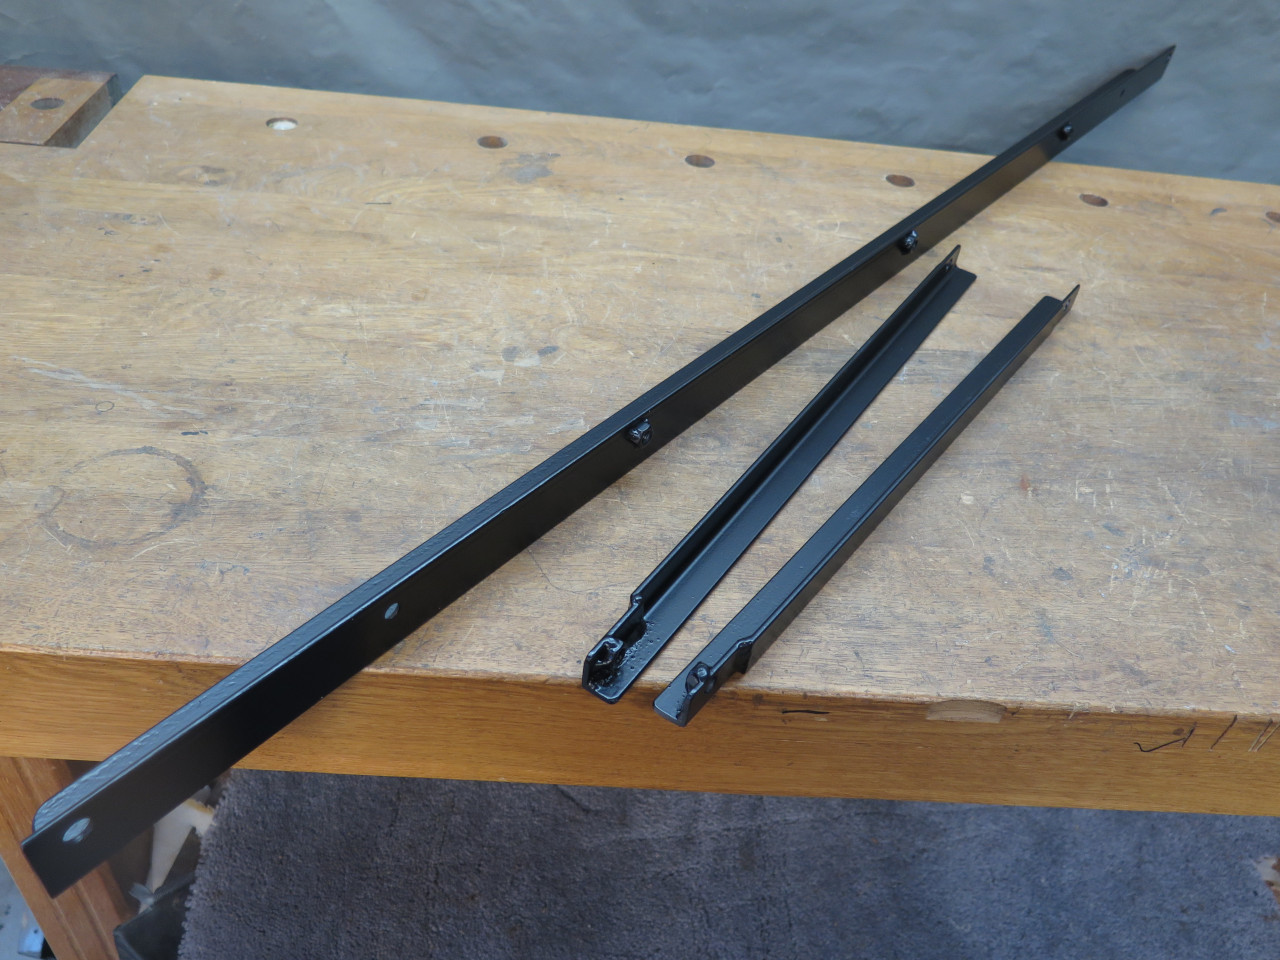
it at that time with a much beefier chunk of proper angle iron. I
believe the original angle was installed such that the vertical flange
of the angle was turned down, but I thought at the time that it would be
more useful if the vertical side were turned up to serve as a lip on
the forward edge of the floor. This might keep things from rolling
off. All of this still seemed like a good idea, so I decided to
keep it.
While I was at it, I decided to also add a couple of additional support
struts for the front panel that would bridge between the two
crossmembers.
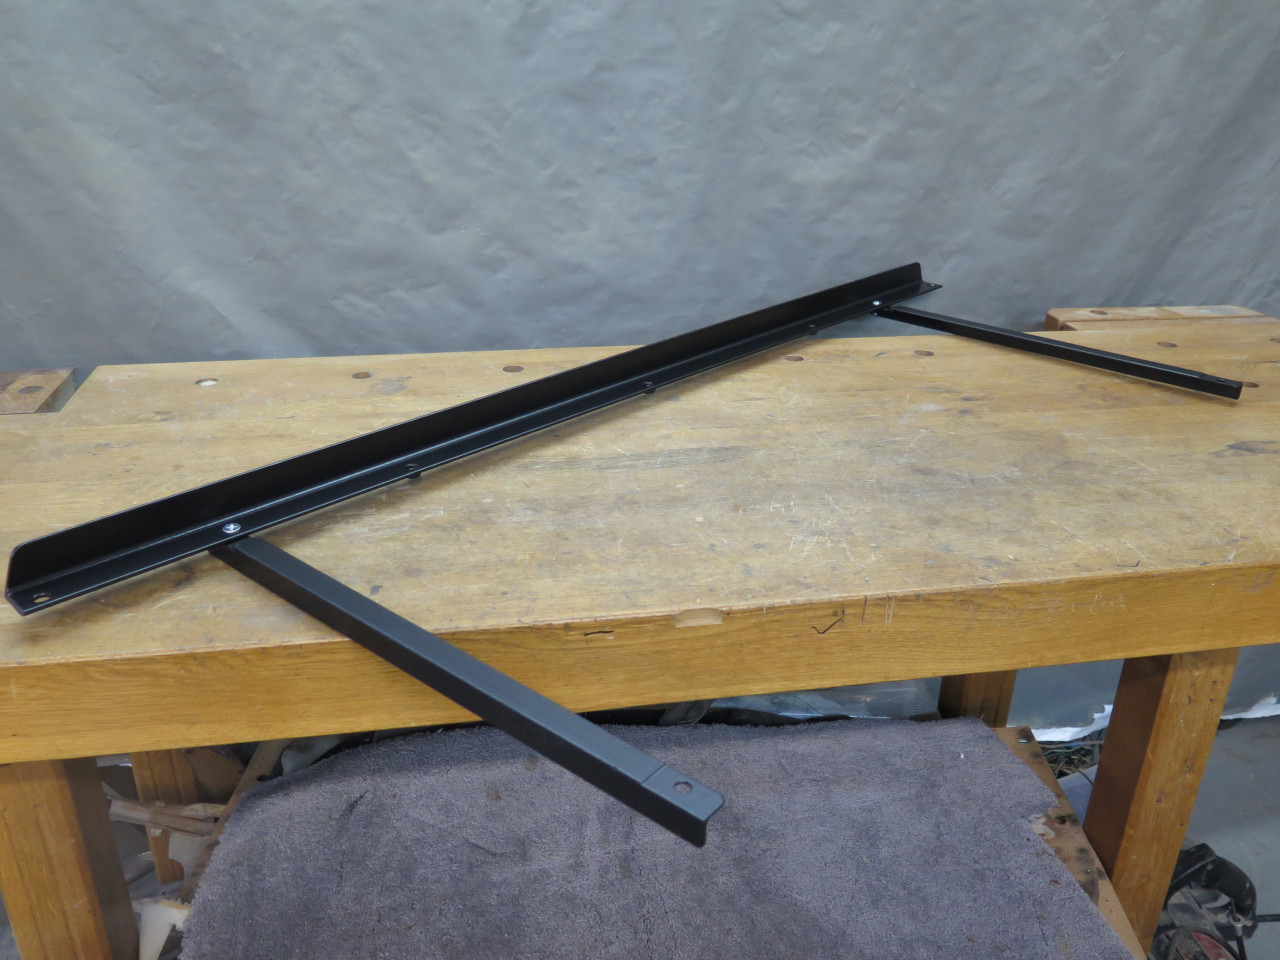
For some reason, the original front panel didn't use felt on its
supports like the other panels did. I added some anyway.
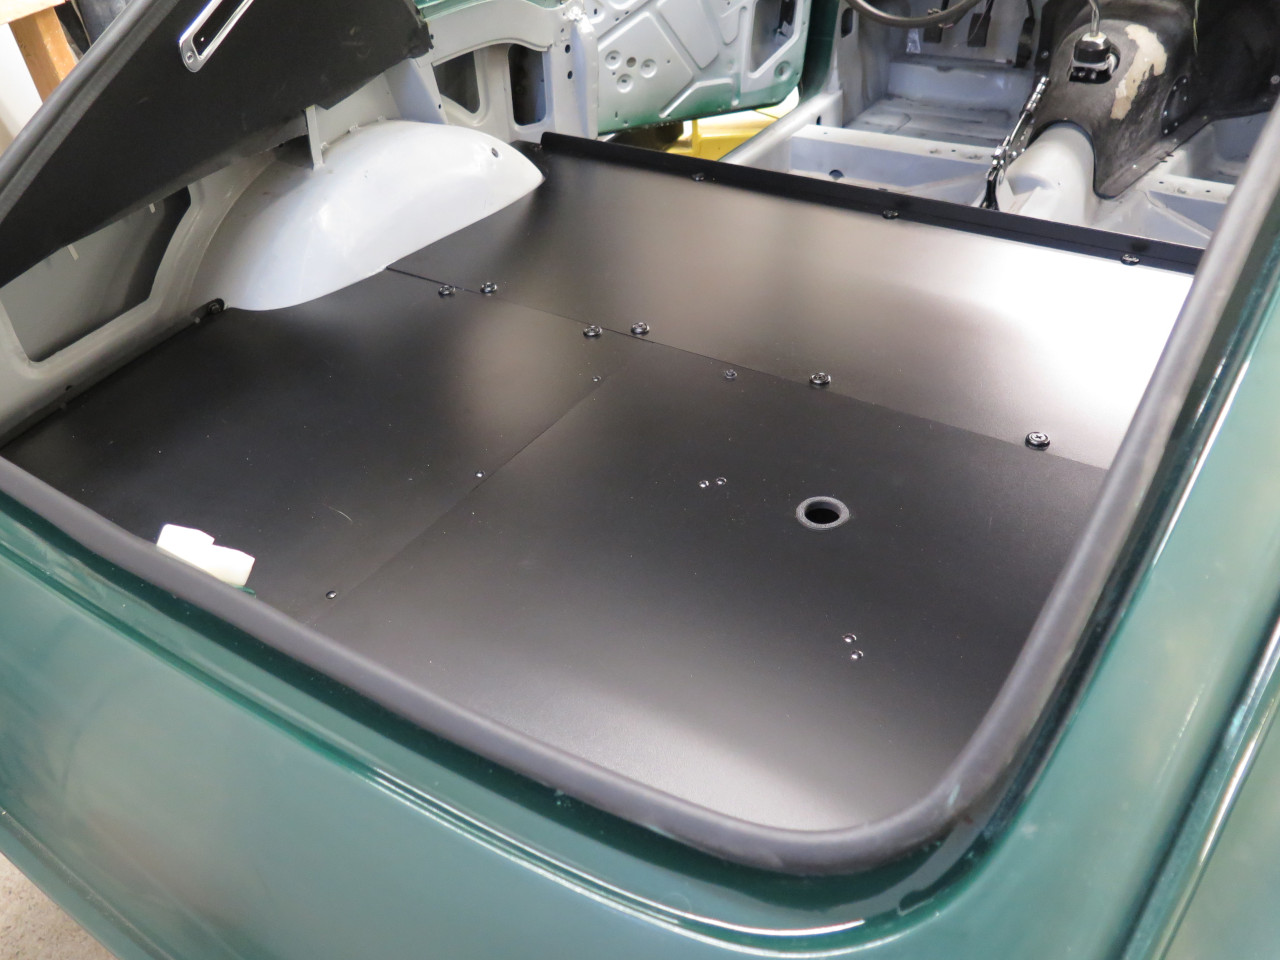
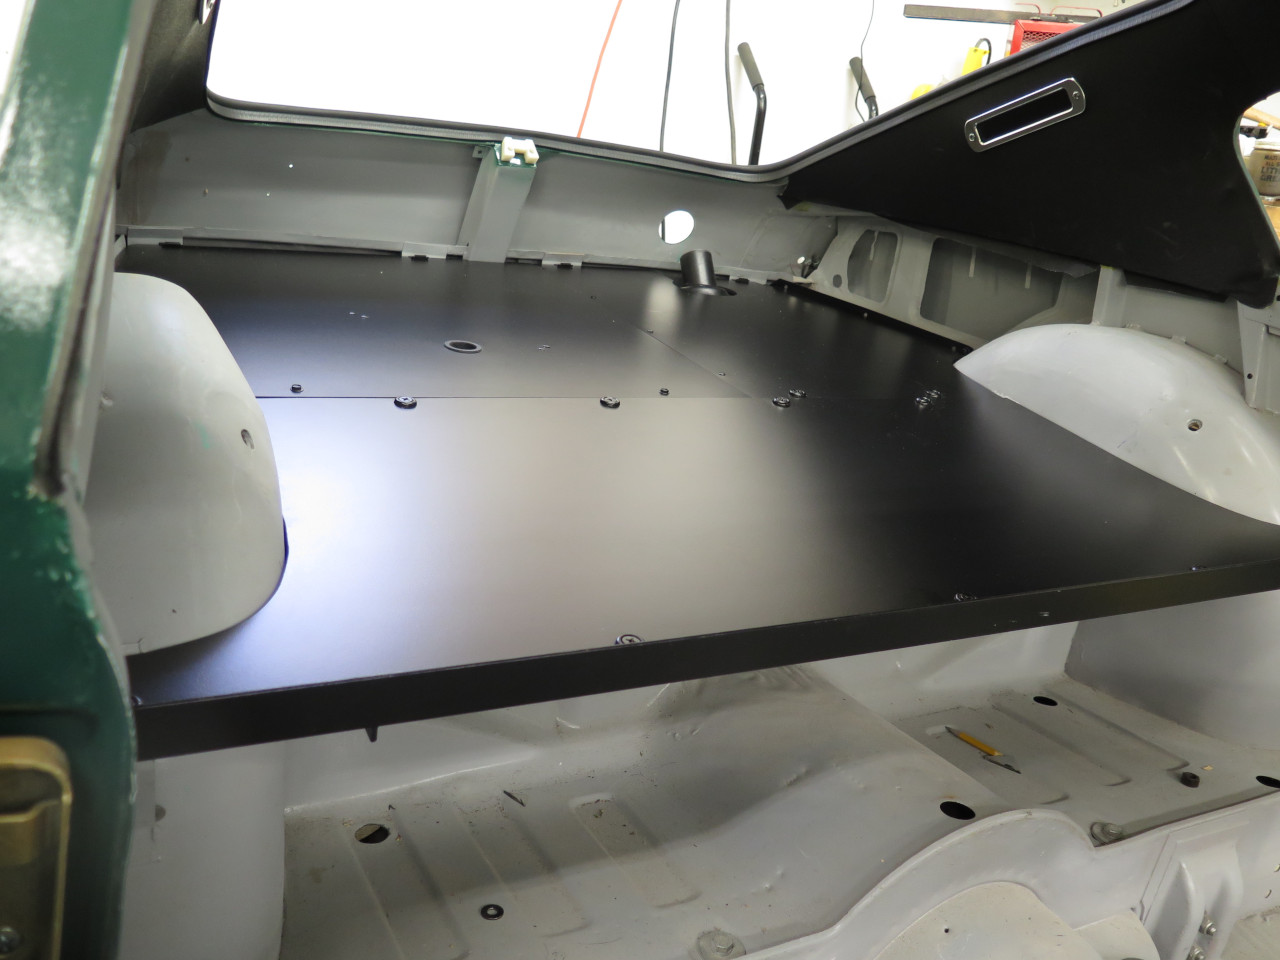
And finally took it home. The result is a deck that is much
sturdier and much more durable than the original. An "upgrade", I
guess.
This little project took a while, and these panels were a little awkward
to repeatedly install and remove, mainly because they fit so much
tighter than the originals. I like it when a project makes a
relatively large scale visible difference, though. This all has to
come out again, along with the fuel tank because I want to paint the
spare tire well BRG. Should have done this earlier.
Cost of this little passtime was around $100, mainly for the laminate and hardboard.
Comments to Ed at elhollin1@yahoo.com.
To my other GT6 pages