To my other GT6 pages
December 4, 2022
Side Mirror
The side mirror that was on this car when I bought it was a black bullet
type. It appears to be the same mirror that was on my 74 TR6, so I
assume it was common on Triumphs of the era. I've read that side
mirrors may have been dealer installed items, but I don't know if the
factory supplied them, or if the dealer sourced them locally. At
any rate, I believe this mirror to be original to the car.
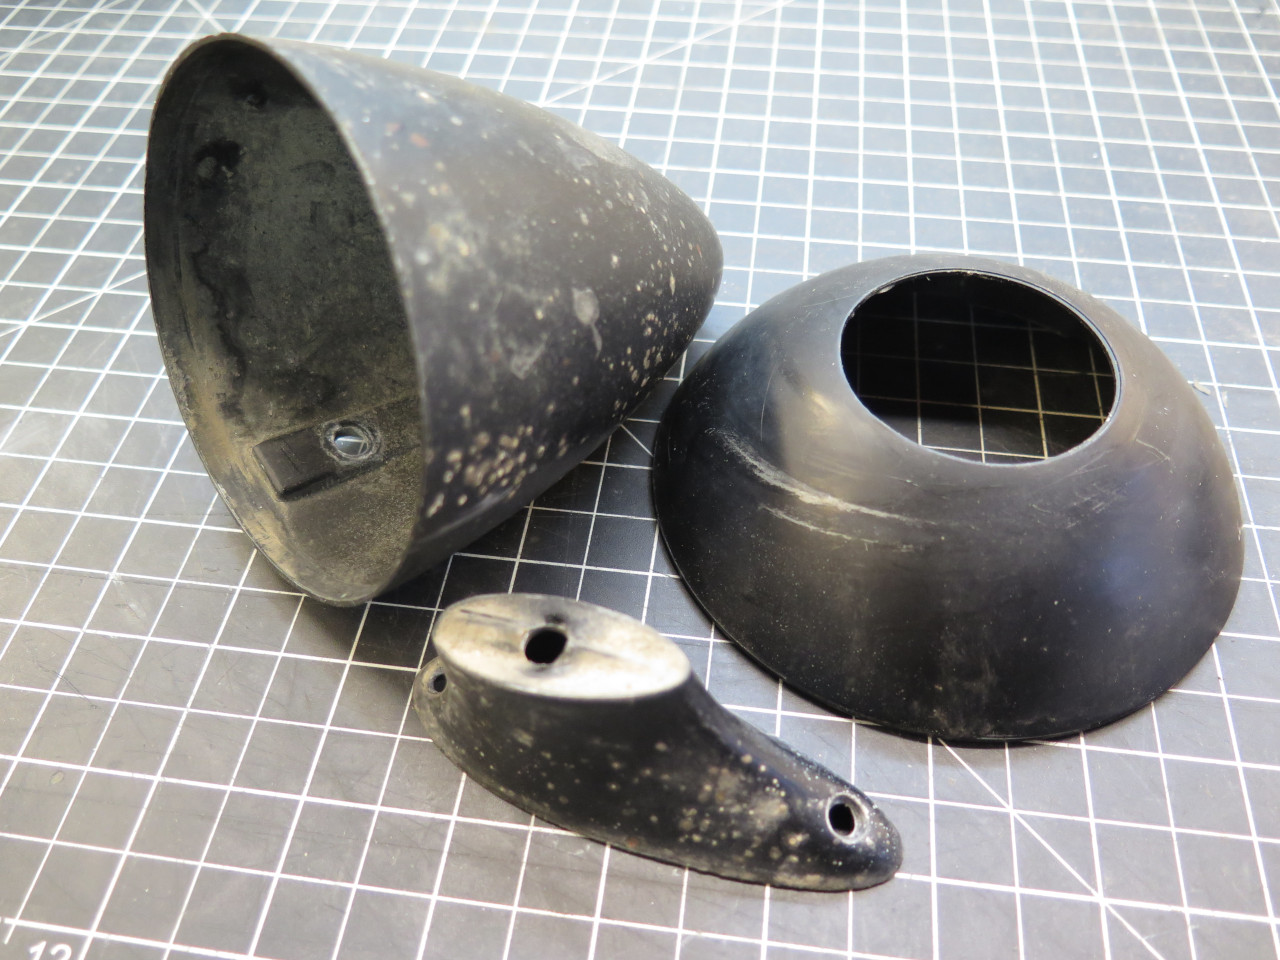
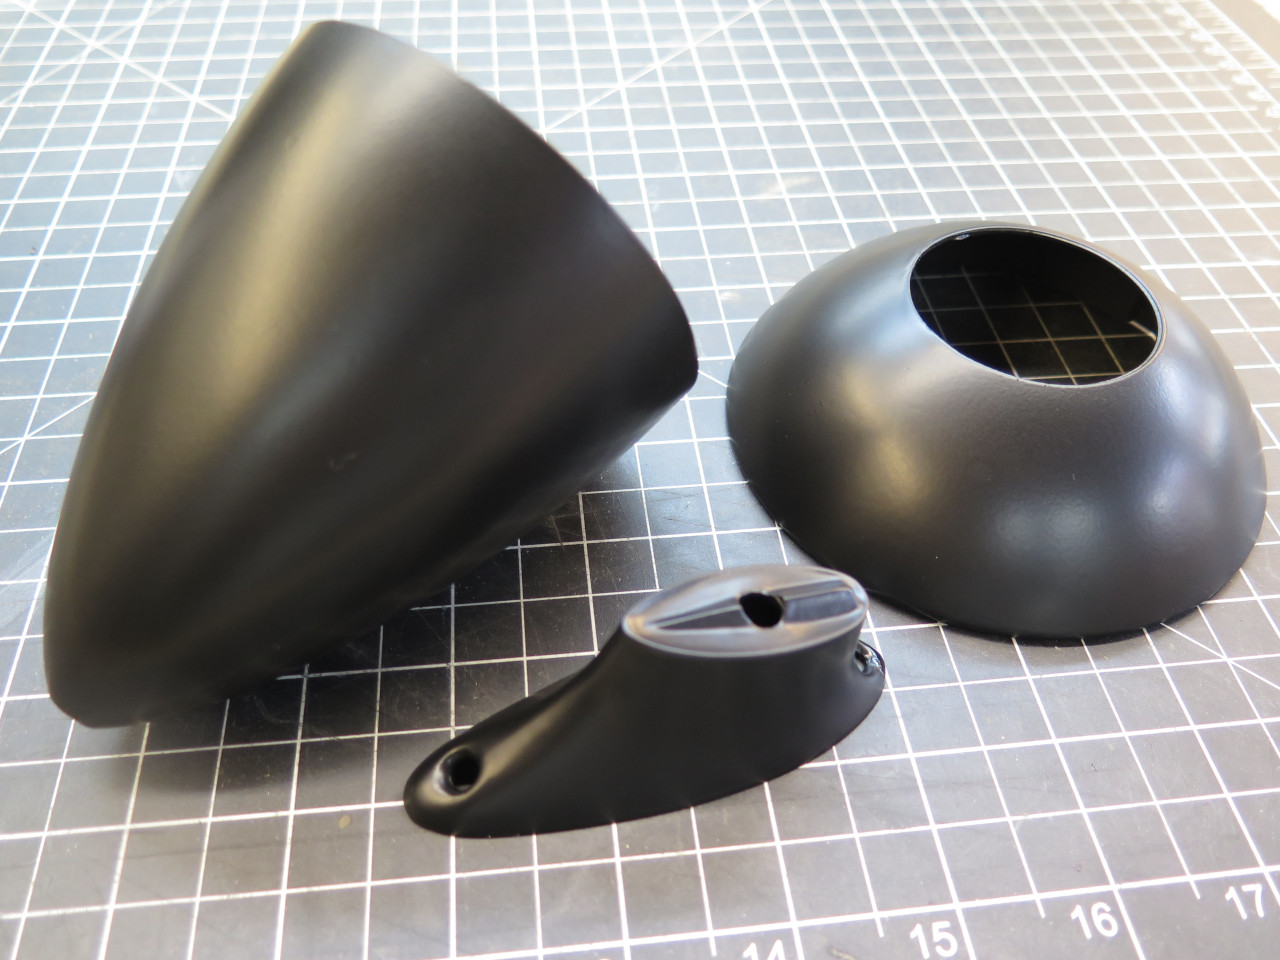
It was cosmetically in pretty bad shape. The actual mirror
glass was missing.
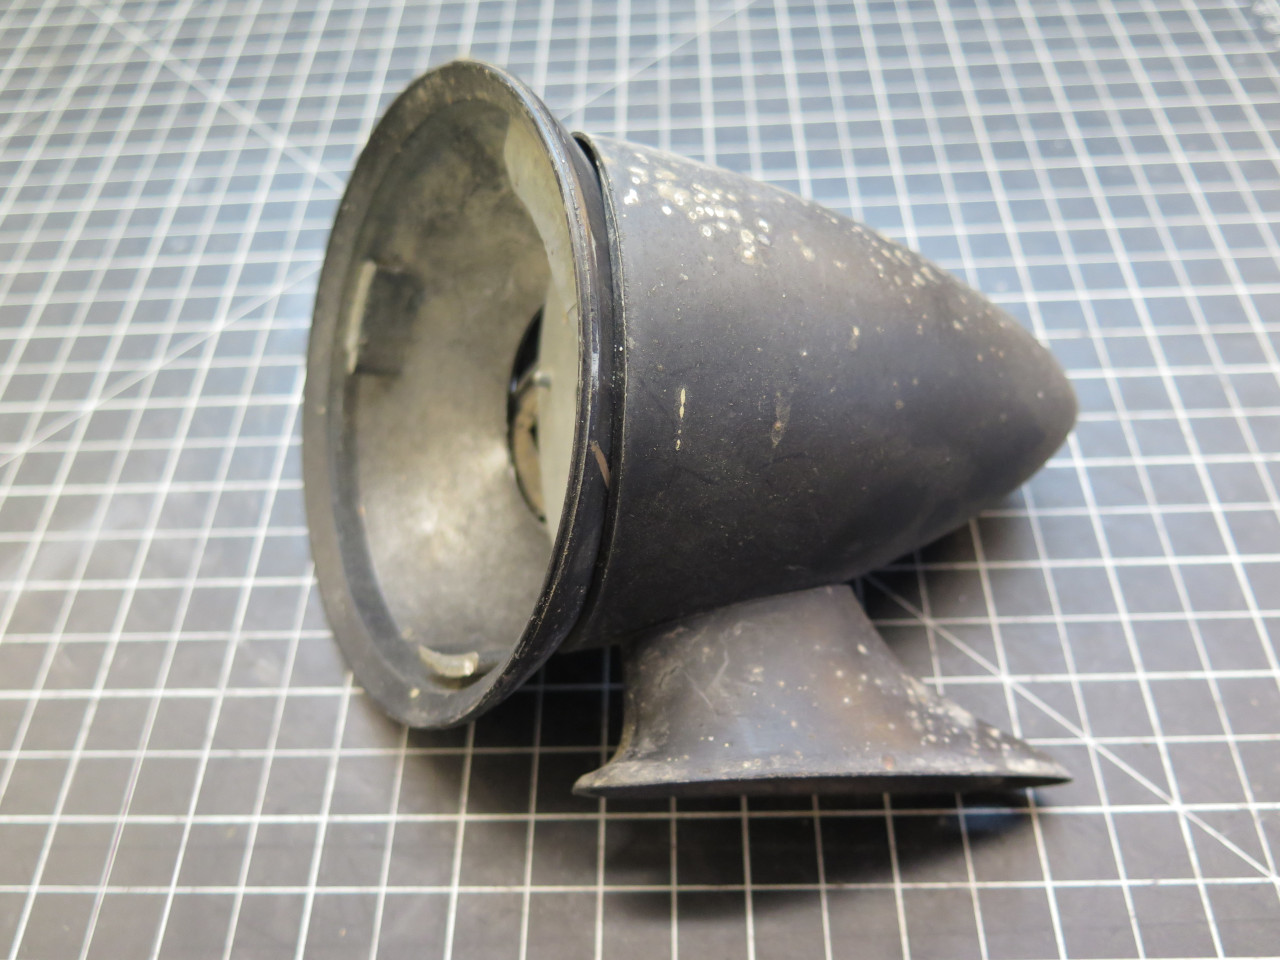
It appeared to be salvageable though, so I disassembled it.
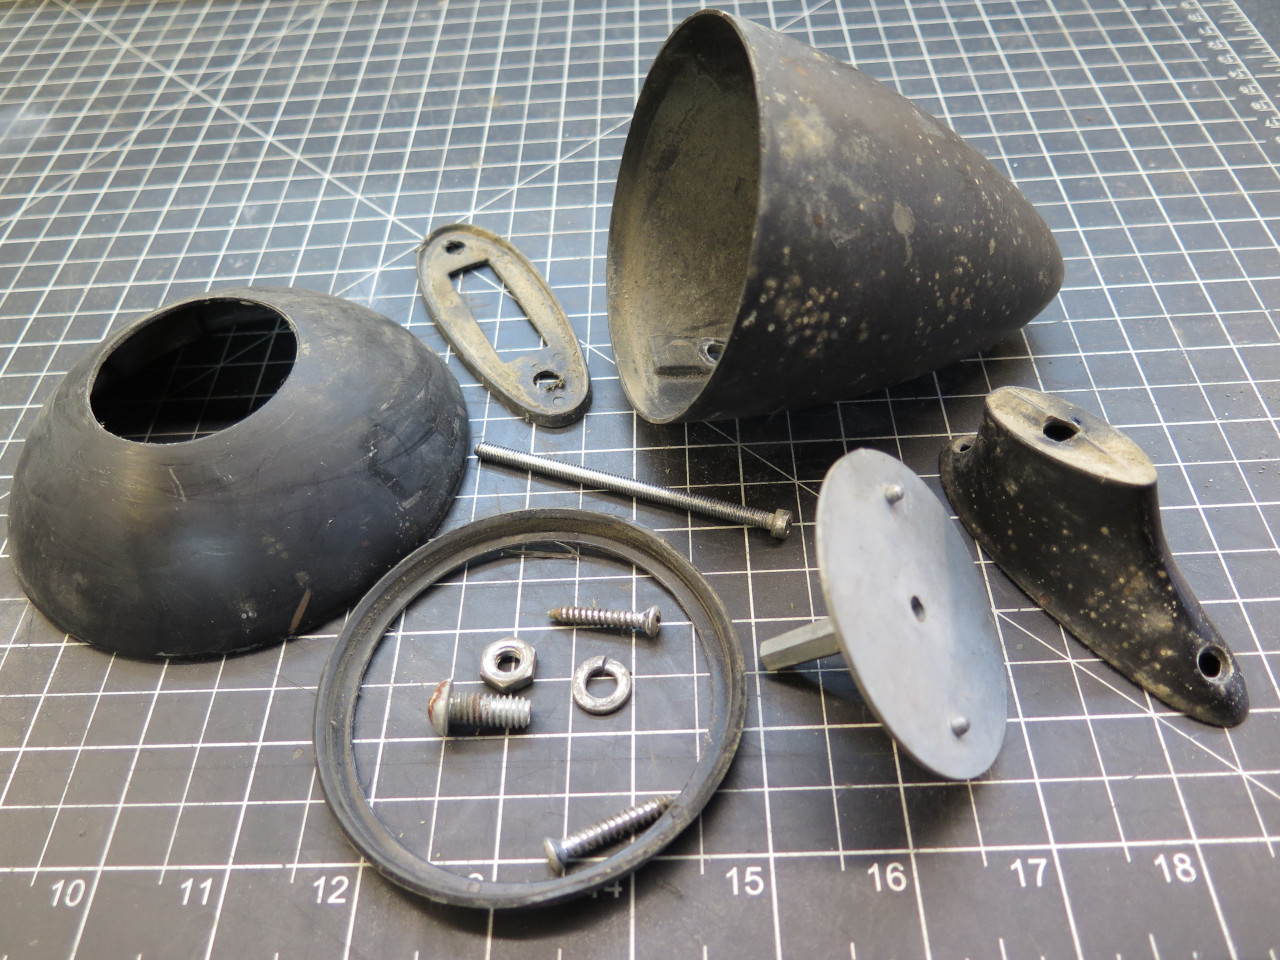
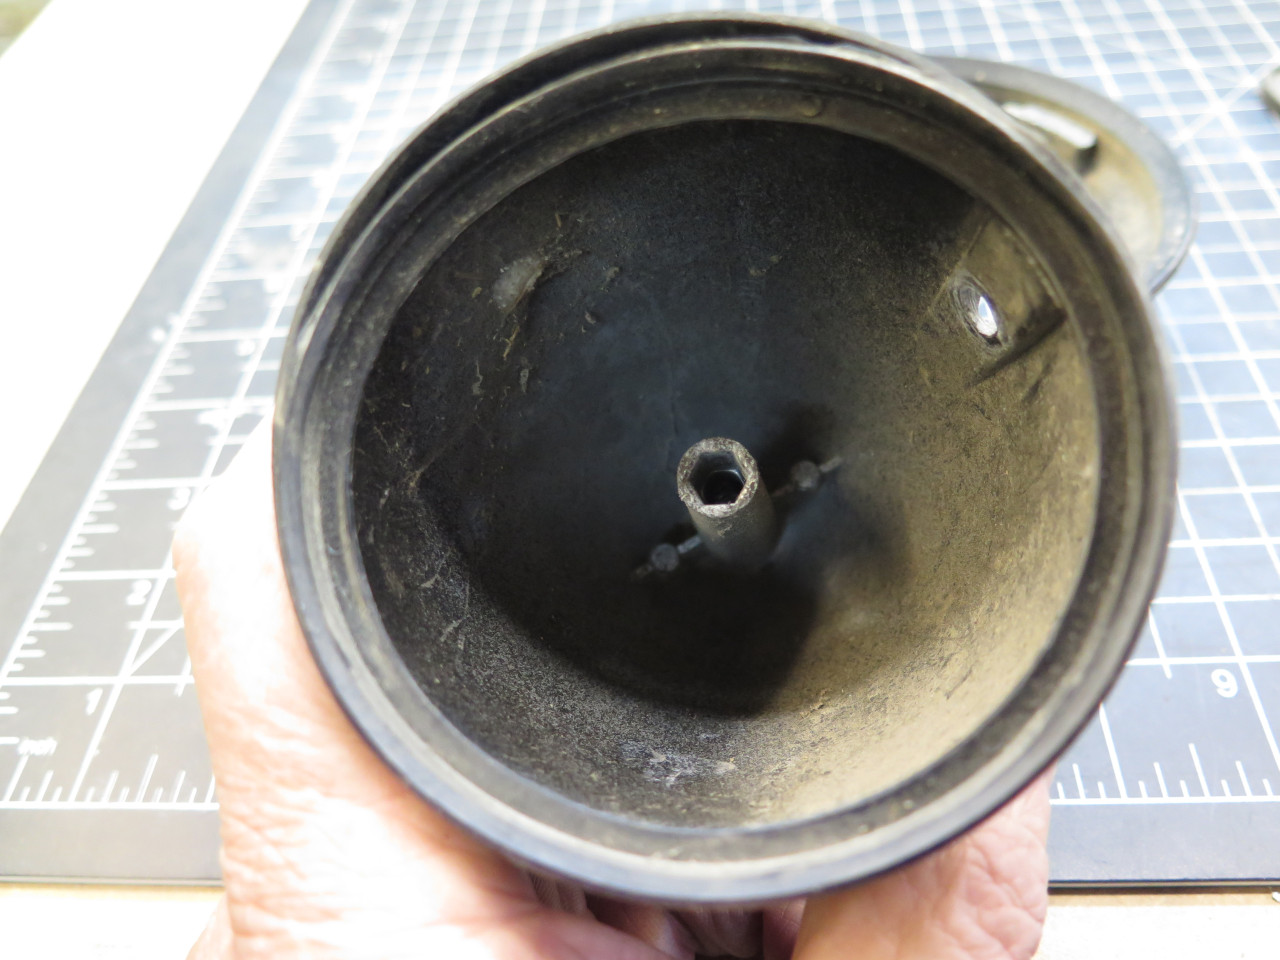
The die-cast mirror holder is tensioned against the main body with that
disc and long bolt. Everything looked pretty OK, except for the
shaped plastic ring that goes between the body and the moveable mirror
holder. It's job is to provide a resilient seat for the mirror
holder so that it can be tightened down enough to keep it in position,
but still allow adjustment without damaging the paint. The problem
was that it had apparently shrunk, and no longer fit properly on the
rim of the body casting.
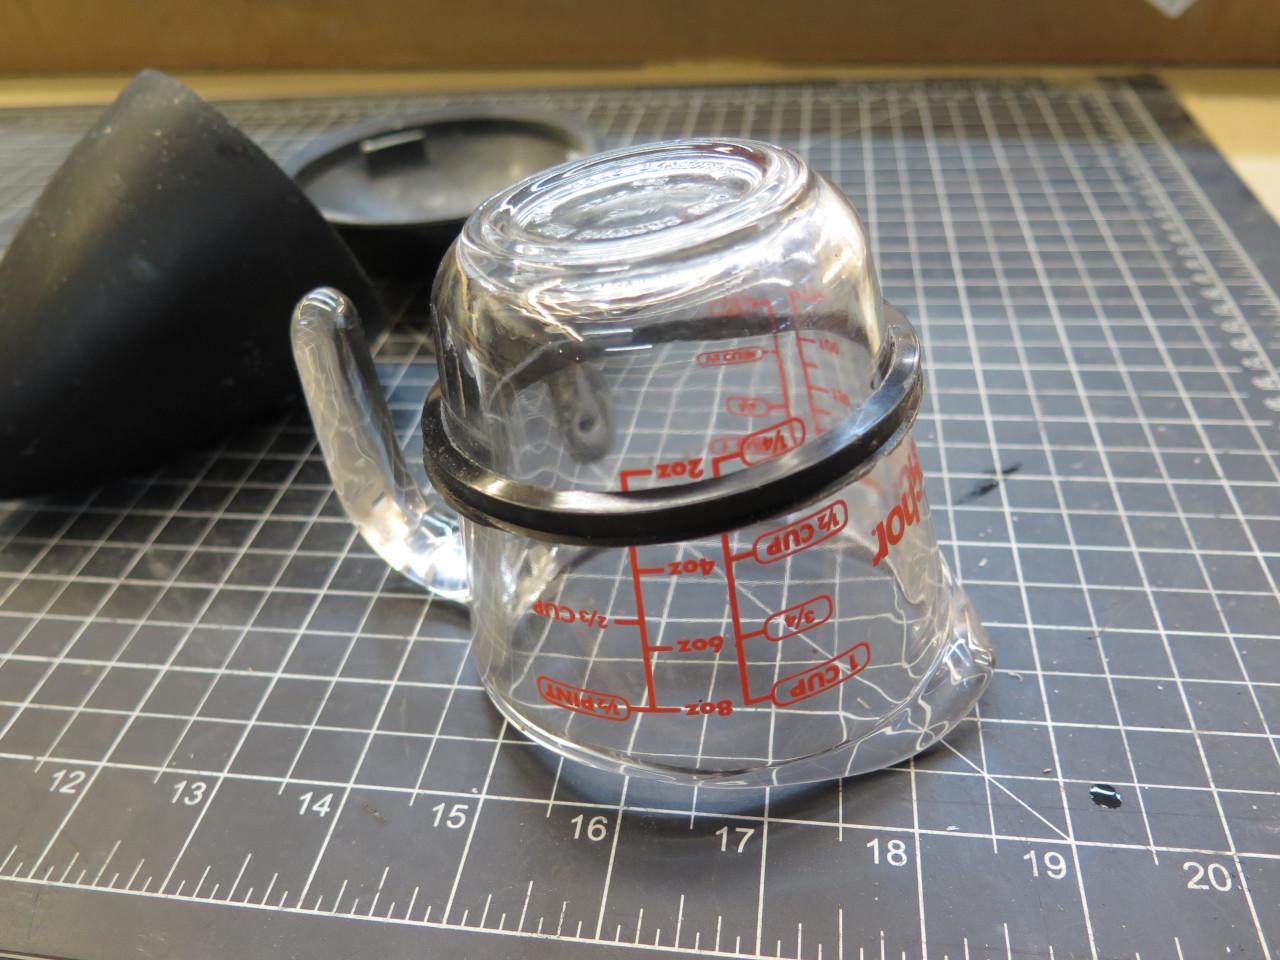
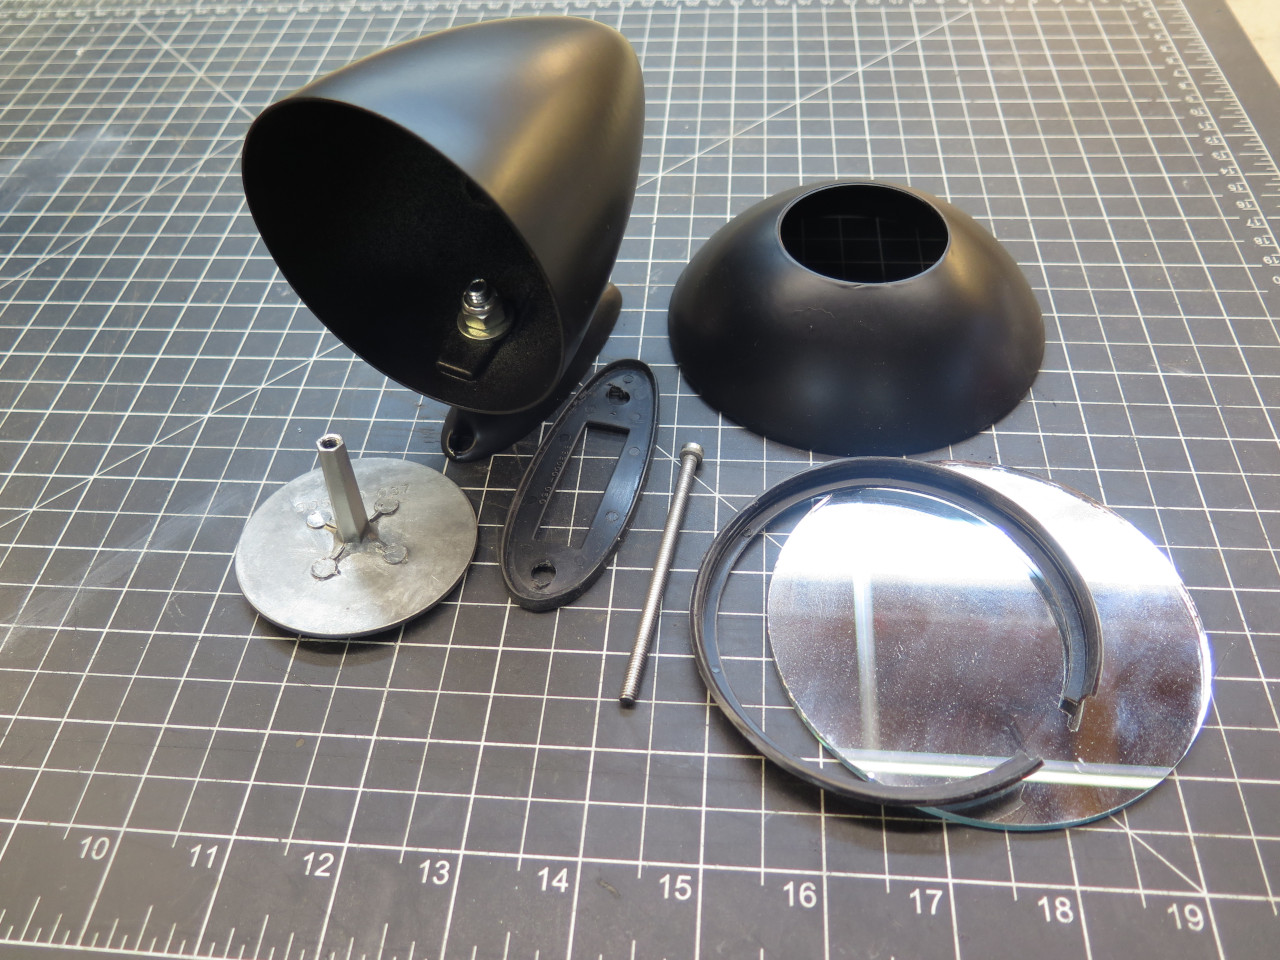
I tried several things to try to re-size the seat. What worked the best was to heat it, and stretch it over a form.
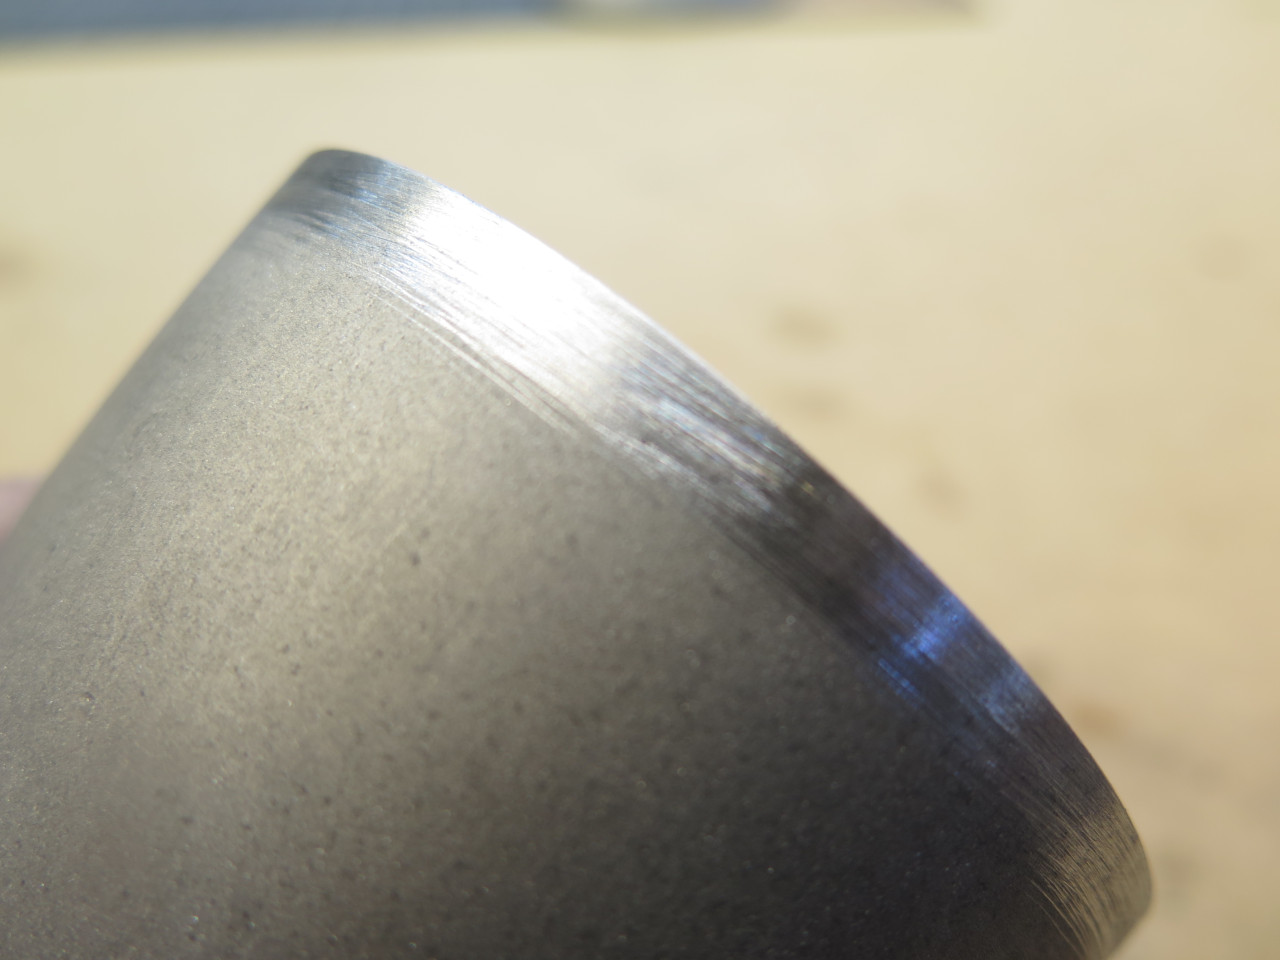
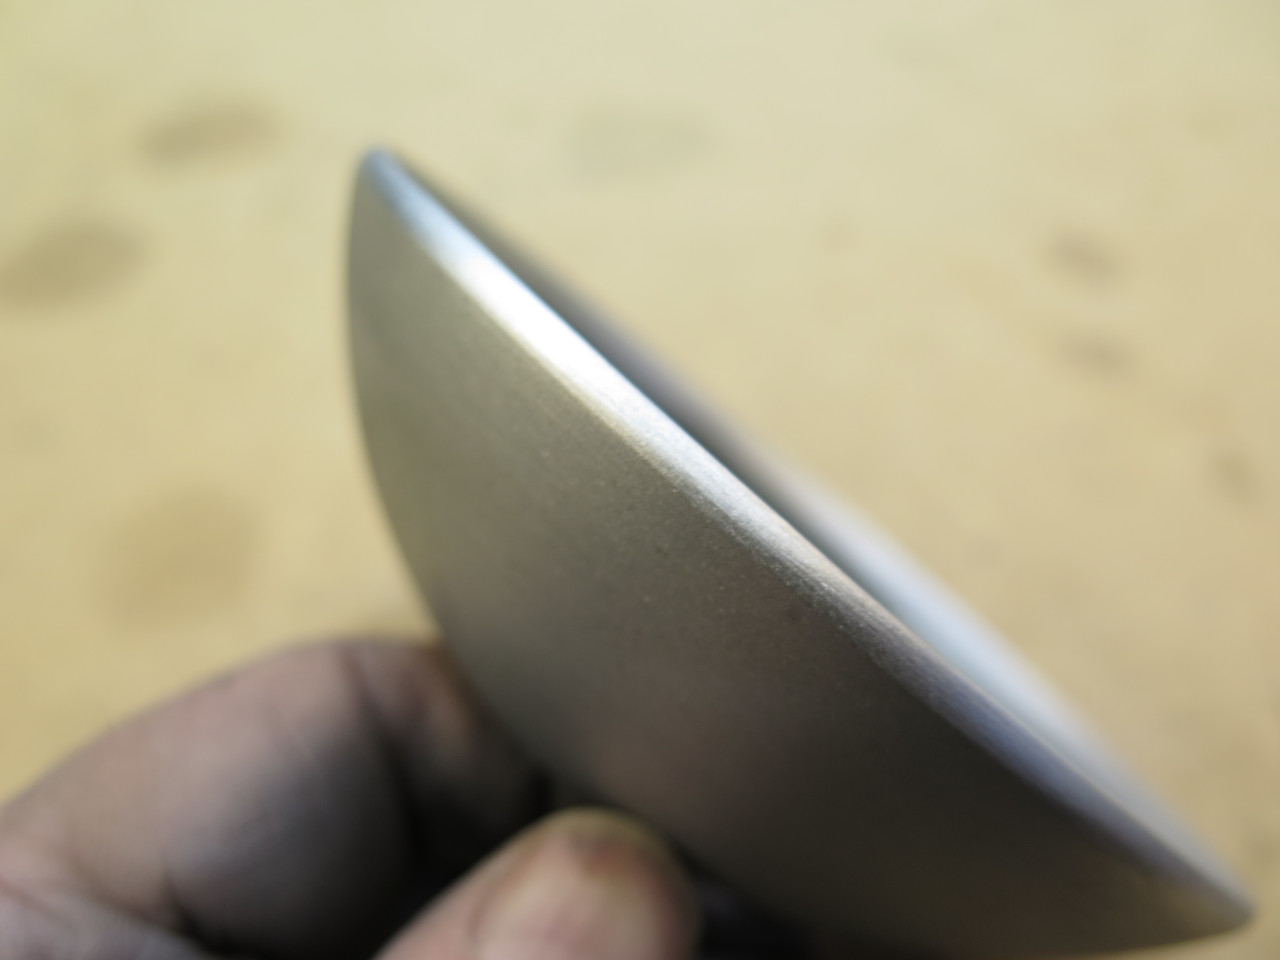
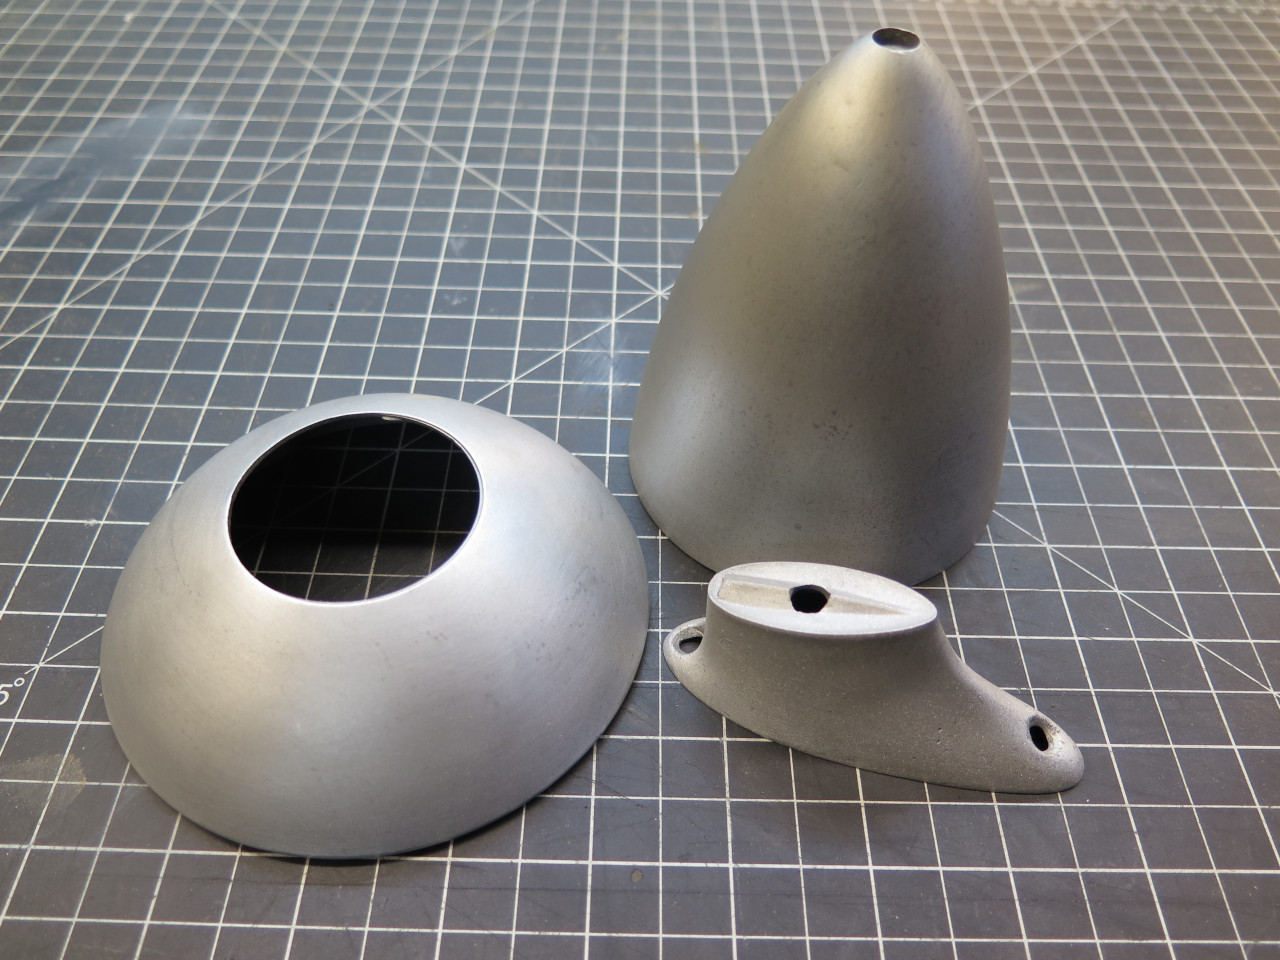
While the seal was cooling, I turned to the three die cast parts. A light blast made them look a lot more respectable.
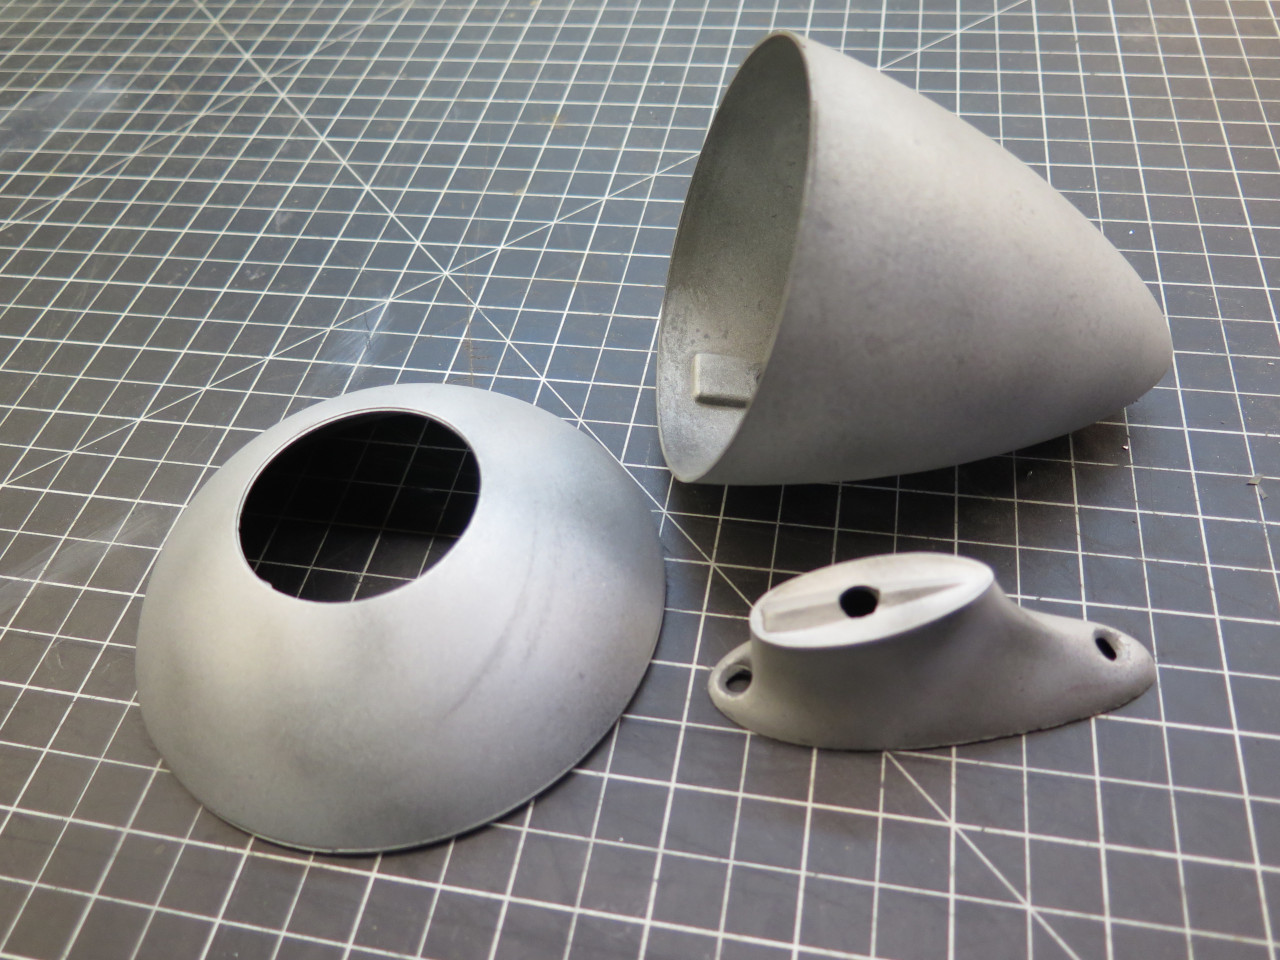
As is typical with relatively cheap die cast parts, there were casting defects on the edges.
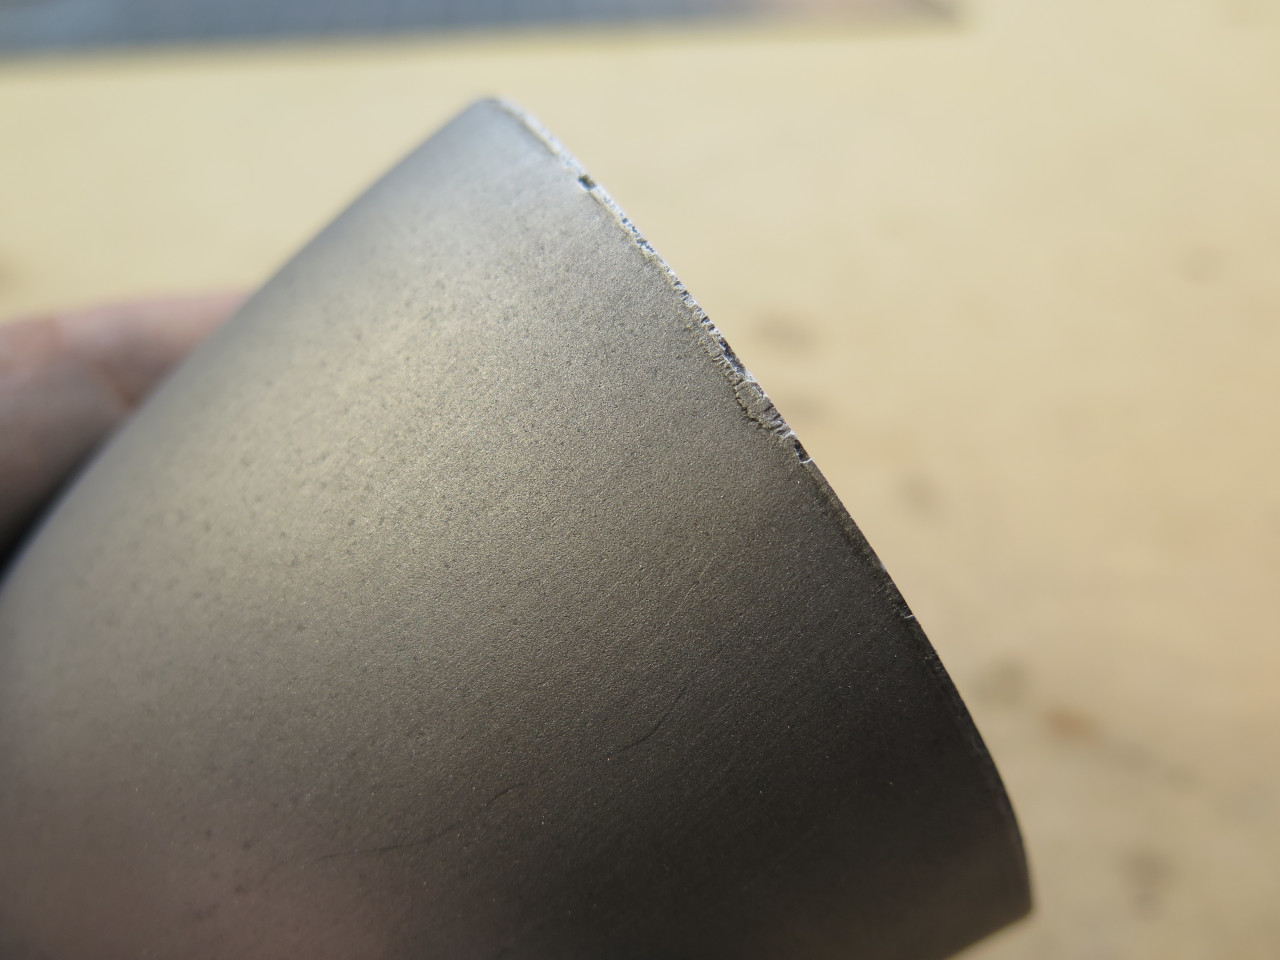
These don't really hamper function much, but what better time to clean them up, just on principle?
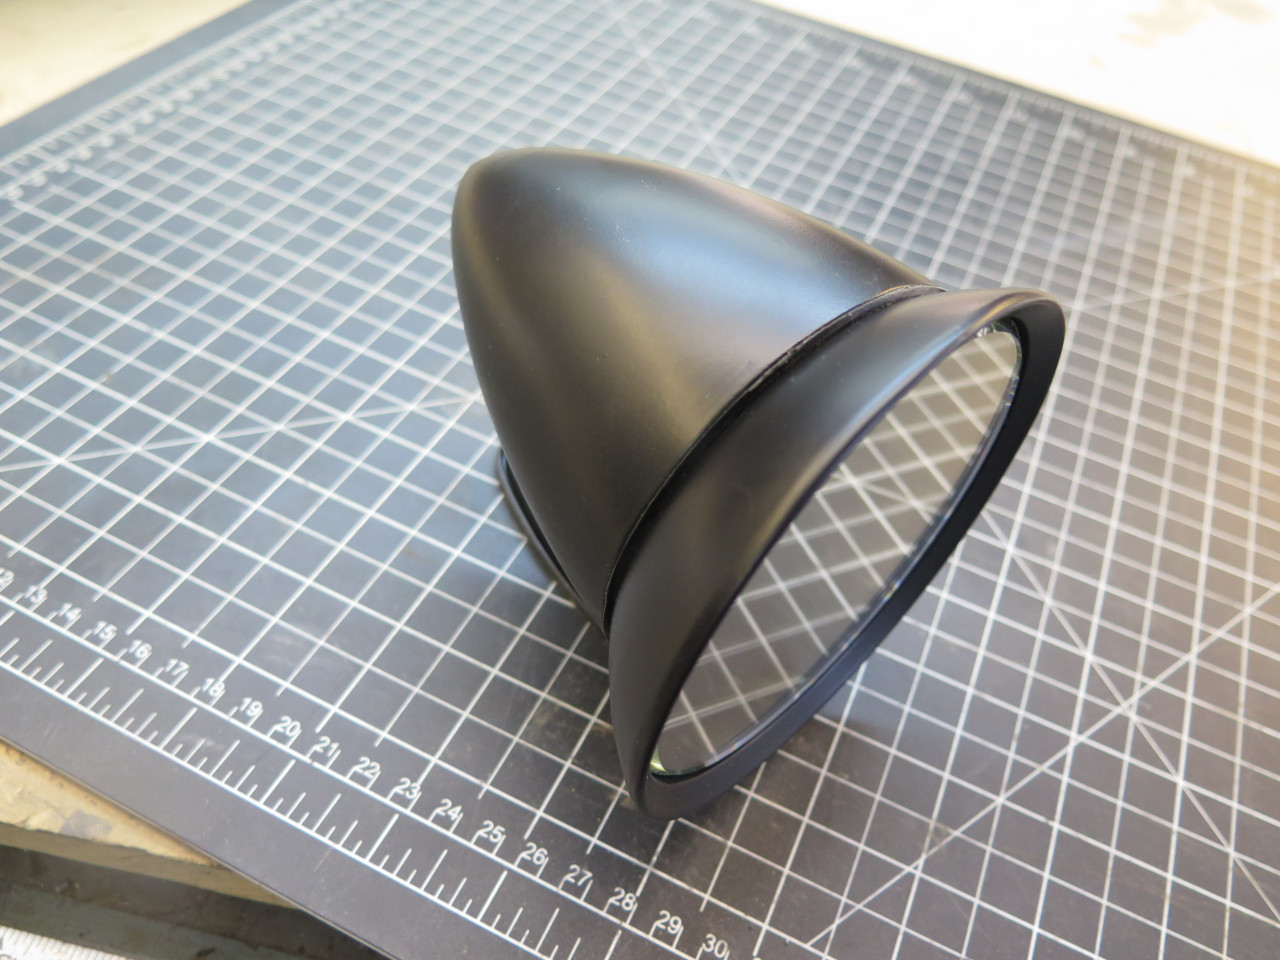
A re-blast to even up the surfaces, and a nice coat of two part epoxy primer, followed by a tasteful satin topcoat.
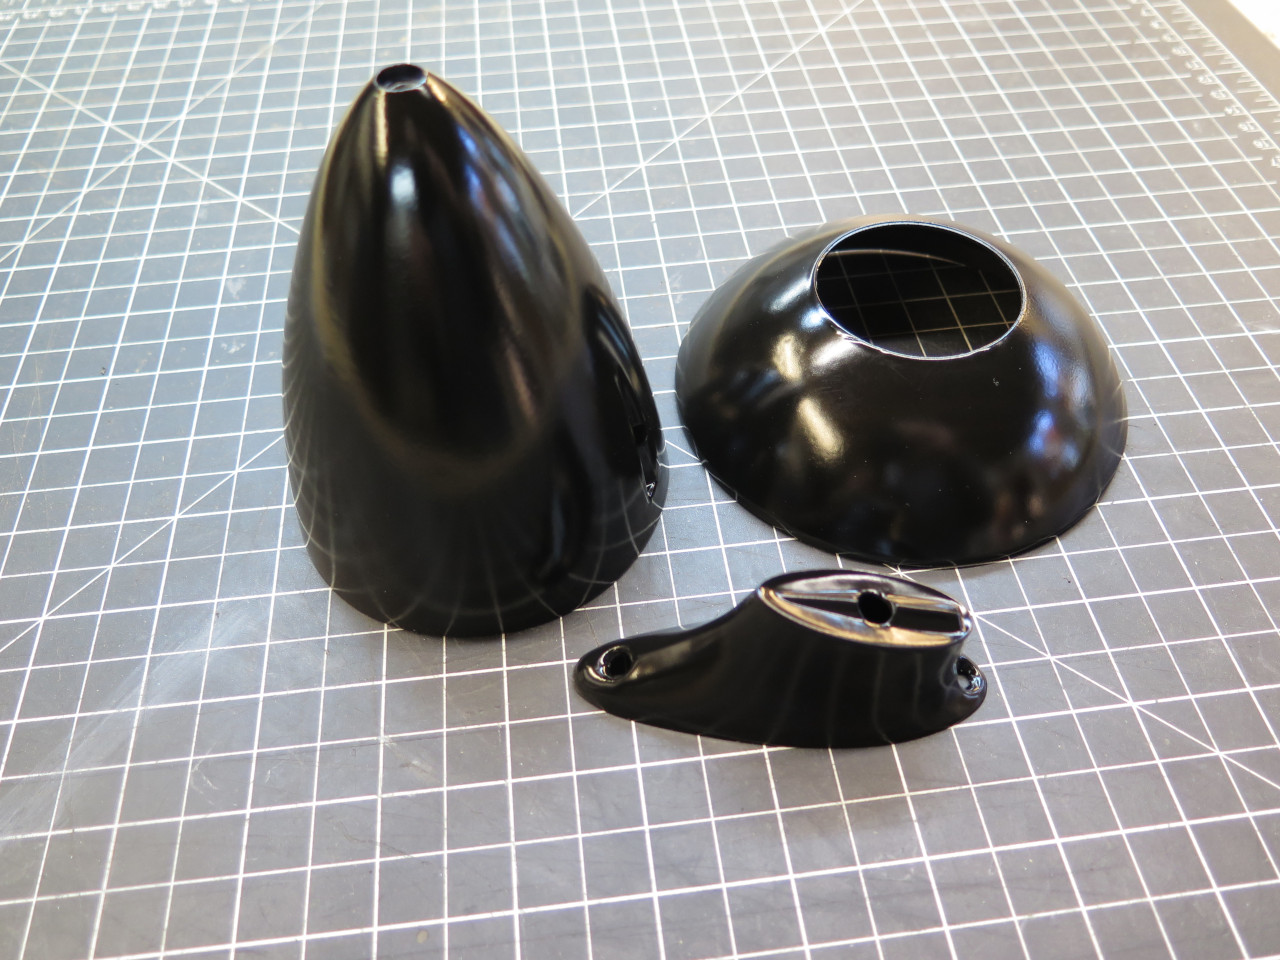
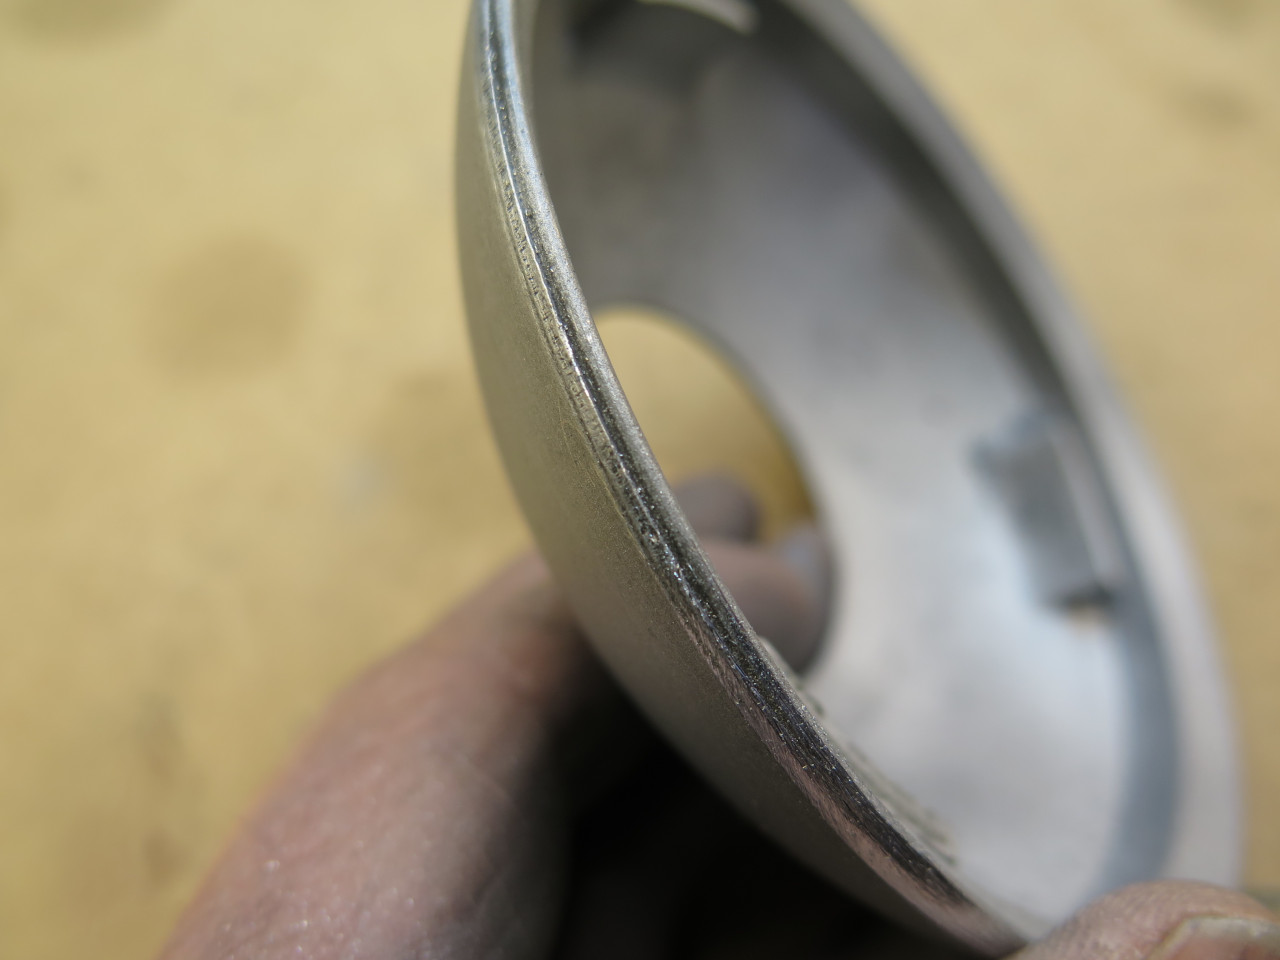
Ready for reassembly. Notice the broken plastic seat. My
stretching protocol was working brilliantly, and I got the seat fitting
almost perfectly. In a classic bridge-too-far call, I decided to
try to get that last millimeter or two of stretch. After the
swearing was done, I reasoned that it wasn't really a crisis, and placed
the gap at the bottom, where I now call it a drain for any water that
might make its way inside the body.

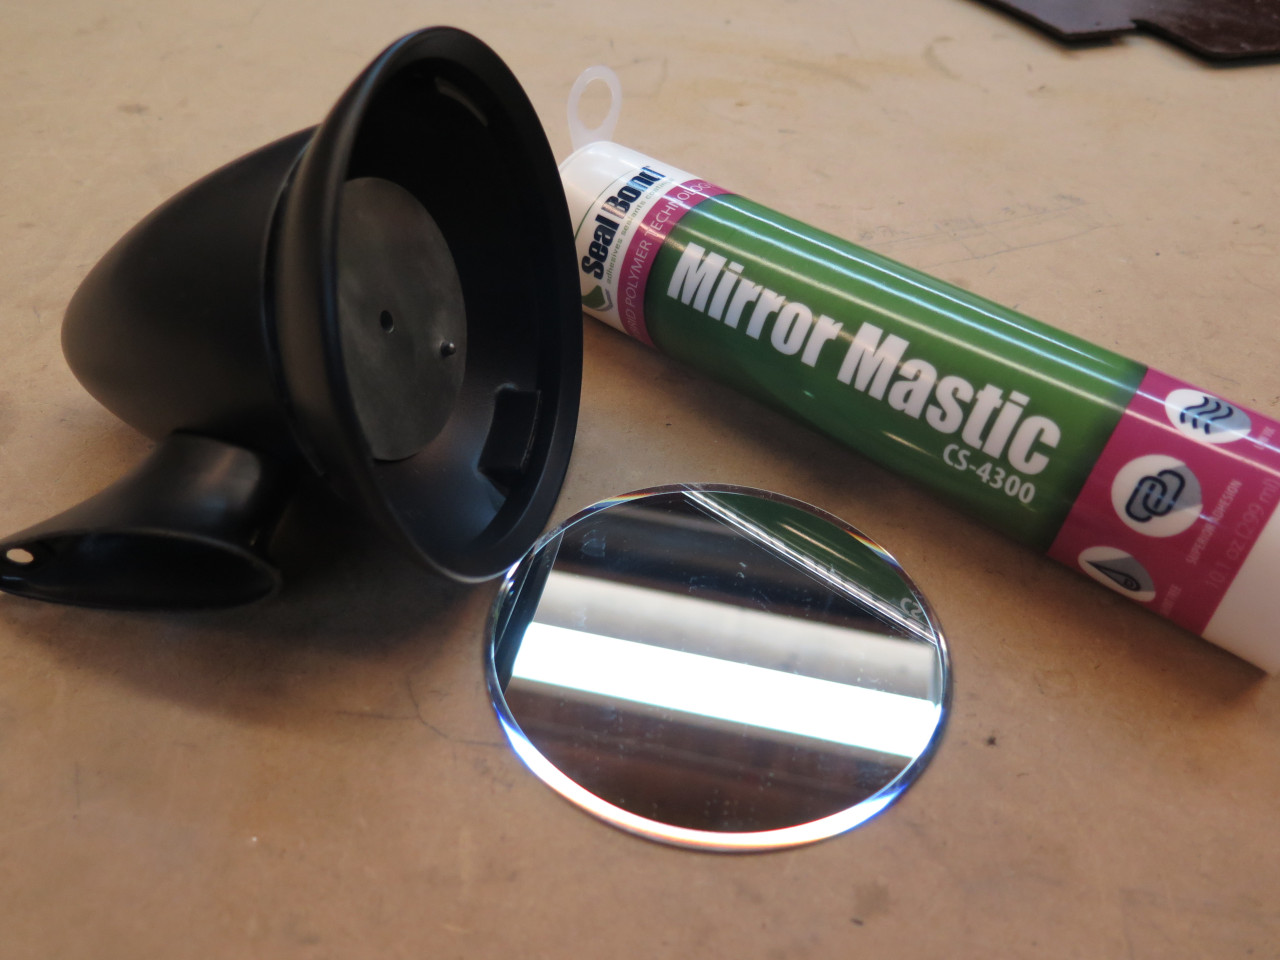
There was one other bit of heartache before I was done. I got the
the 4-inch round mirror glass at a hobby store, and it was very slightly
oversized to the point that it wouldn't seat in the mirror
holder. I made a half hearted attempt to grind the edges, but all
this did was chip the backing so the edge looked even more ragged.
I found plan B online as a 4-inch automotive replacement mirror.
It even has a nice bevel edge. I discovered the hard way on a
previous project that the backing on most mirrors doesn't like most
adhesives, so there are specialized mirror adhesives.
Ready to go...
These simple, quick little projects make nice interludes between the
more harrowing ones. This one took a few hours, and the cost was
just a few bucks for the mirror.
Update, April 10, 2024
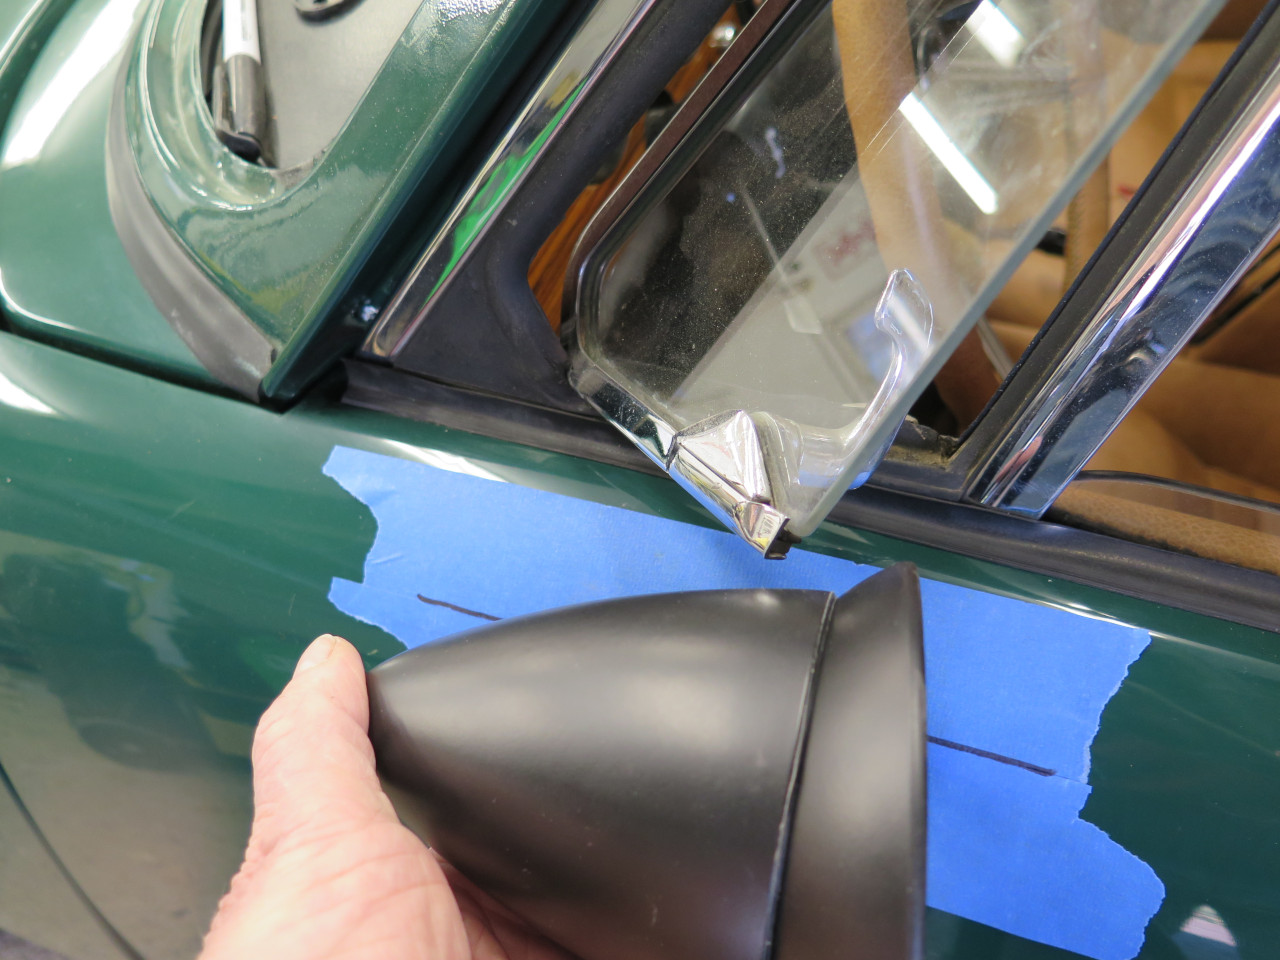
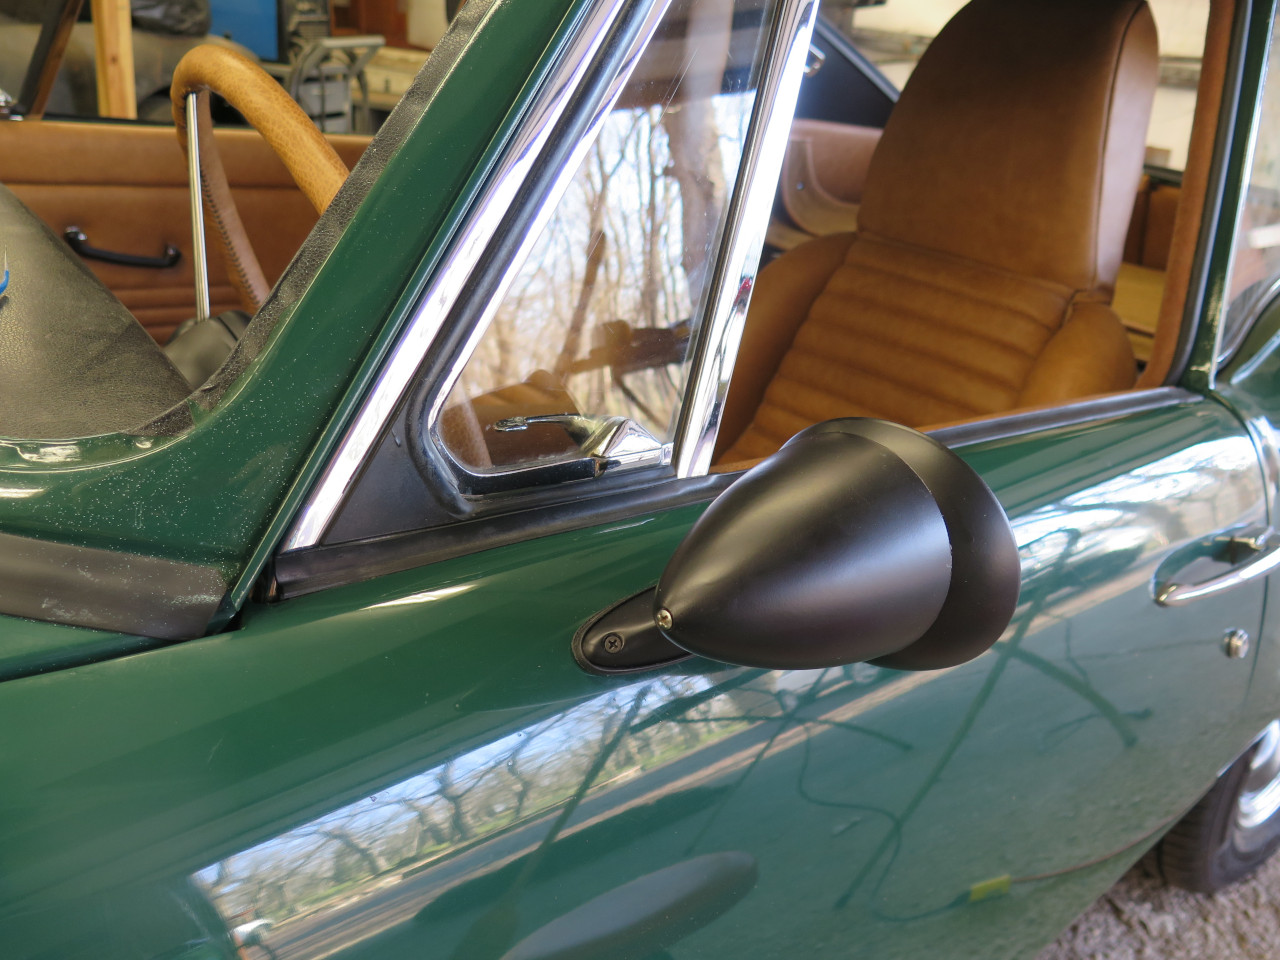
Fast forward almost a year and a half, and it's already time to install this puppy.
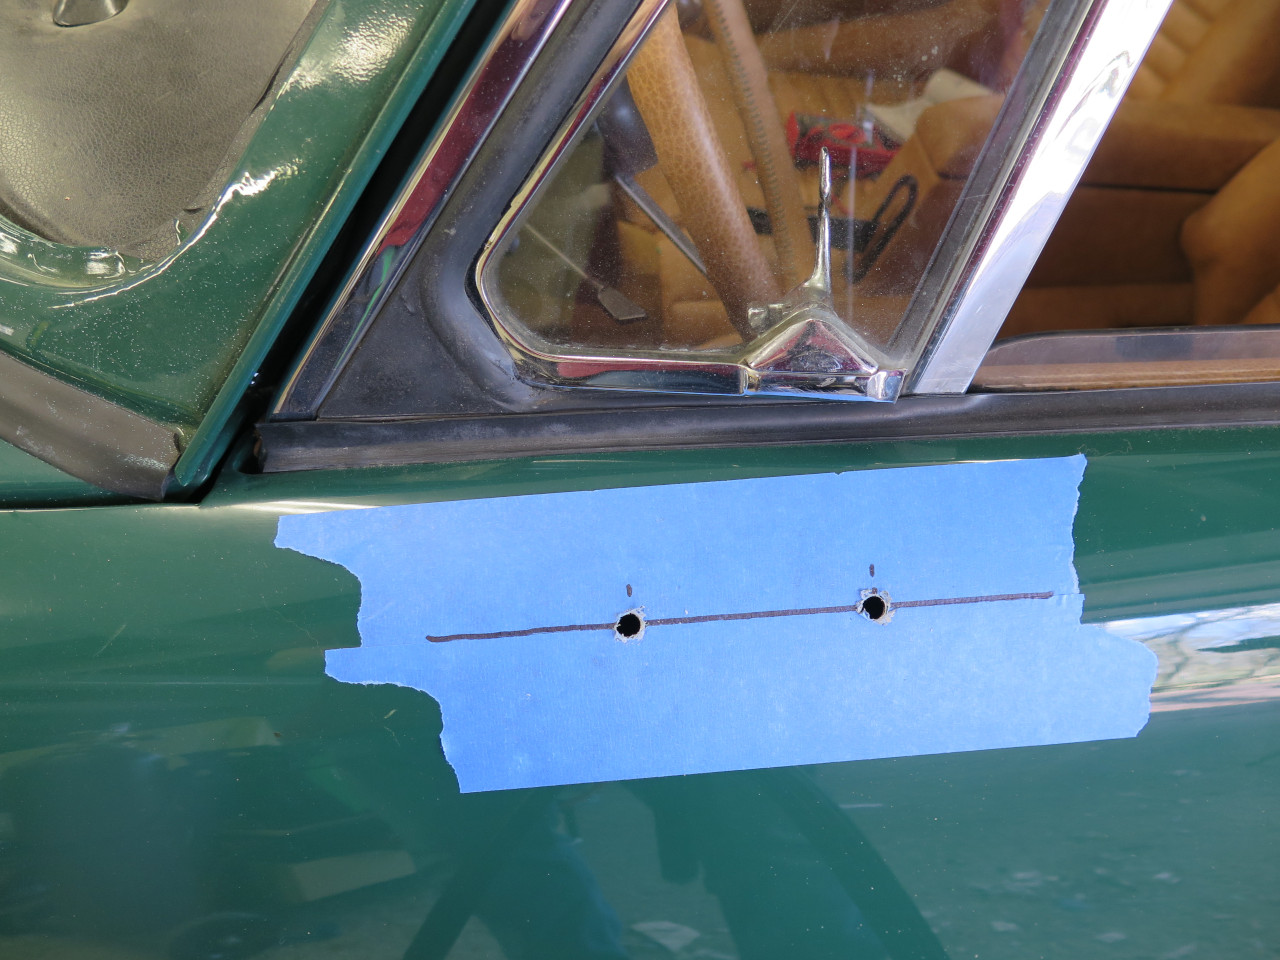
First, where, exactly, does it go?
Looking at some old pics of the car, I saw that the mirror was mounted
on the driver's door pretty far forward. A pic of the stripped
door shows mounting holes that indicate it was just a few inches from
the door's front edge.
Looking at some period brochures, most show a bullet mirror like mine,
but usually chromed, and mounted further back on the door. Sitting
in the car and playing with mounting positions, I could see why this
was the case. In the more forward position, the driver sees the
mirror through the wing window, and it is often partially obscured by
all the window framing. It looked like most cars in the brochures
had the mirror mounted so the mirror glass was roughly in line with the
trailing edge of the wing window frame. An epiphany followed
shortly. That larger hole in the door must have been for the
original mirror, which apparently mounted with a single bolt.
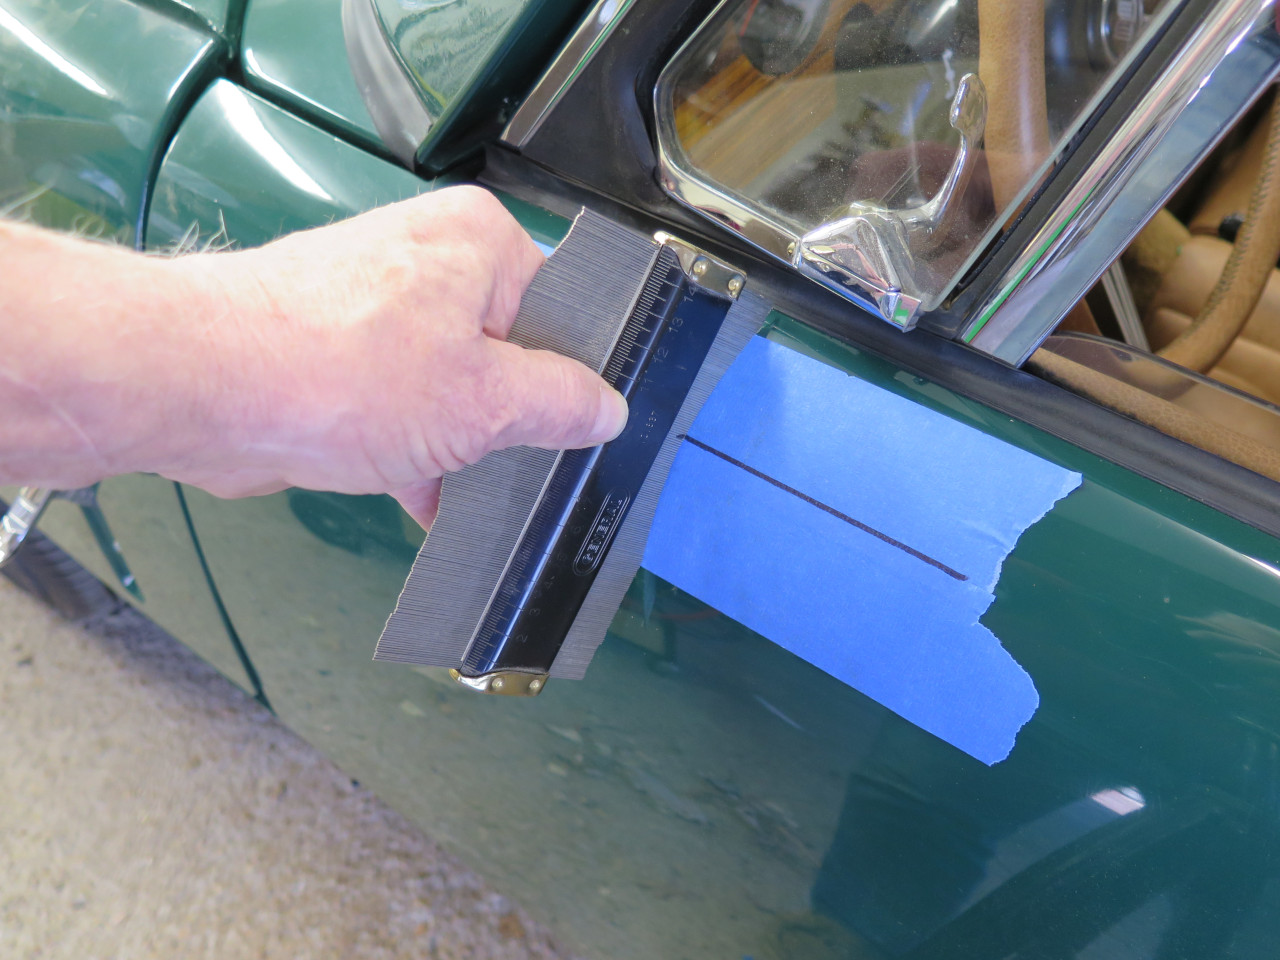
So now, I had to choose an exact mounting location. Fore/aft
position was suggested by the brochure photos, but the up/down position
was dictated partly by clearance with the wing window.
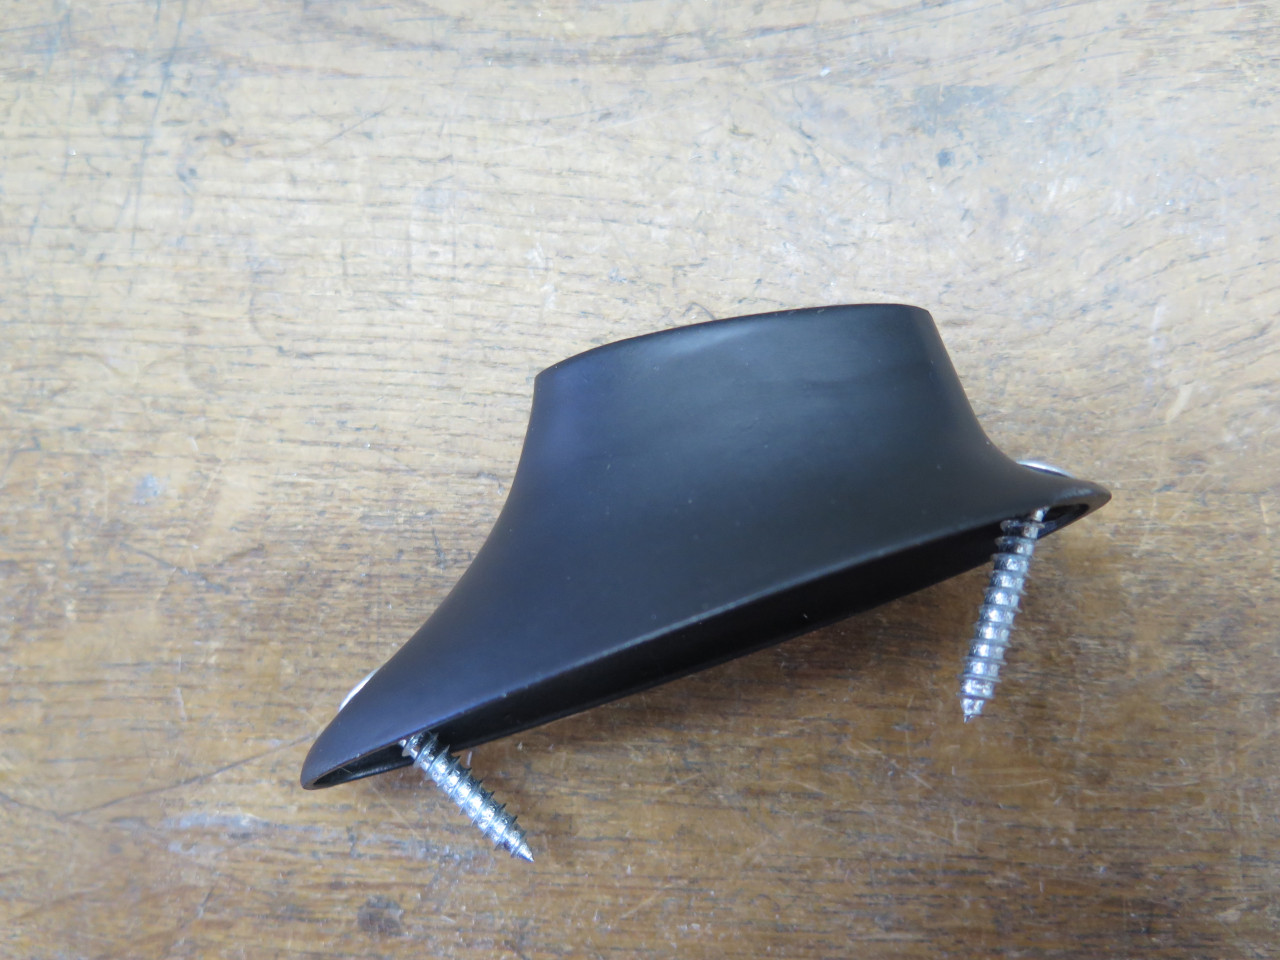
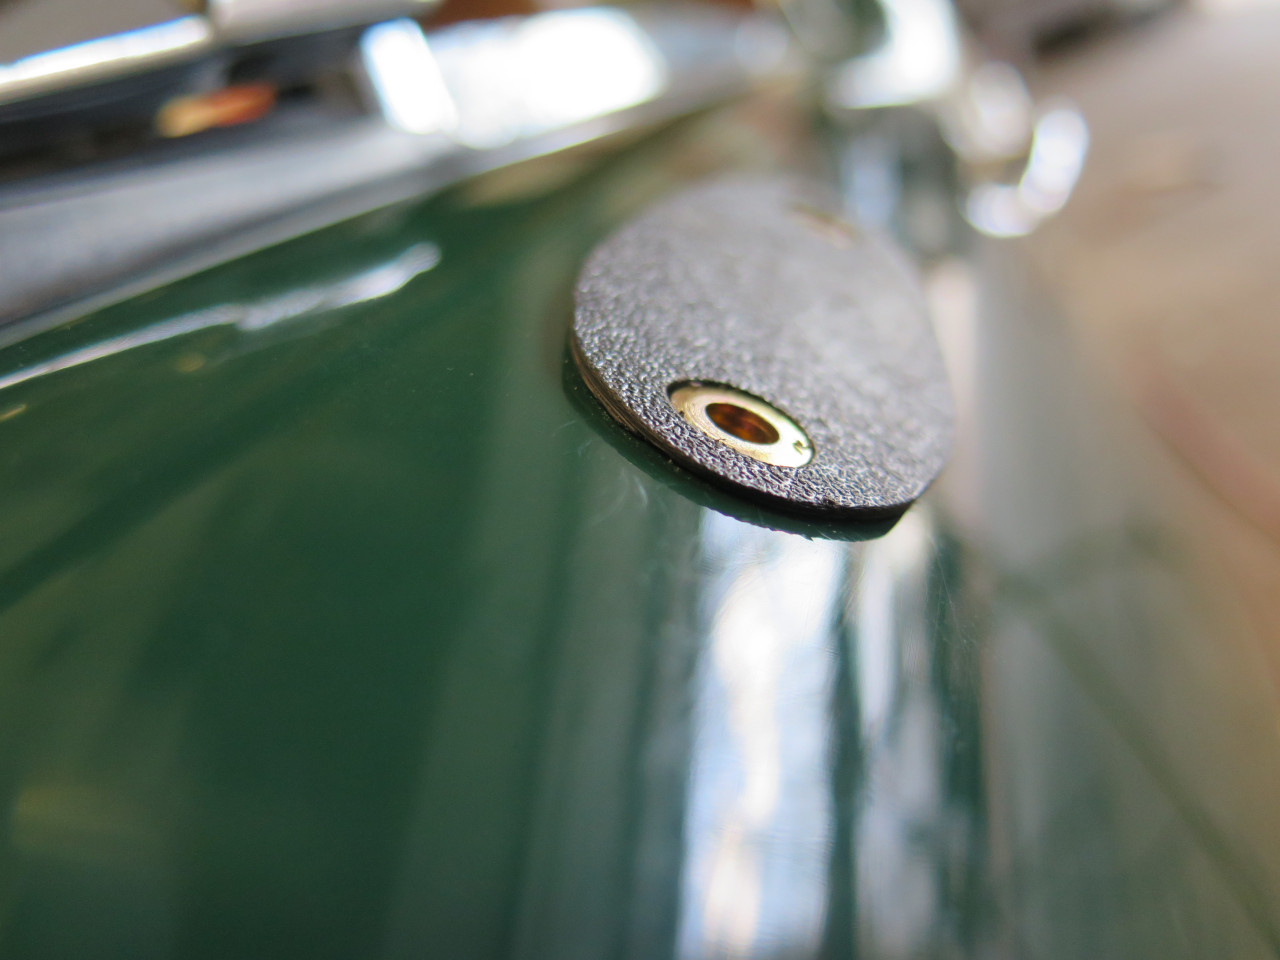
This puts the mirror base right on the most curved part of the
door. This bugged me a little, since I saw that the mirror foot is
flat on the bottom, not curved. It seemed to me that this
couldn't provide a stable base, and would permit rocking of the mirror
up and down. I checked the little plastic pad for the
foot. It wasn't curved either. It was clear by then that
this was probably a period replacement mirror, and that possibly the
original mirror had a foot that matched the curve of the door. (Or
maybe that's expecting too much.)
I measured the radius of the curve. it's only about four inches.
Well, 3D printer to the rescue again. A little shim with the same
shape as the mirror foot pad, flat on one side, and dished to a four
inch radius on the other.

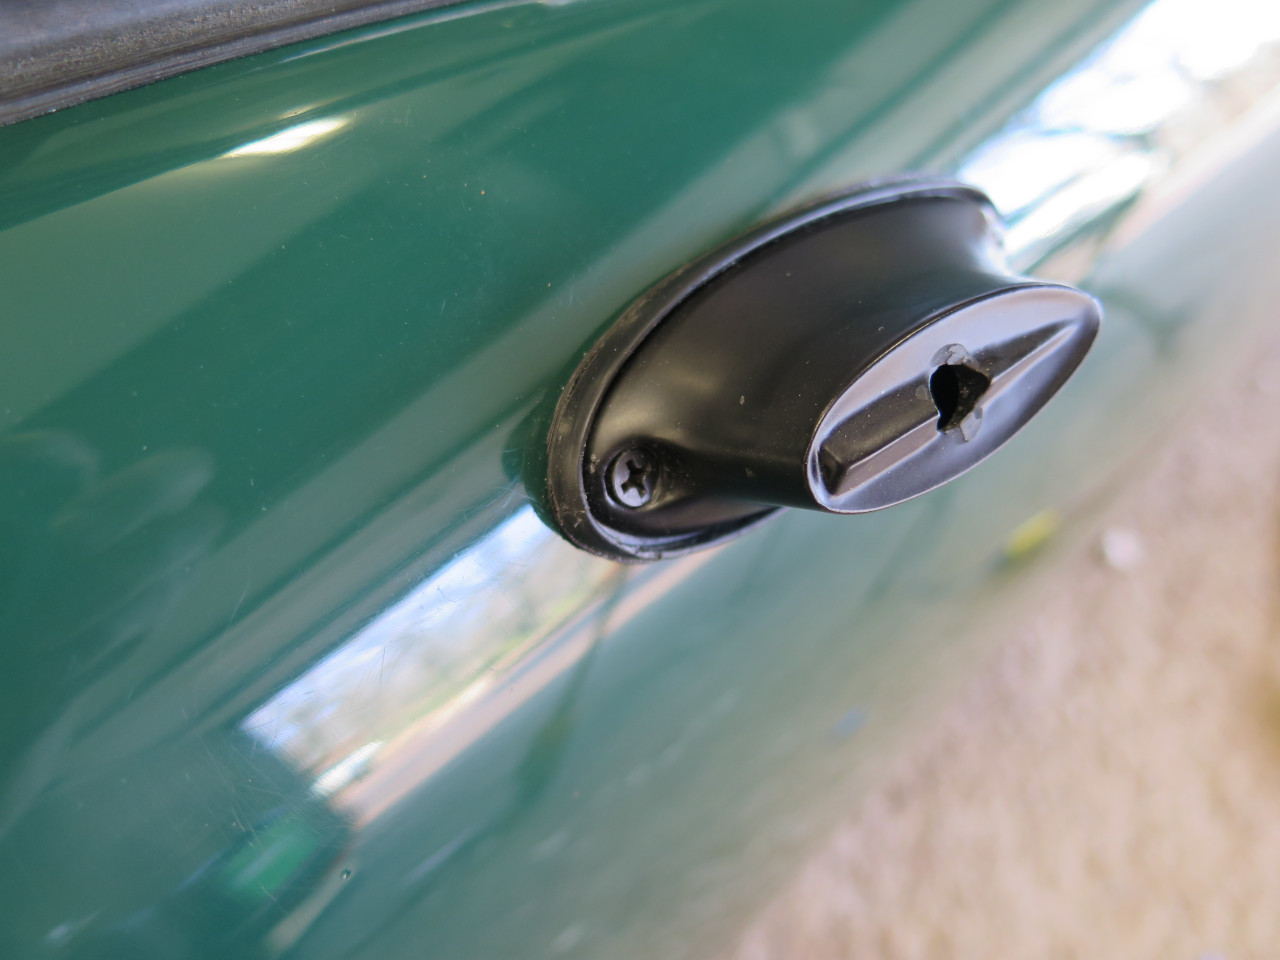
One more irritation before moving on. The mirror mounted with two
sheet metal screws directly into the door skin. This is bad
enough, but they each had to be at a pronounced angle. This just
seems like lazy design to me, but I suppose the price point had a lot to
do with it.
Well, I couldn't really abide this, and resolved to try to use proper
fasteners instead. By reshaping the holes in the foot a little, I
was able to get a pair of machine screws to fit vertically. This
immediately suggested Rivnuts for the door (partly because I didn't
really want to take the door card off again).
So, after measuring half a dozen times, I drilled a couple of holes in my bright and shiny door, and installed the Rivnuts.

Then fit my new shim. I printed the shim without holes and drilled
them afterward. The thickness of the shim is just about the same
as that of the flange of the Rivnut. [The eagle-eyed will notice
that in this pic and some others, the shim or foot is installed
back-to-front backwards. Luckily, I could just flip them after I
realized the goof.
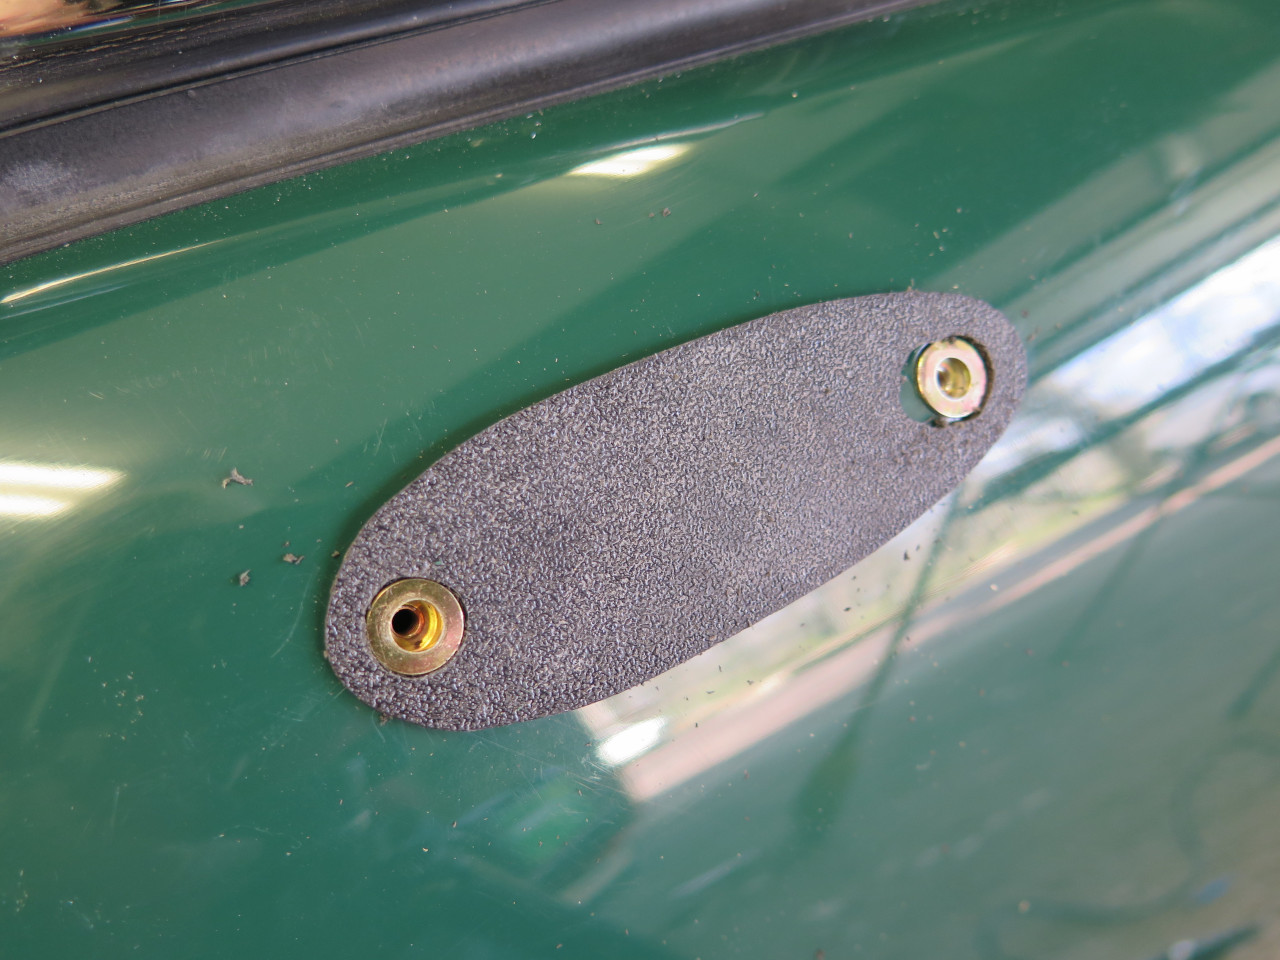
The machine screws pull the foot down pretty solidly with the shim.
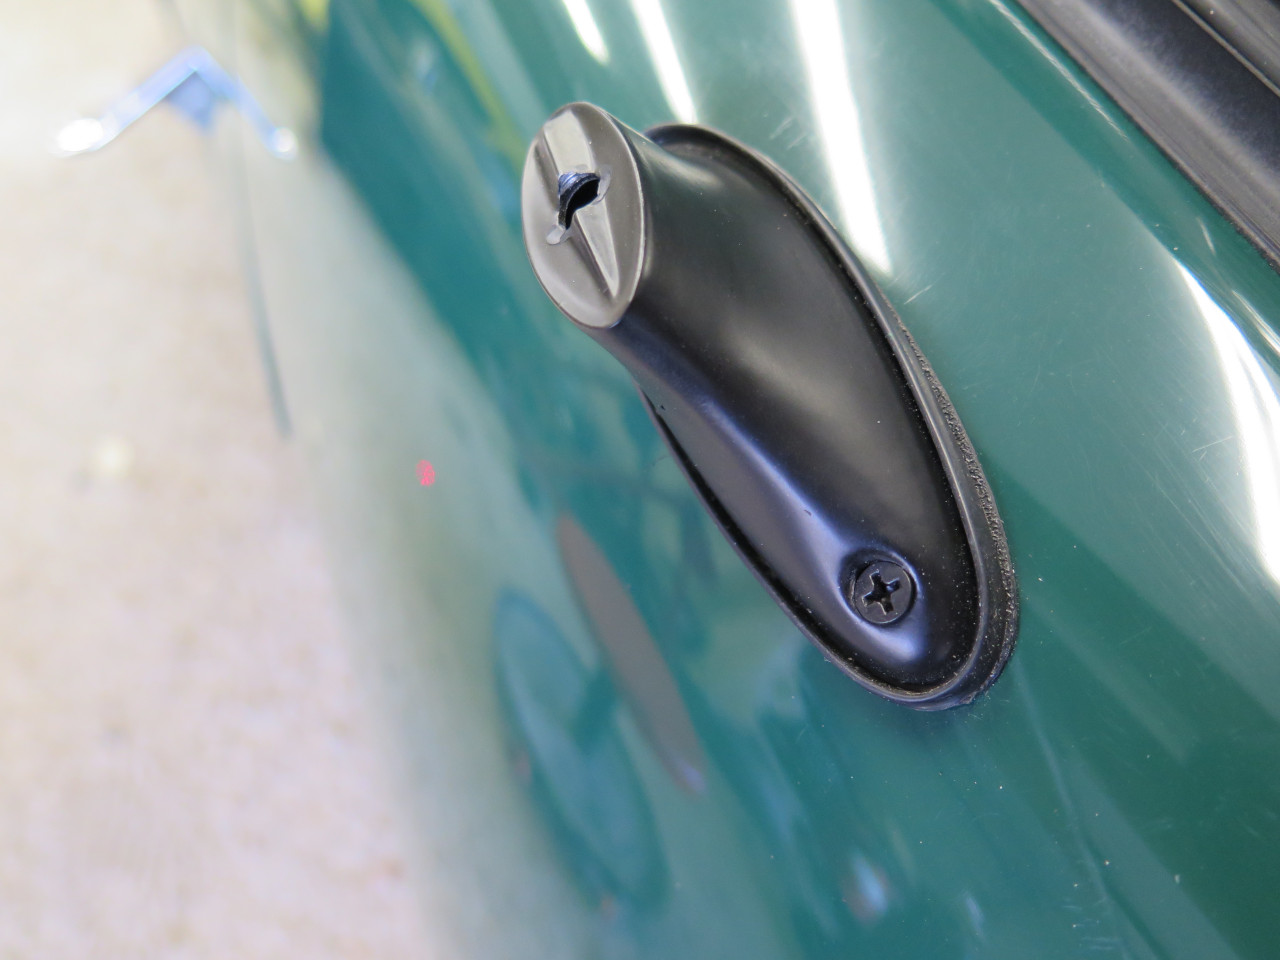
The downside of changing the fasteners is that when attaching the entire
mirror unit, there is no good screwdriver access to the screws.
A cocked Phillips driver can screw them in, but to tighten them, I had
to use a little right angle driver, a quarter turn at a time. It's
worth it to me.
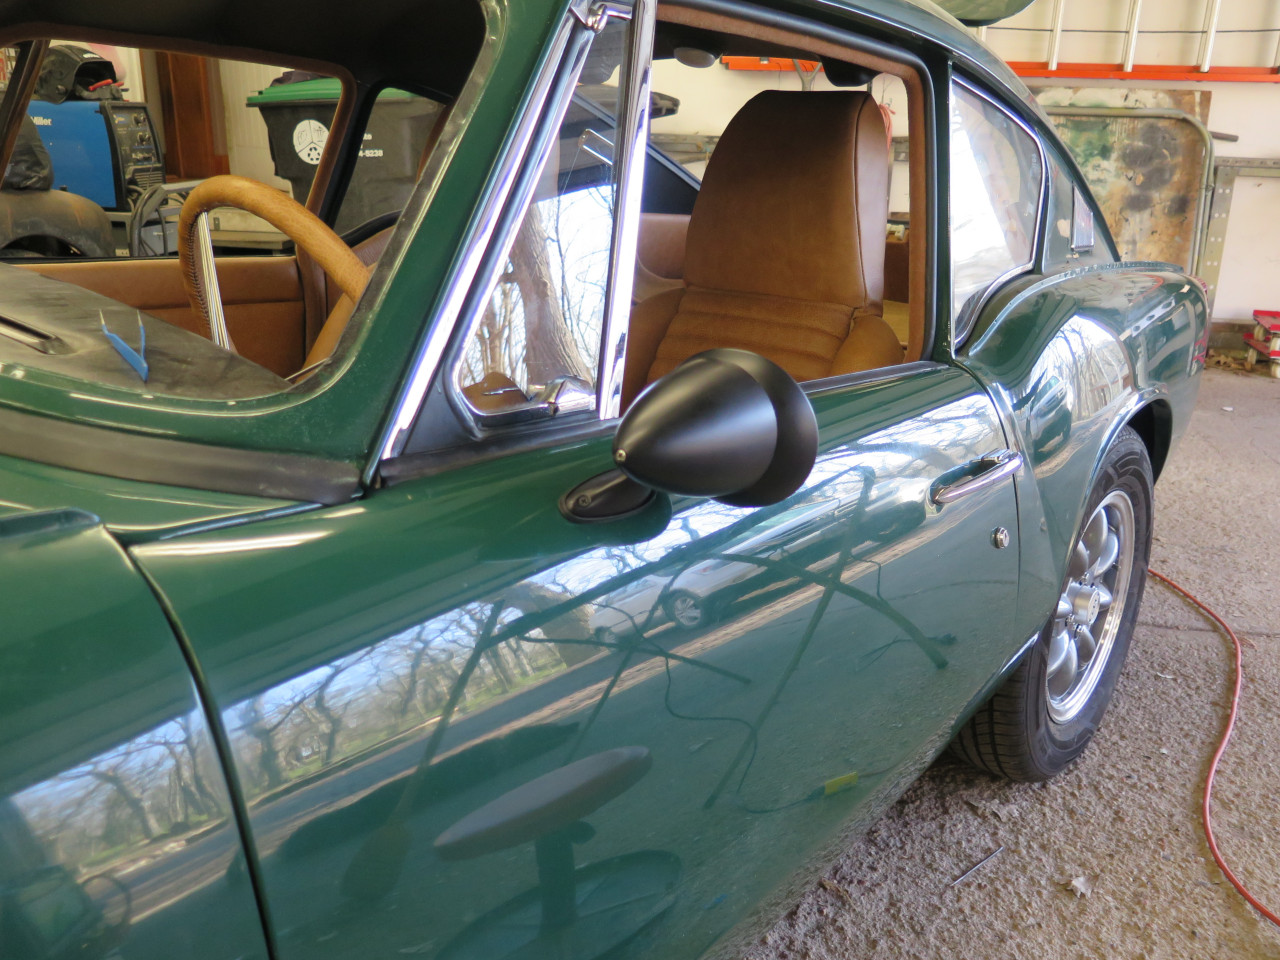
Small step, but it makes a visible difference.
Comments to Ed at elhollin1@yahoo.com
To my other GT6 pages