December, 2012
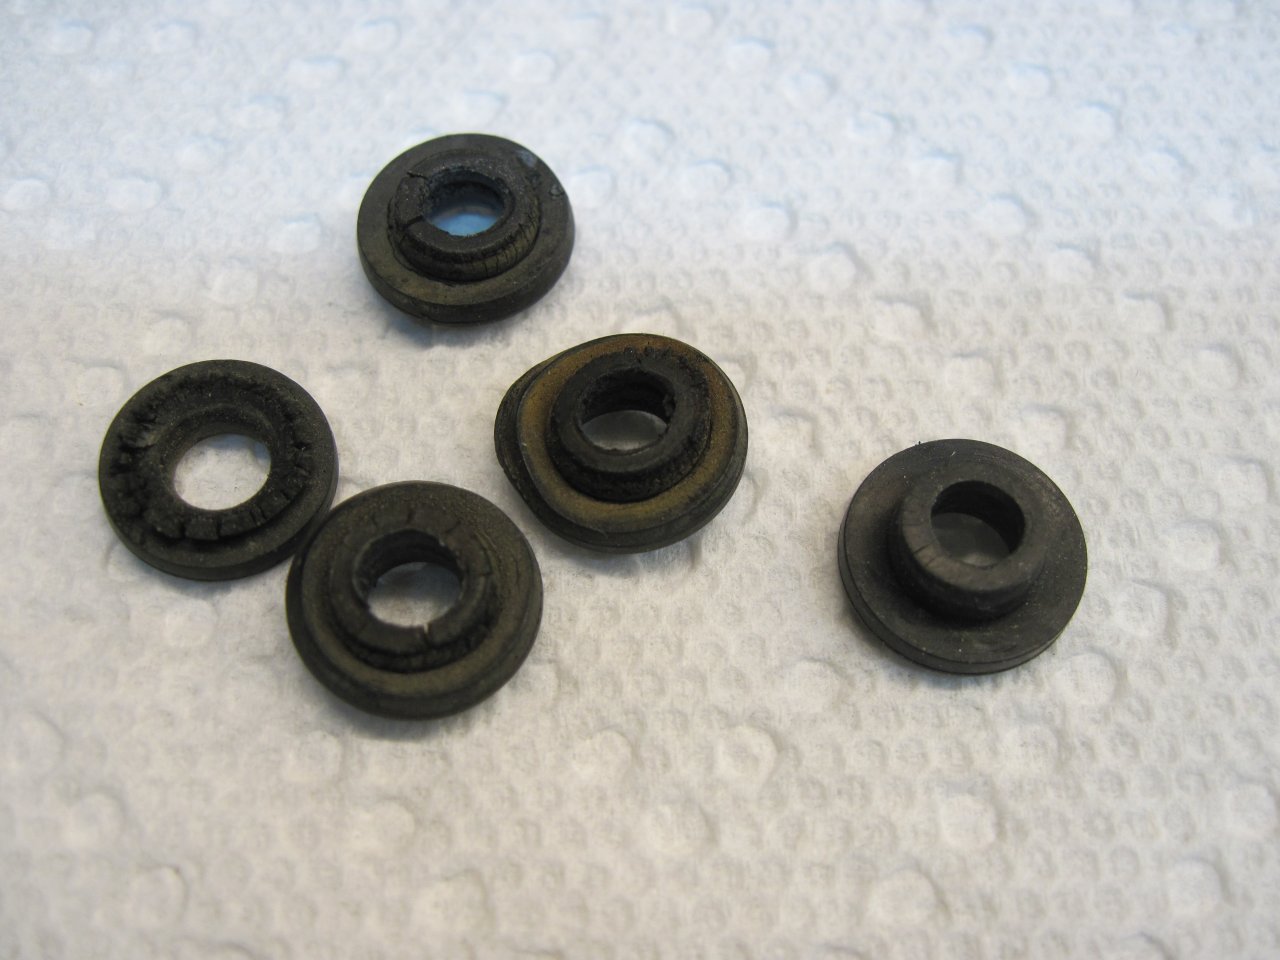
Casting Rubber grommets [Click images for a larger view]
I
was rebuilding the instruments (speedometer and tachometer) on a
project motorcycle, and most of the 40+ year old British rubber parts
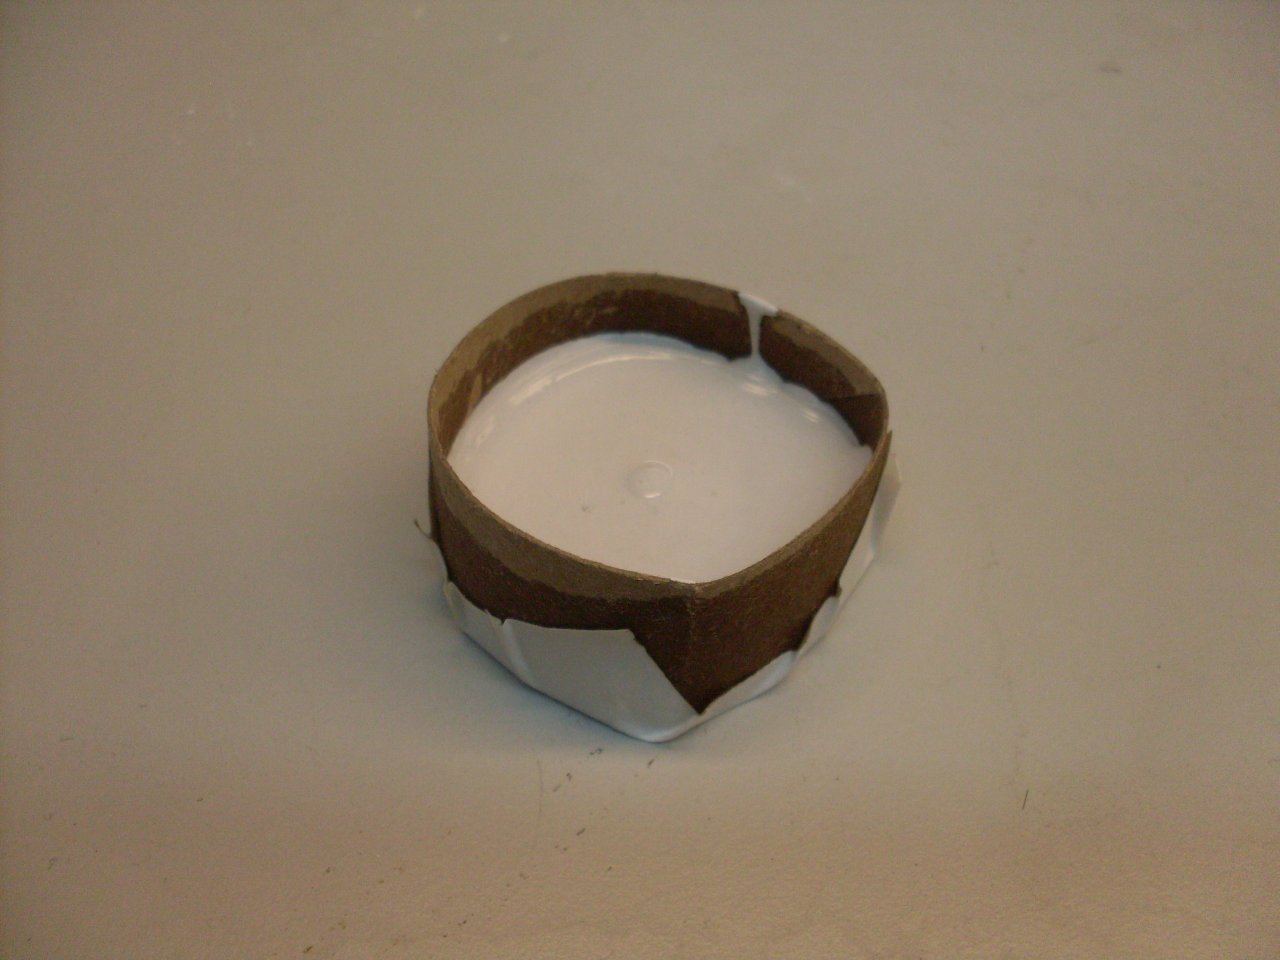
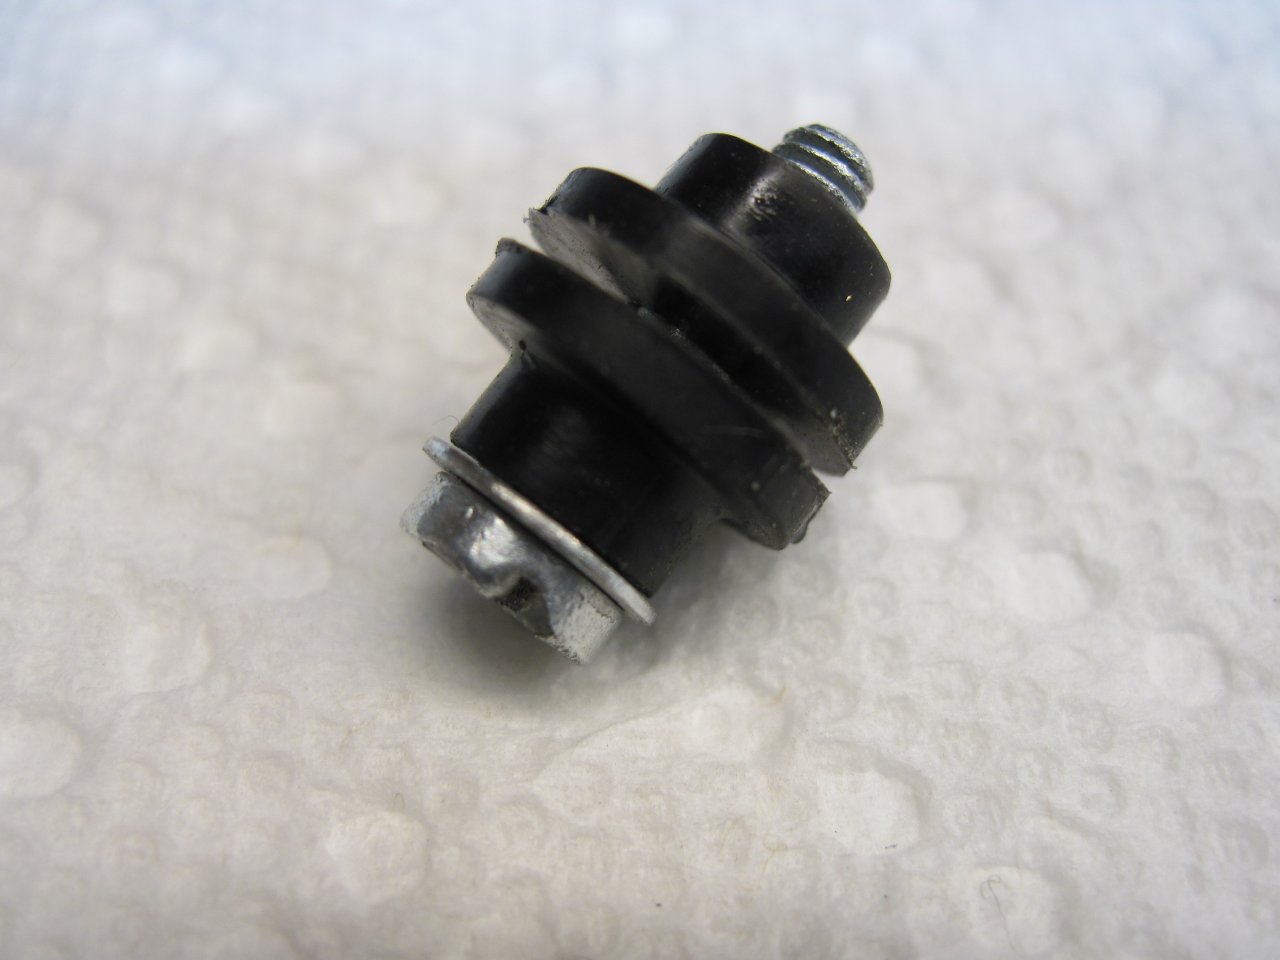
were pretty deteriorated. These are rubber grommets that provide
resiliant mounting for the internal mechanisms, isolating them from
vibrations on the outer instrument cases. They are a hat section,
0.490" in diameter and 0.215" tall, with a 0.180 bore down the center.
There are six of them on each instrument. All of them were
distorted, and many of them were badly weathered. The one on the
right n the picture was the best of the lot.
I
did find a place that advertised replacement sets, along with the
special mounting screws, but when I tried to order them, they were
indefinitely out of stock. Probably someone occasionally makes a
batch of them when they think demand has risen high enough.
I
decided to try my hand at casting the grommets myself. One way to
do this would be to machine a mold, and pour rubber casting compound
into it. One wrinkle here is that the casting compound I bought
doesn't lend itself to multiple, small pours, so I woiuld need to
machine all twelve cavities into a mold so I could pour them at the
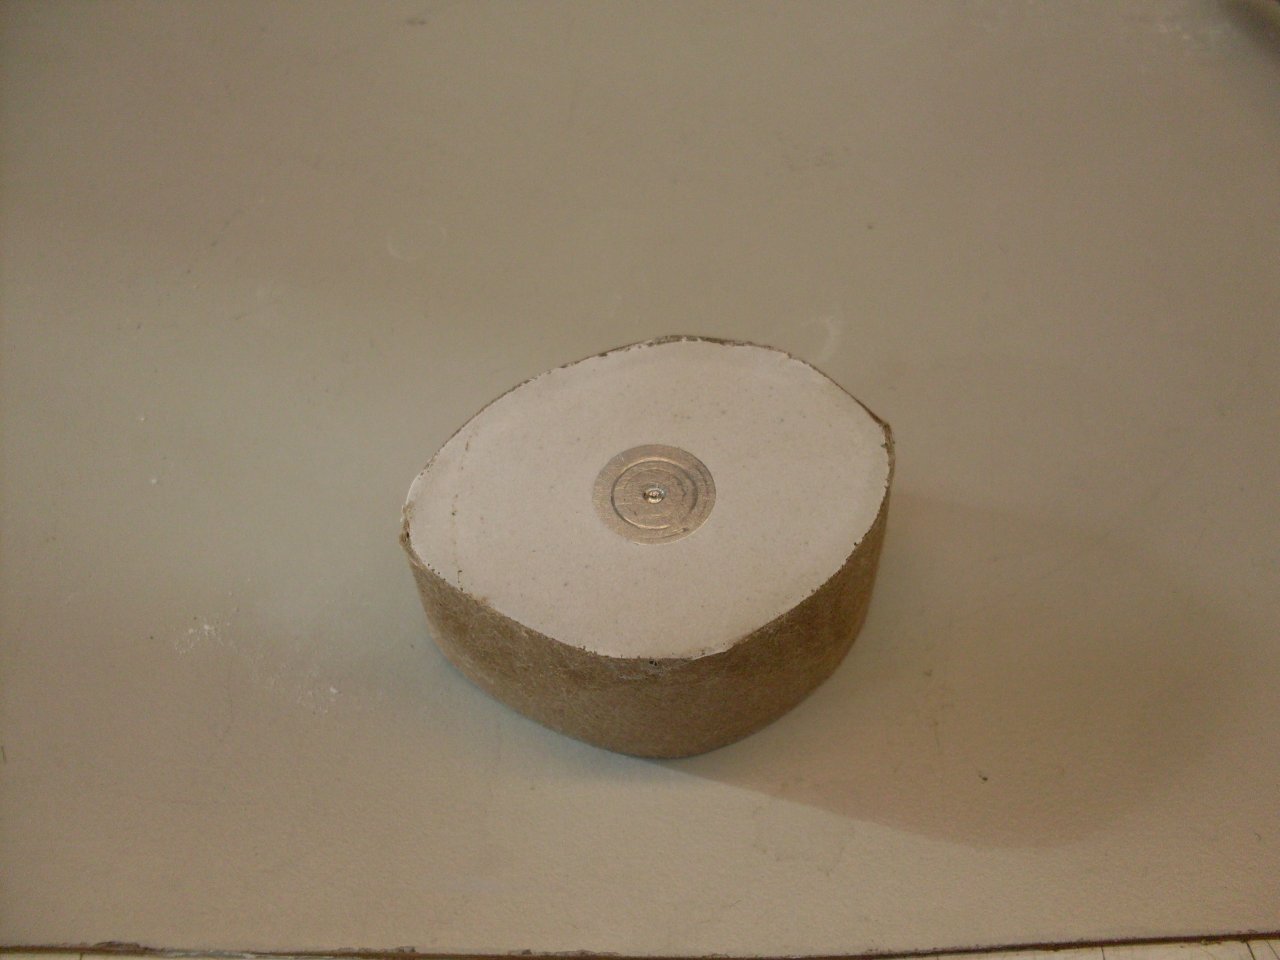
same time. I decided it would be easier to use a pattern and make
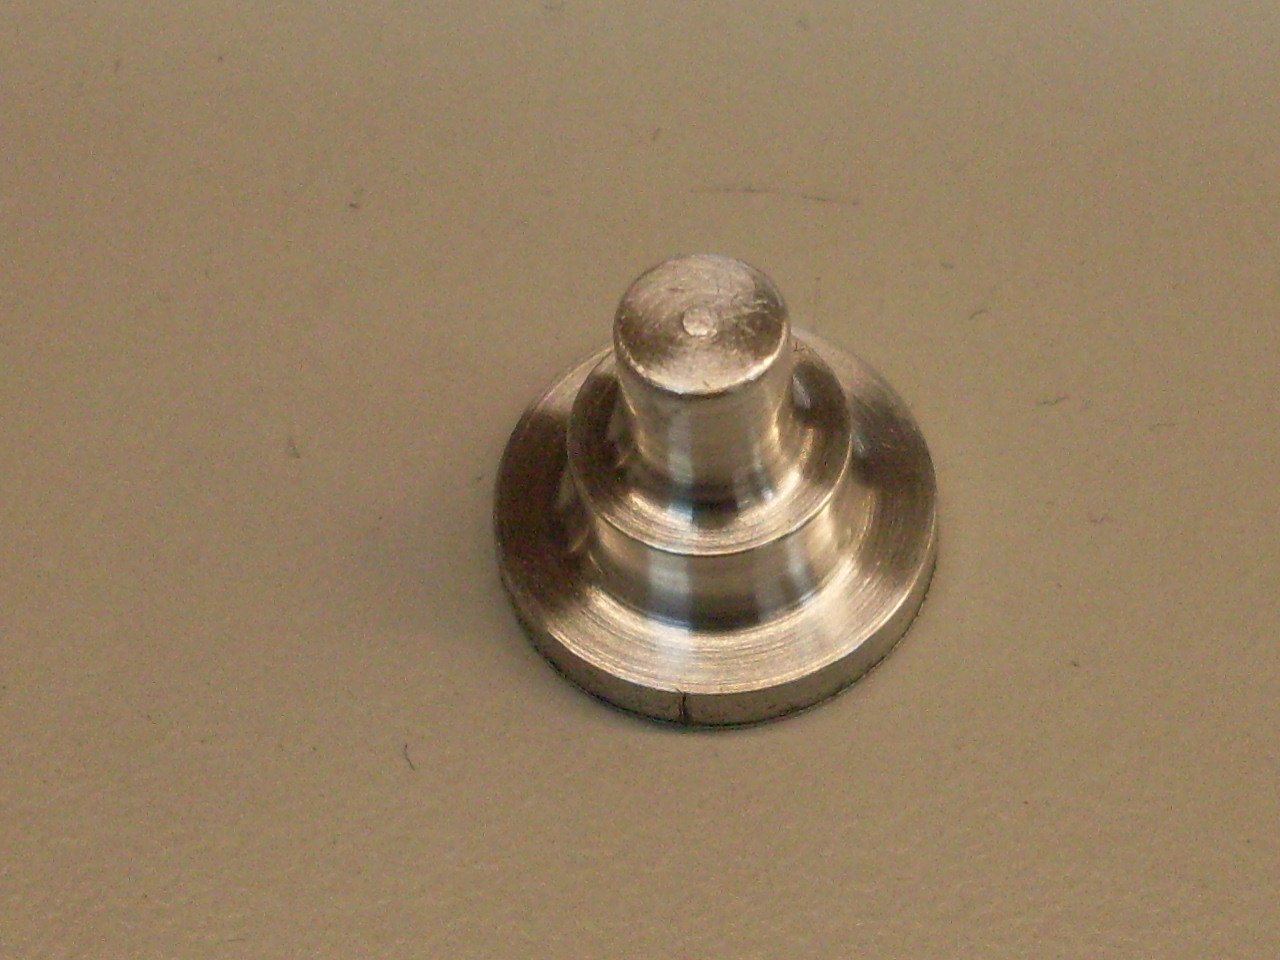
multiple molds from it. So first, I needed a pattern. None
of the original grommets were in good enough shape to serve, so I made
one from aluminum. Instead of putting the bore in the pattern, I
decided to use a separate piece in the mold for the bore, so the
pattern just needed a feature to accept and align that bore piece in
the mold. I was able to surmise the dimensions from the old
grommets, and from the pieces that they would have to fit in and around.
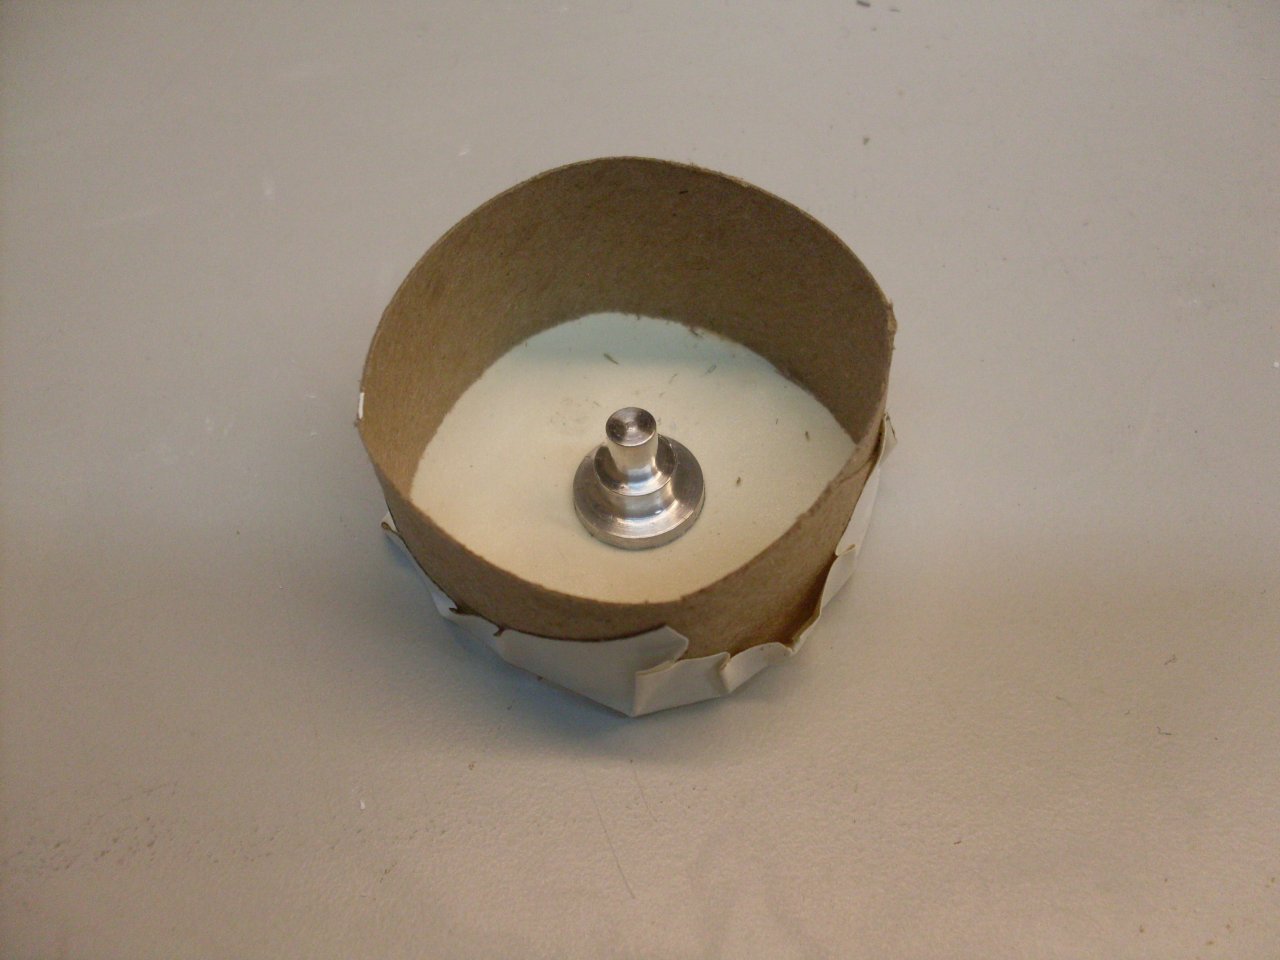
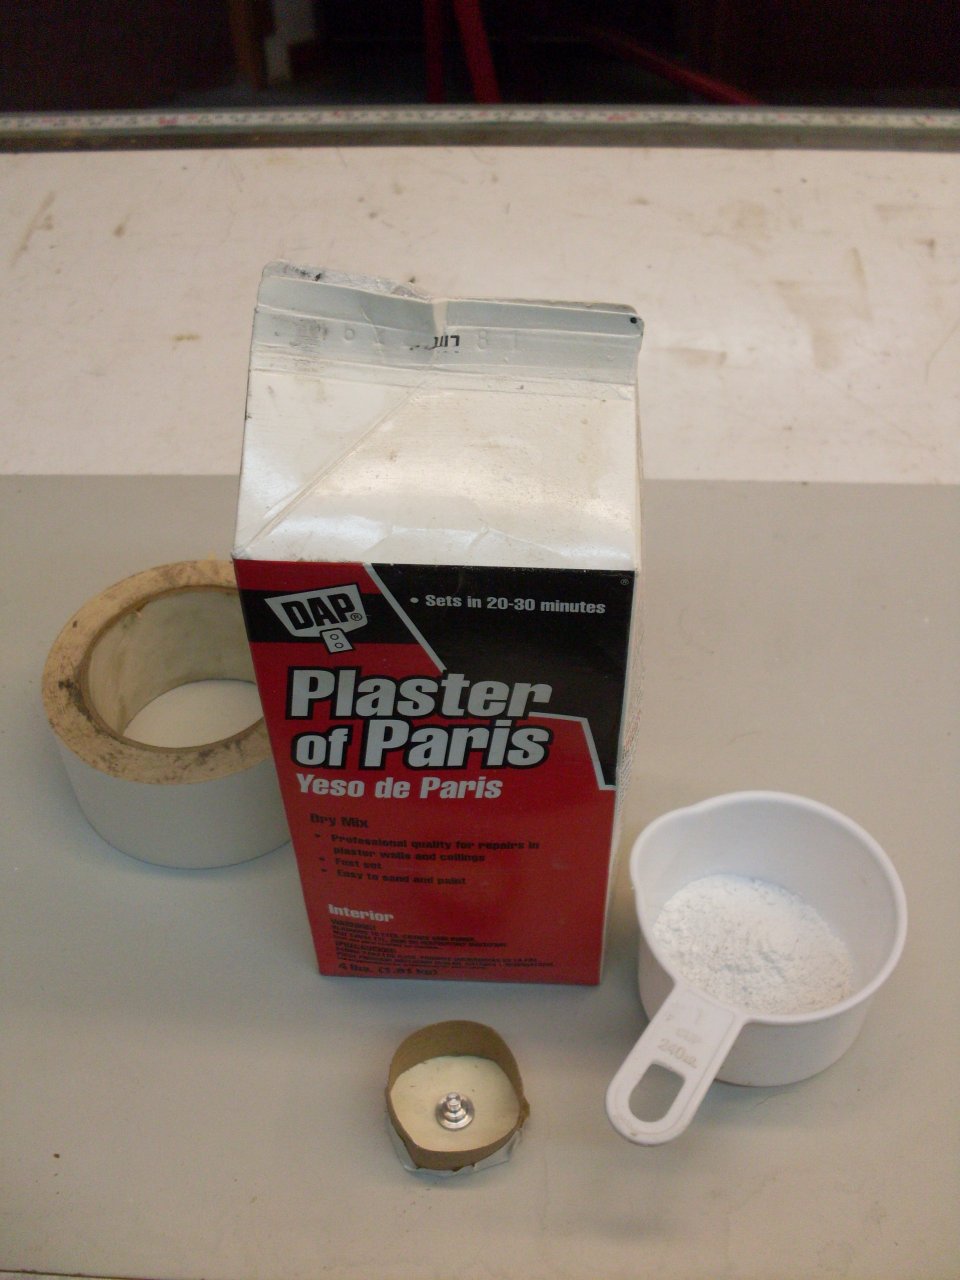
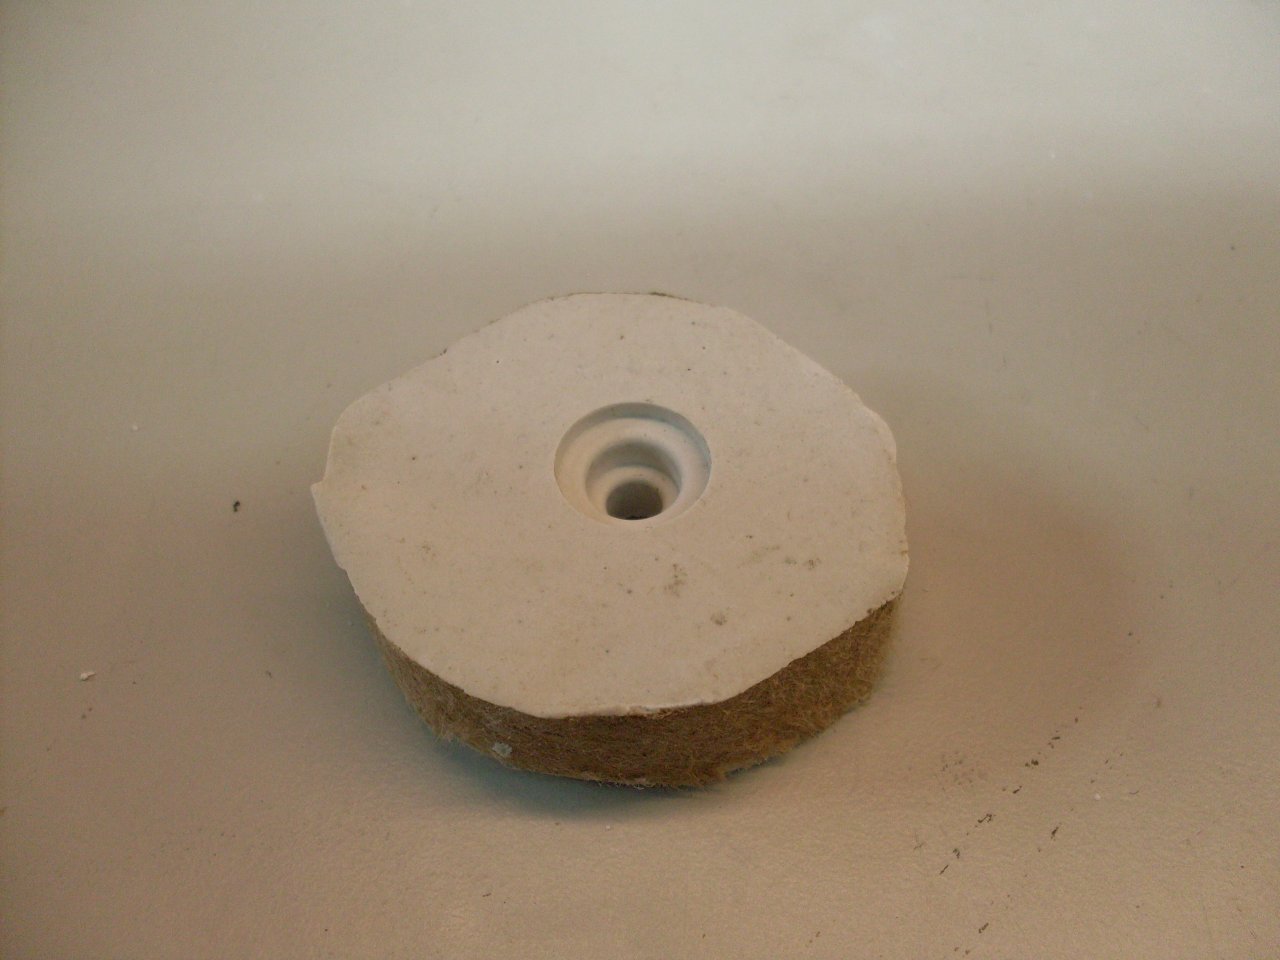
From
among the different choiced for a mold material, I chose Plaster of
Paris. It is cheap, easy to mix, sets quickly, and can hold the
detail I needed. the pattern was stuck to a piece of wide tape,
and a short section of cardboard tube was stuck to the tape. This
contained the plaster until it set. I sprayed the pattern with a
little anti-stick cooking spray as a release agent. I poured plaster just to the top of the pattern.
The
plaster would set in 40-60 minutes, and I popped the pattern out and
moved to the next mold. I didn't put any draft in the pattern (a
slight angle to otherwise vertical sides, to make it easier to remove
the pattern from the mold), but this didn't cause any problems.
Since the plaster was just poured just barely over the top of the
mold, the bore was easily opened up so it went all the way through the
mold.
I
made up 12 bore pieced for the molds. I soon found that
making the boat-shaped molds took less plaster, and were easier to
handle.

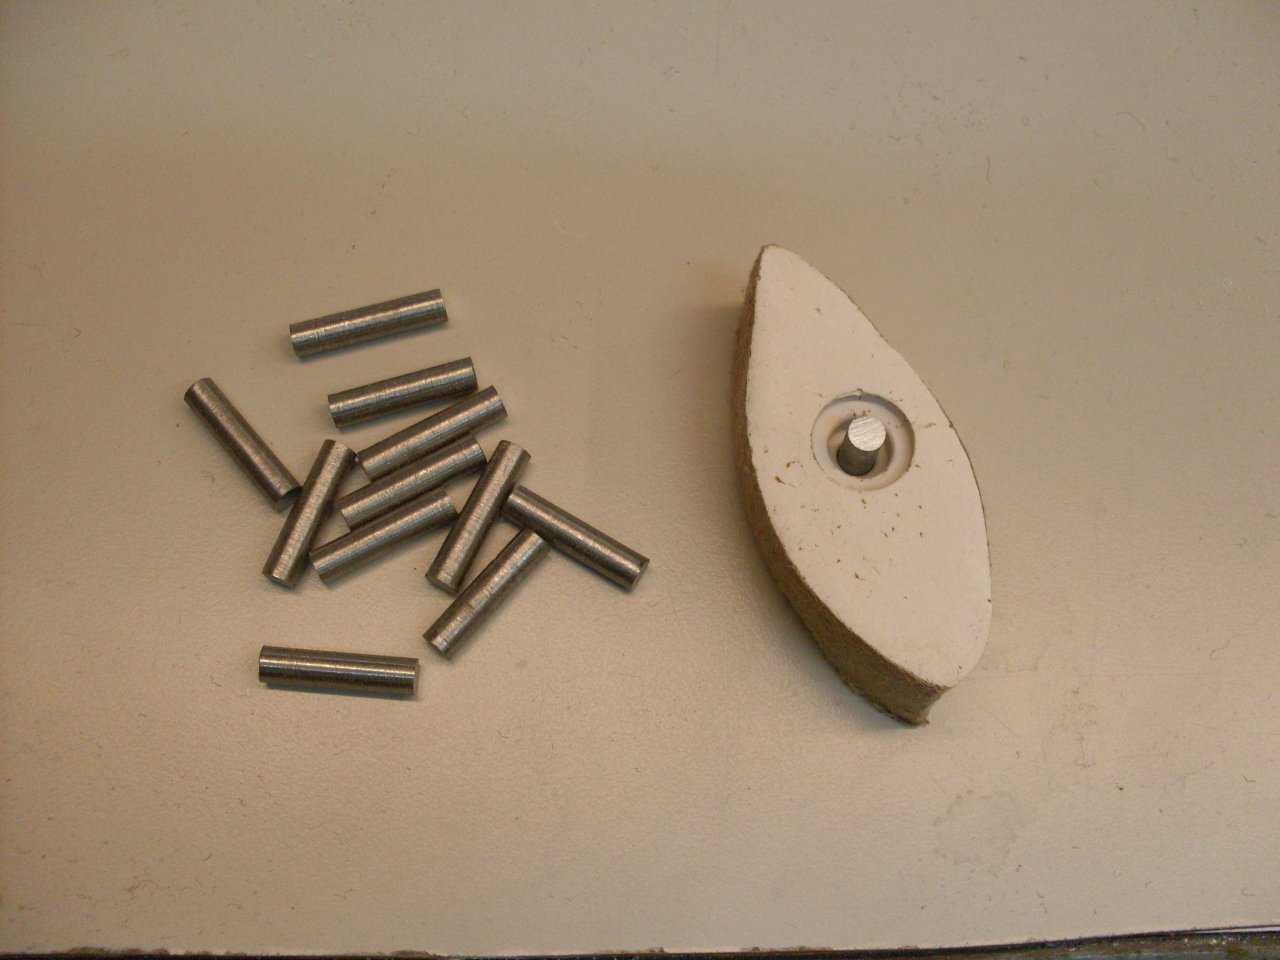
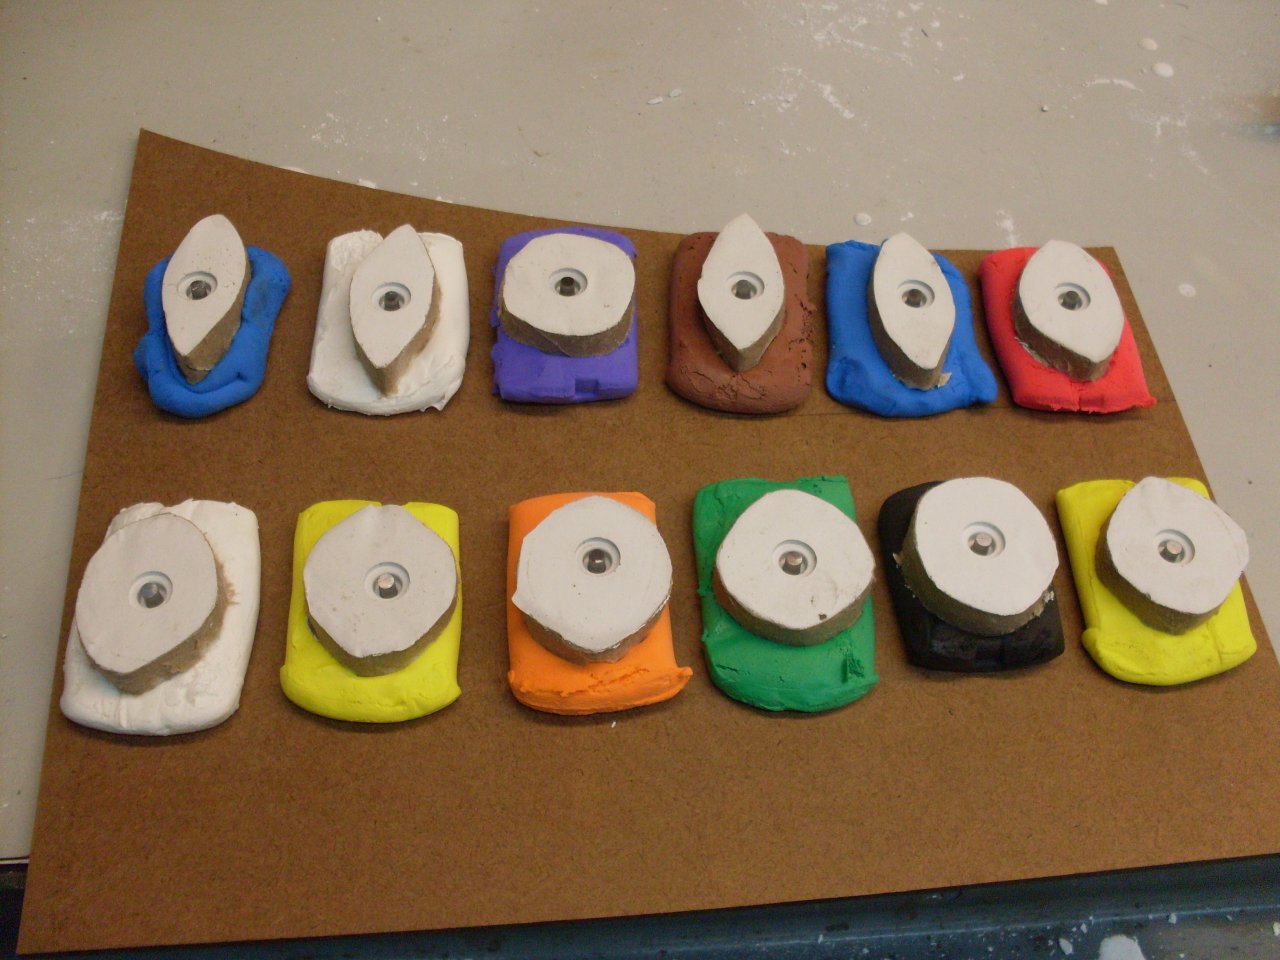
Each
of the 12 molds was pressed into a piece of modeling clay and leveled,
and then the bore piece was inserted. It passed all the way
through the mpld and into the clay. It was pressed in until it
was even with the top of the mold. Each mold was sprayed with a
release agent compatible with the rubber coumound I used.
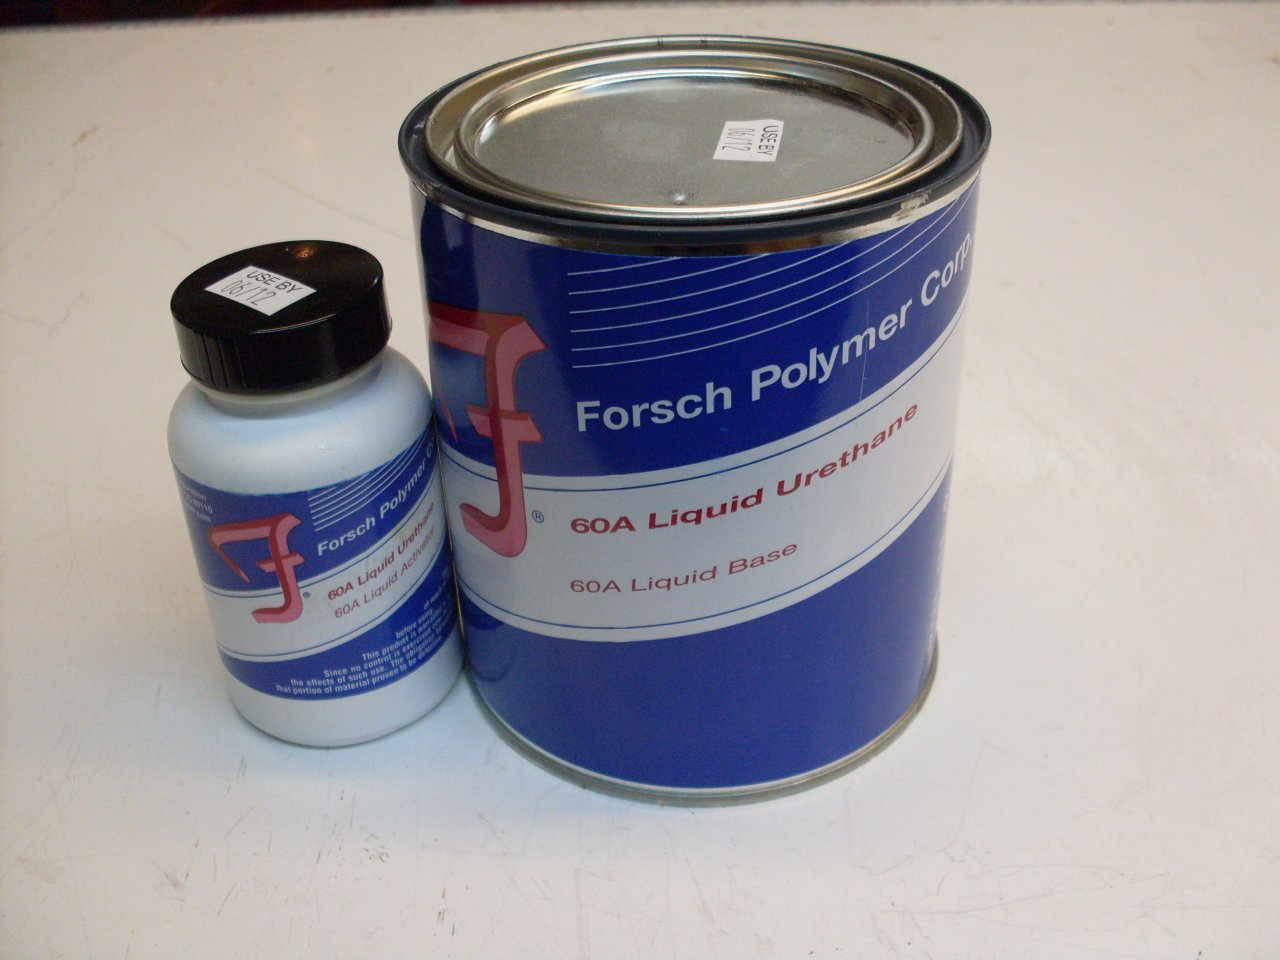
This
is the two part urethane rubber compound I used. I estimated from
the old parts that about a 60A durometer was what I needed. The
cost of the compound was about the same as the set of replacement
parts, if they had been available. I don't have pictures of the
actual pour because, frankly, I was too busy. The pot life of the
compound after mixing is not very long, and it includes the time to mix
very thoroughly. I loaded the mixed compound into a syringe with
a largish needle to make sure the mold cavities filled from the bottom.
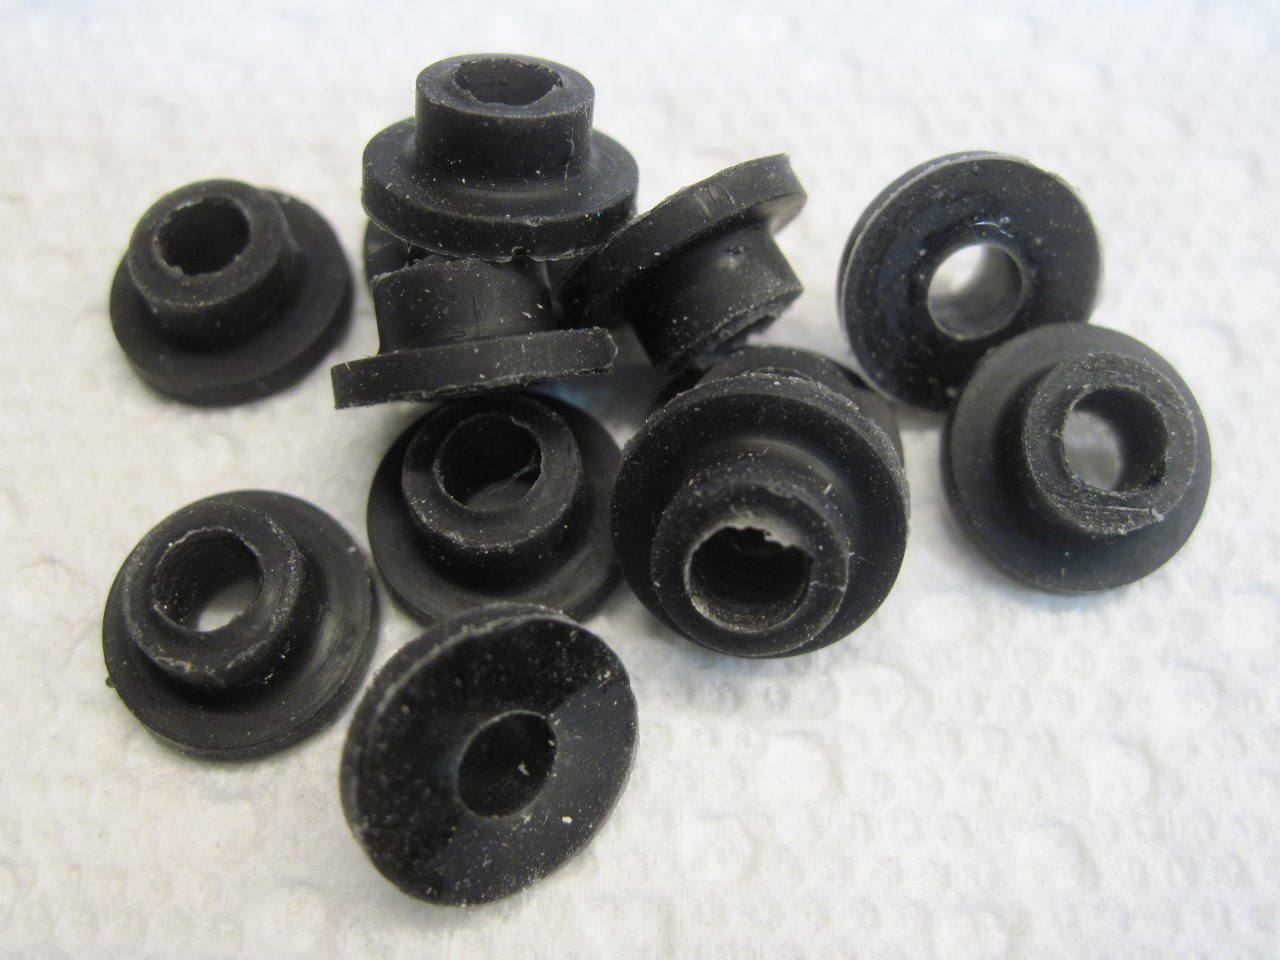
Here
are the finished parts. The white specks are from the paper towel
I used to dry them after washing off the release agent. There is
still a littlle flash visible, too. I didn't see any evidence of
the voids or bubbles I was concerned about. There is also a
comparison of one of the new grommets with the best of the old ones.
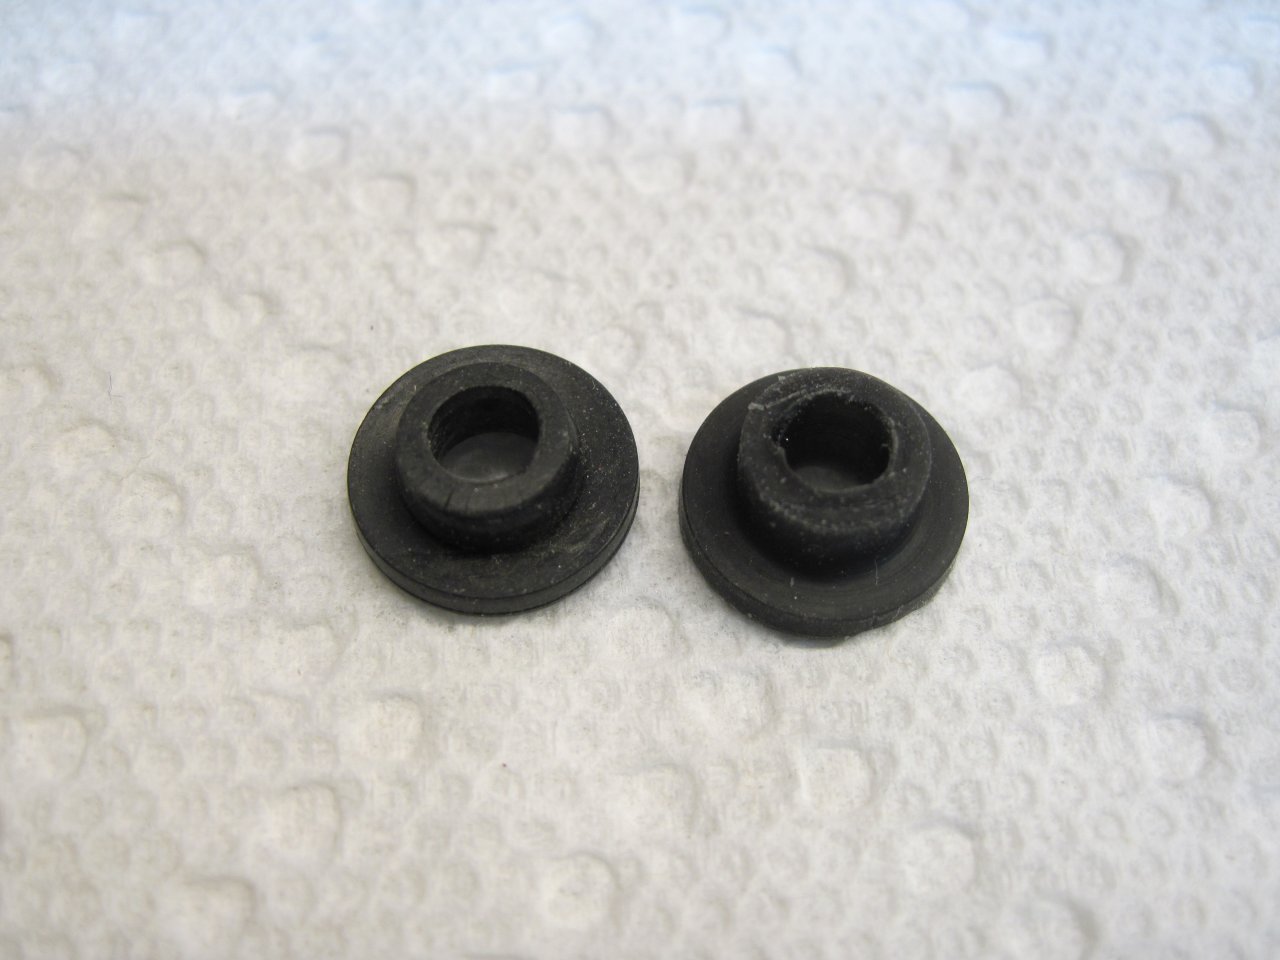
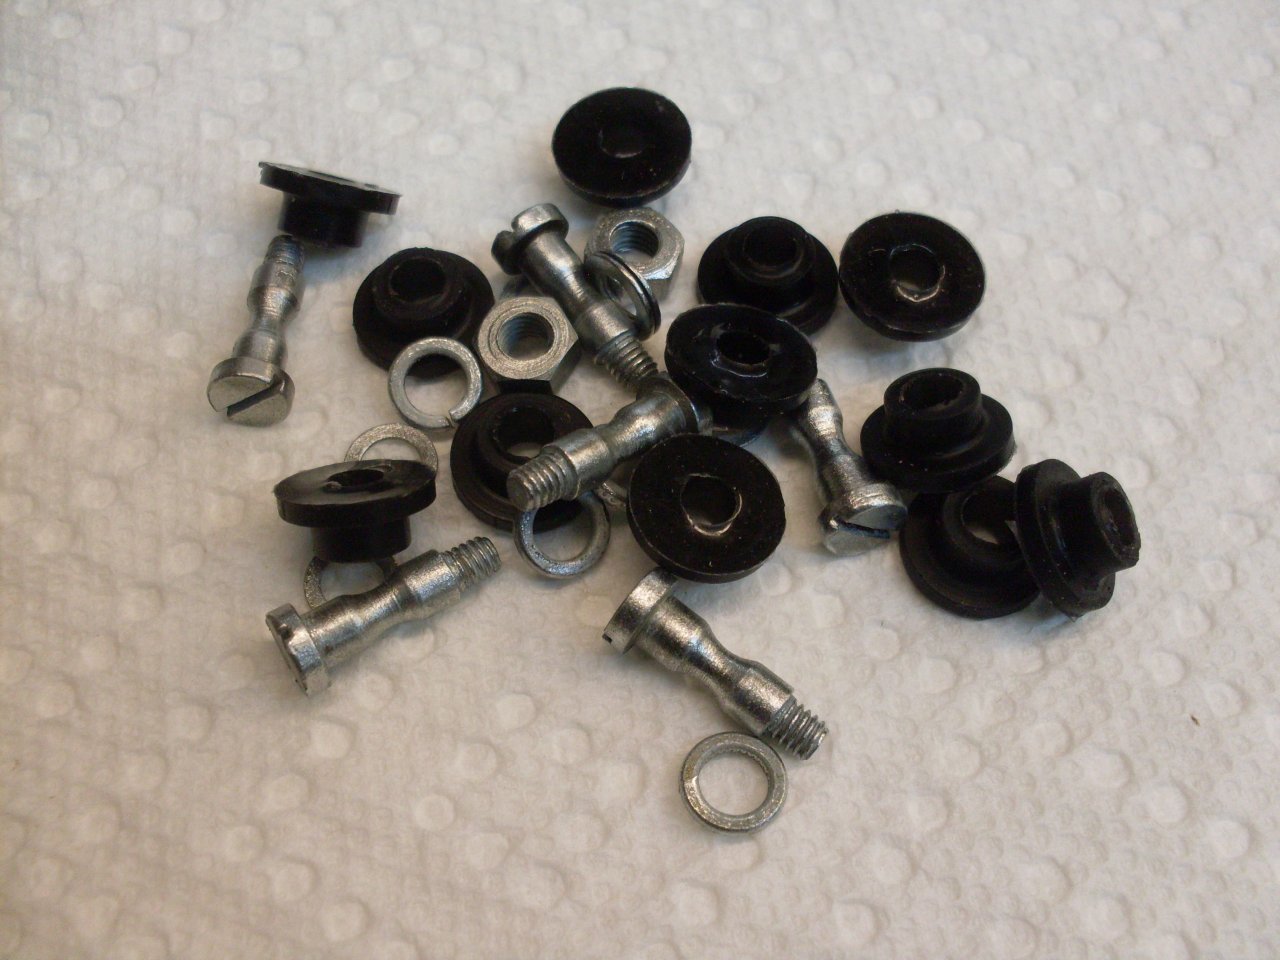
Here is the hardware that goes with the grommets, all fershly zinc plated.
Comments to: elhollin1@yahoo.com