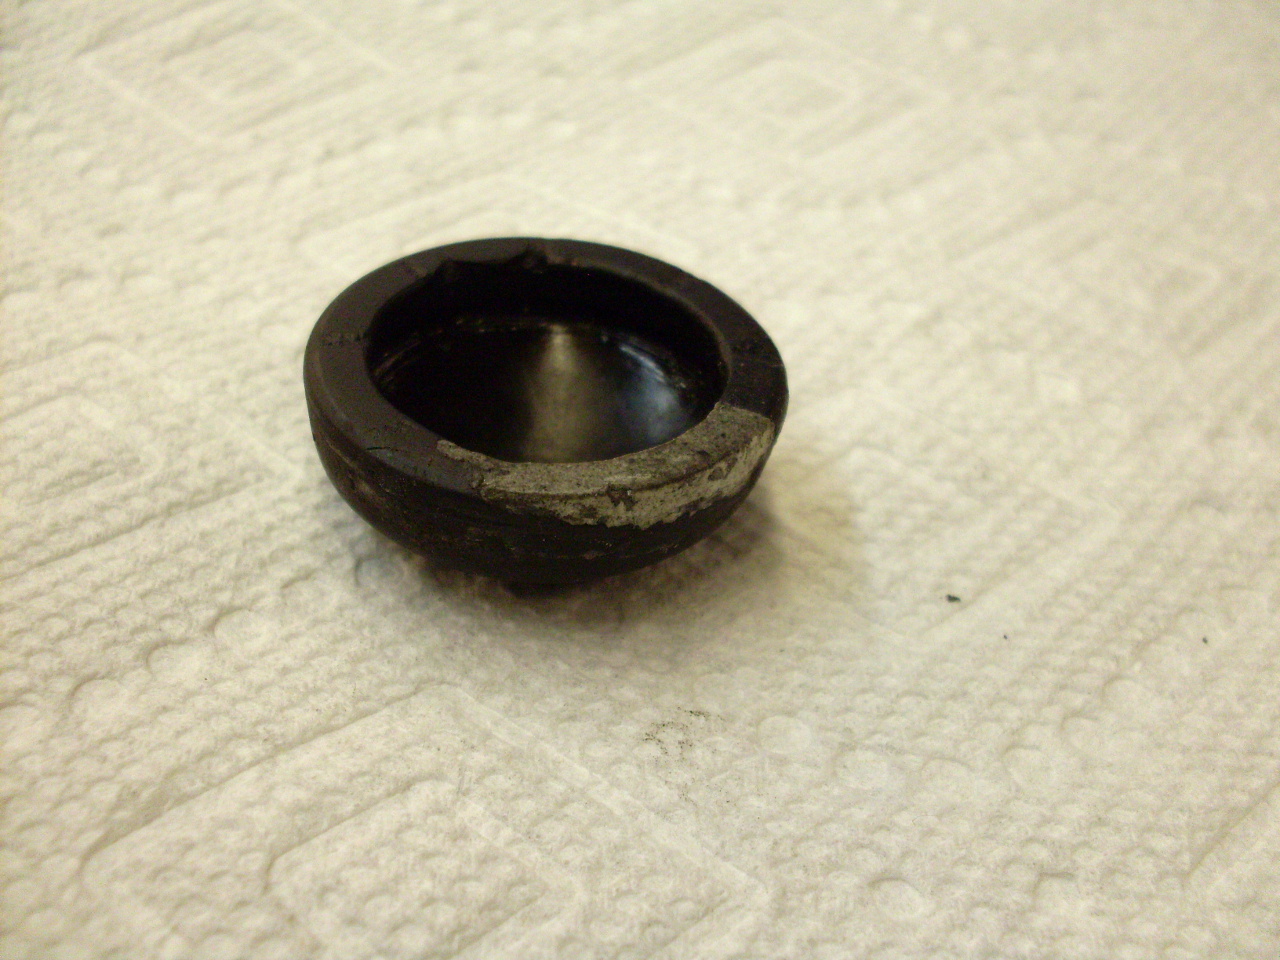
Casting a new rubber spindle end cover for rthe starter motor on a 74 TR6.
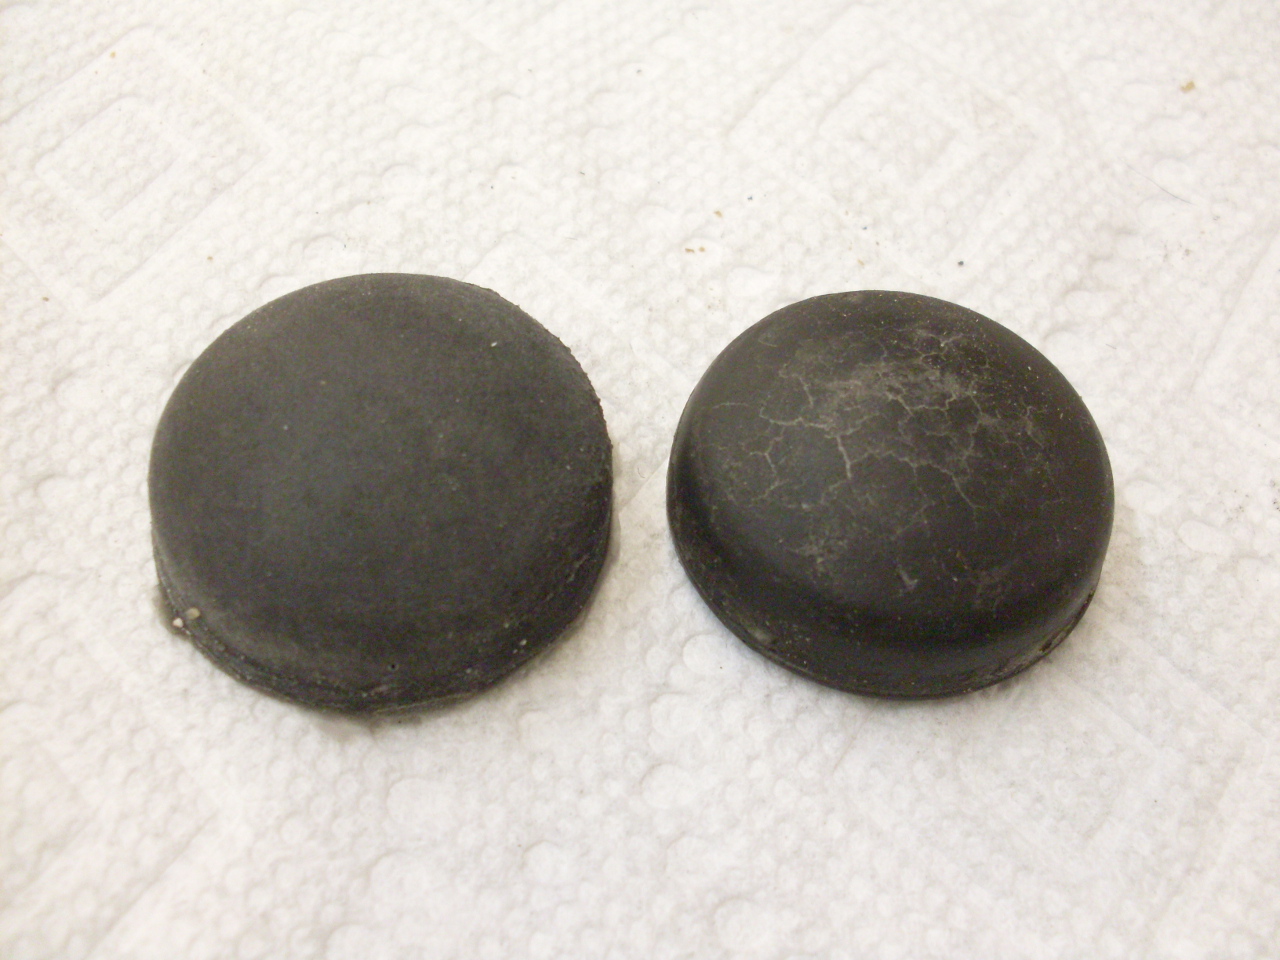
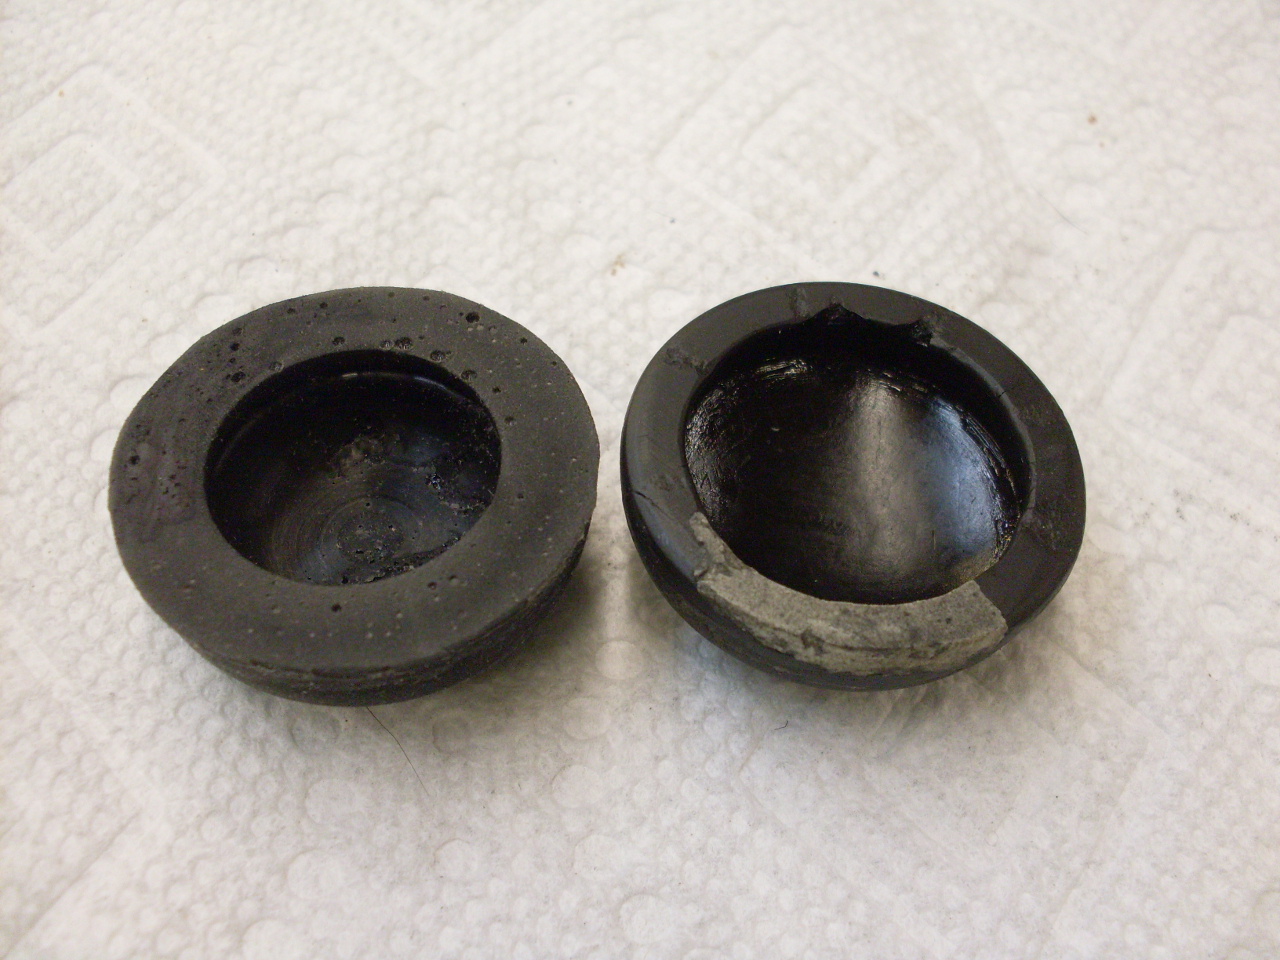
This rubber cap was hard, brittle, and part of the lip had broken away:
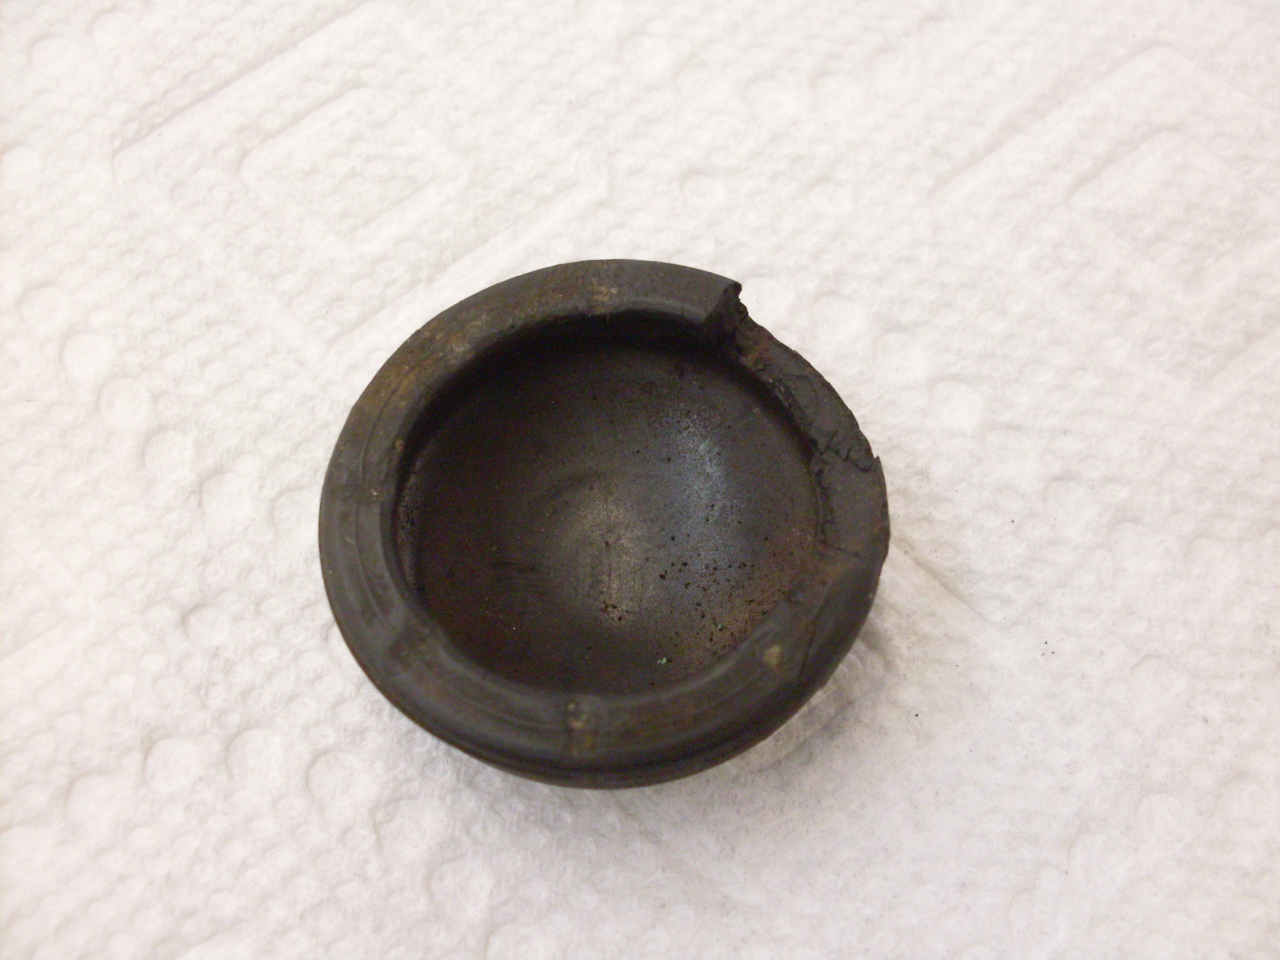
I was able to fill in the missing areas and some cracks with Bondo:
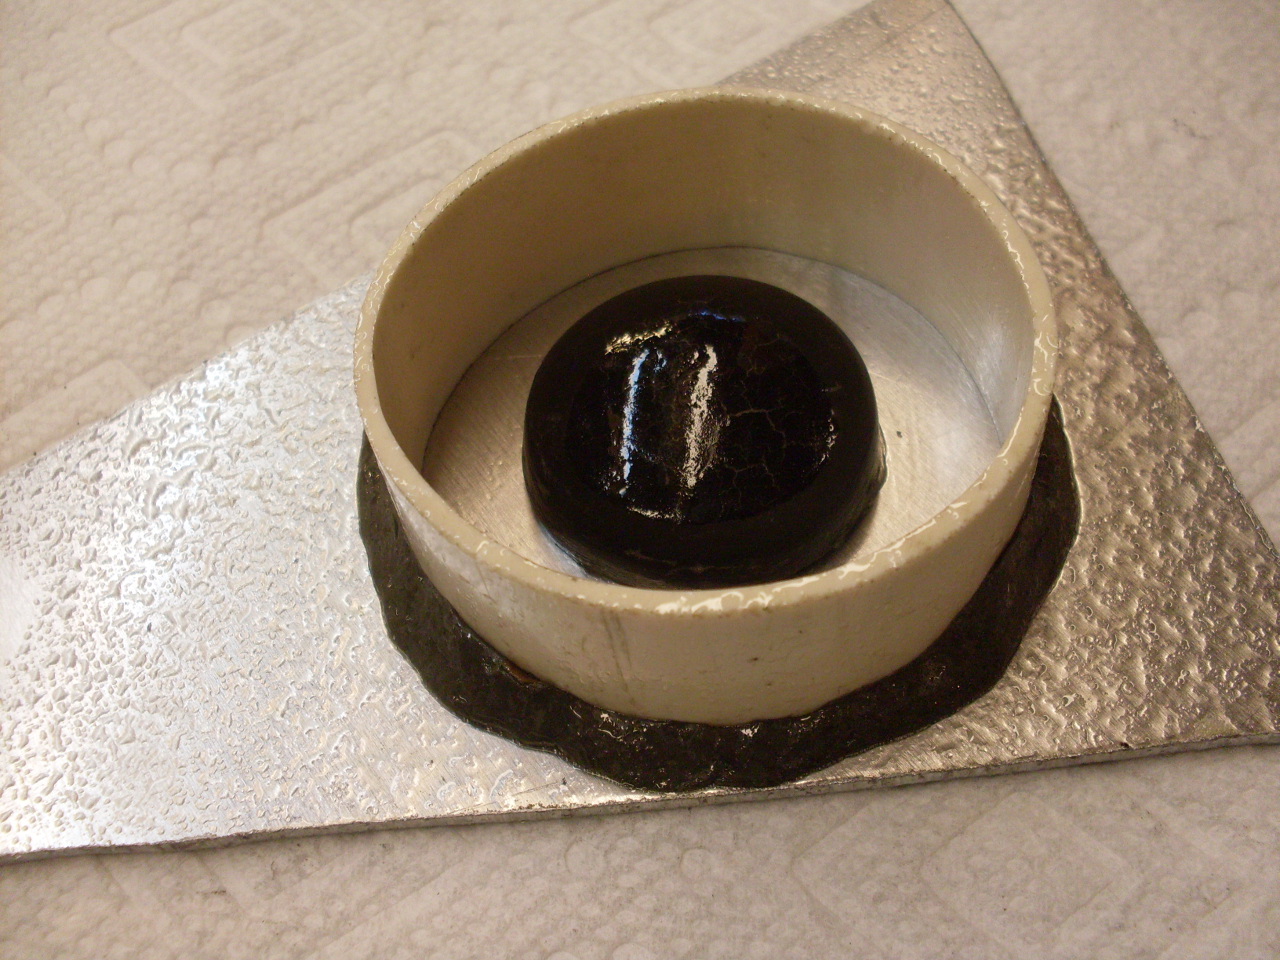
I
filled the interior of the cap with vaseline with a steel nut embedded.
this was to keep the cap from trying to float in the liquid
plaster. I made a dam of a piece of 2" PVC, and sealed it with
clay to a scrap piece of aluminum. Then sprayed everythoing with
Pam as a release agent.

Then poured in ordinary Plaster of Paris.
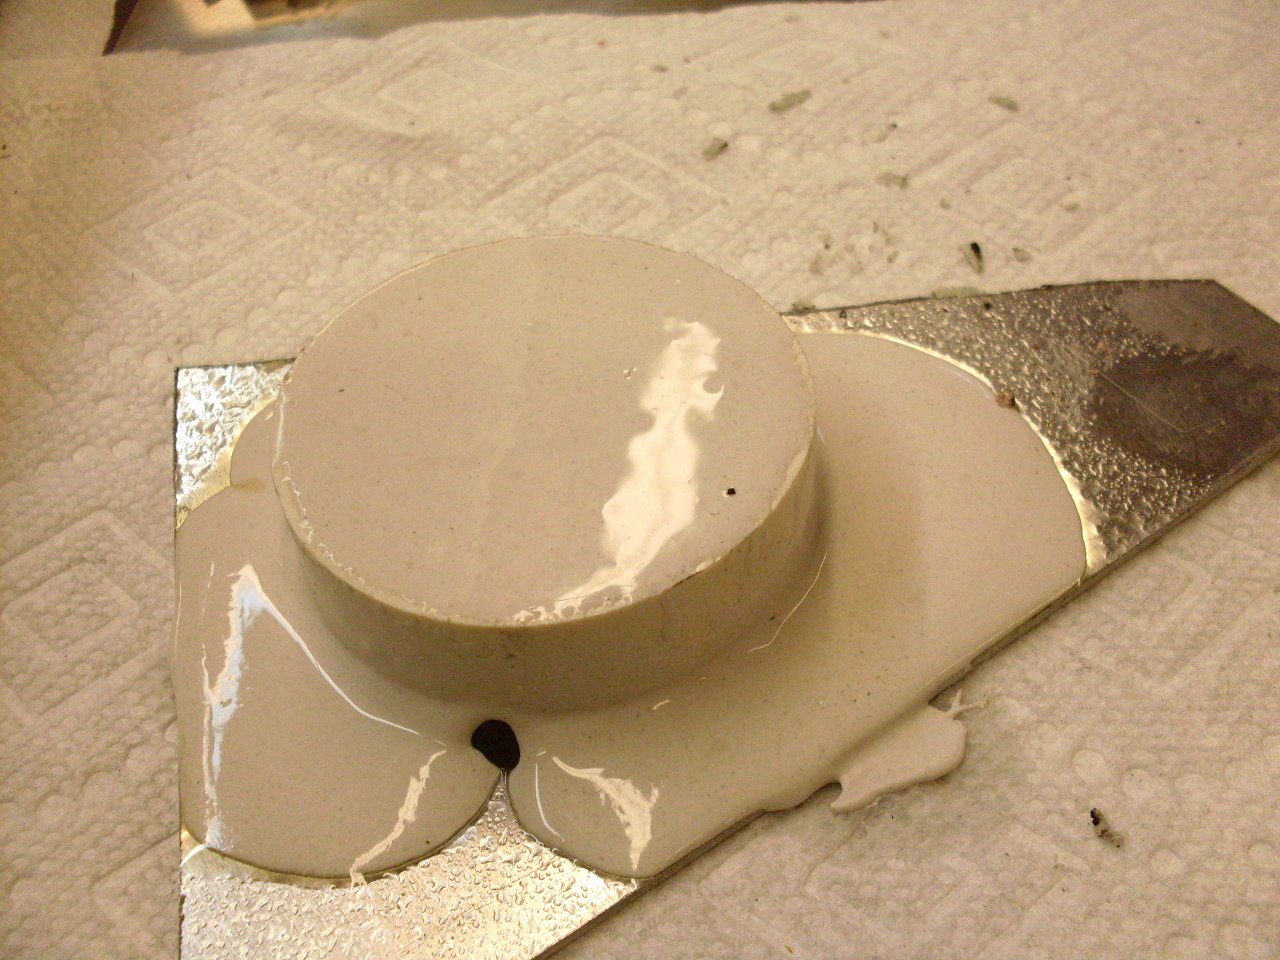
An
hour later, I had an exterior mold for the cap. I lost a little
of the sharp edge of the mold while removing the pattern, but illed it
in with bondo.
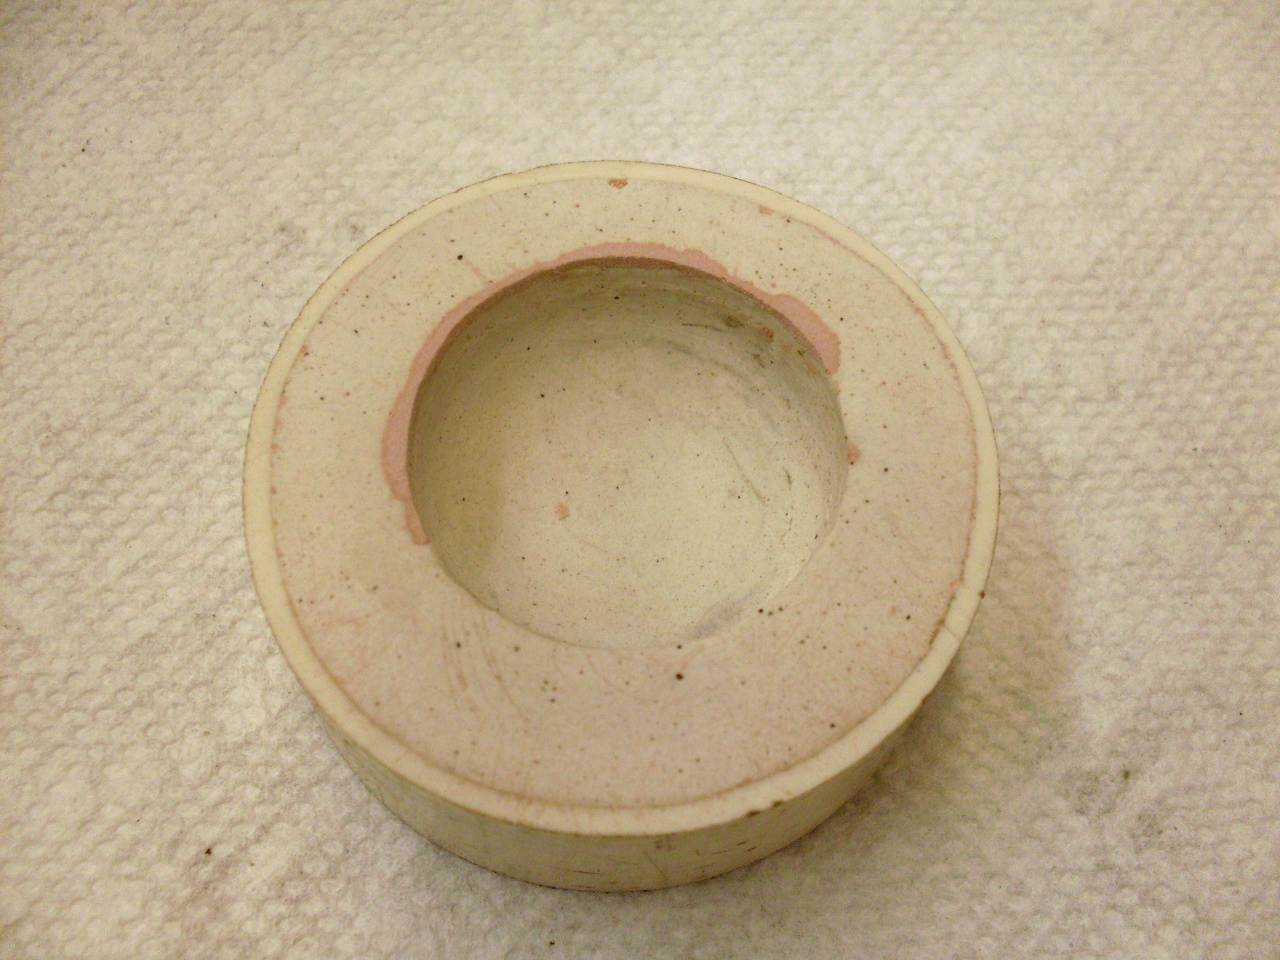
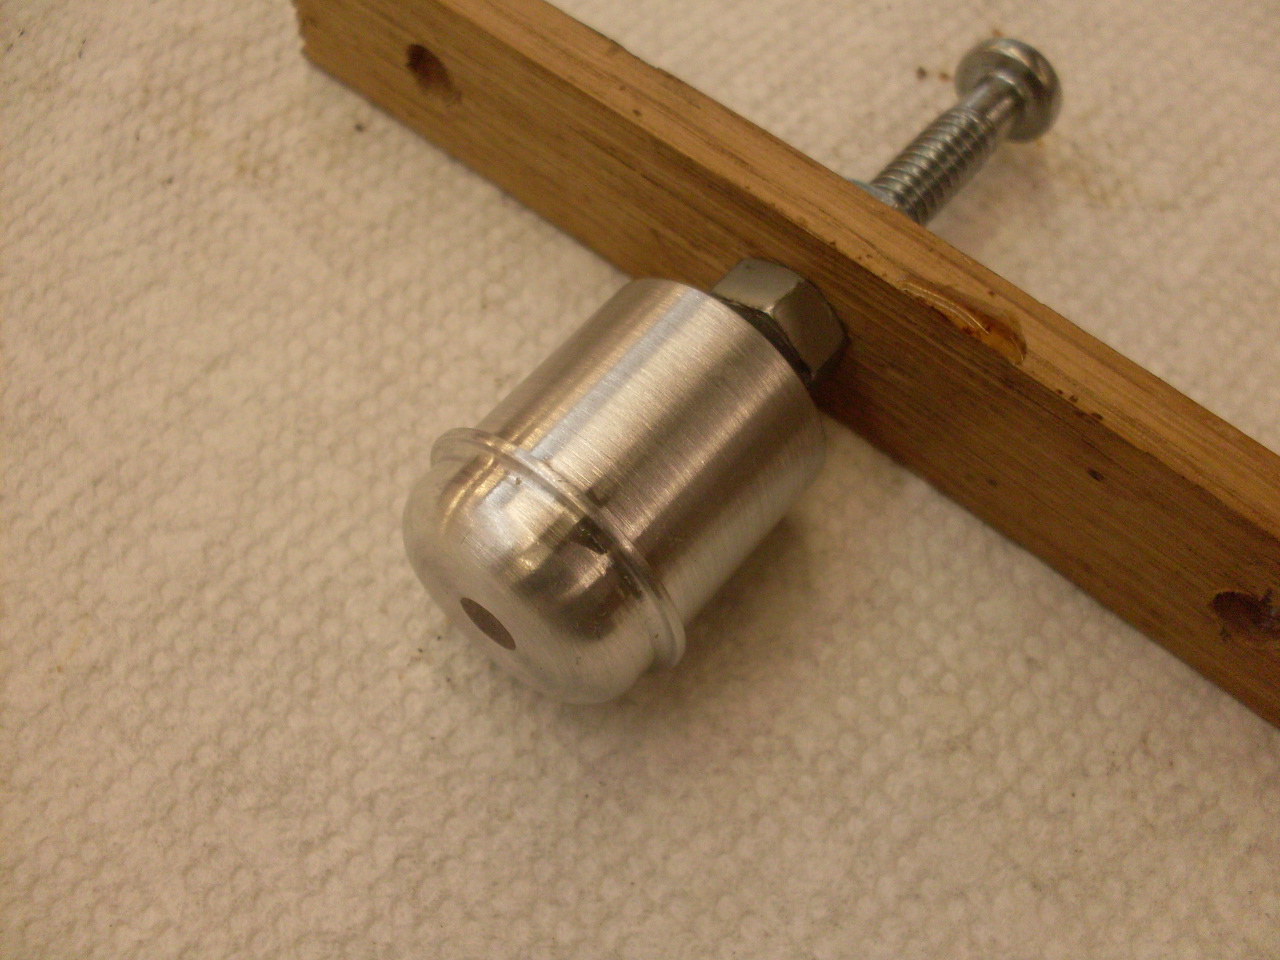
Next,
I machined a piece to form the inner cavity of the cap. The cap
had to have a groove in the inner circumference. This groove fits
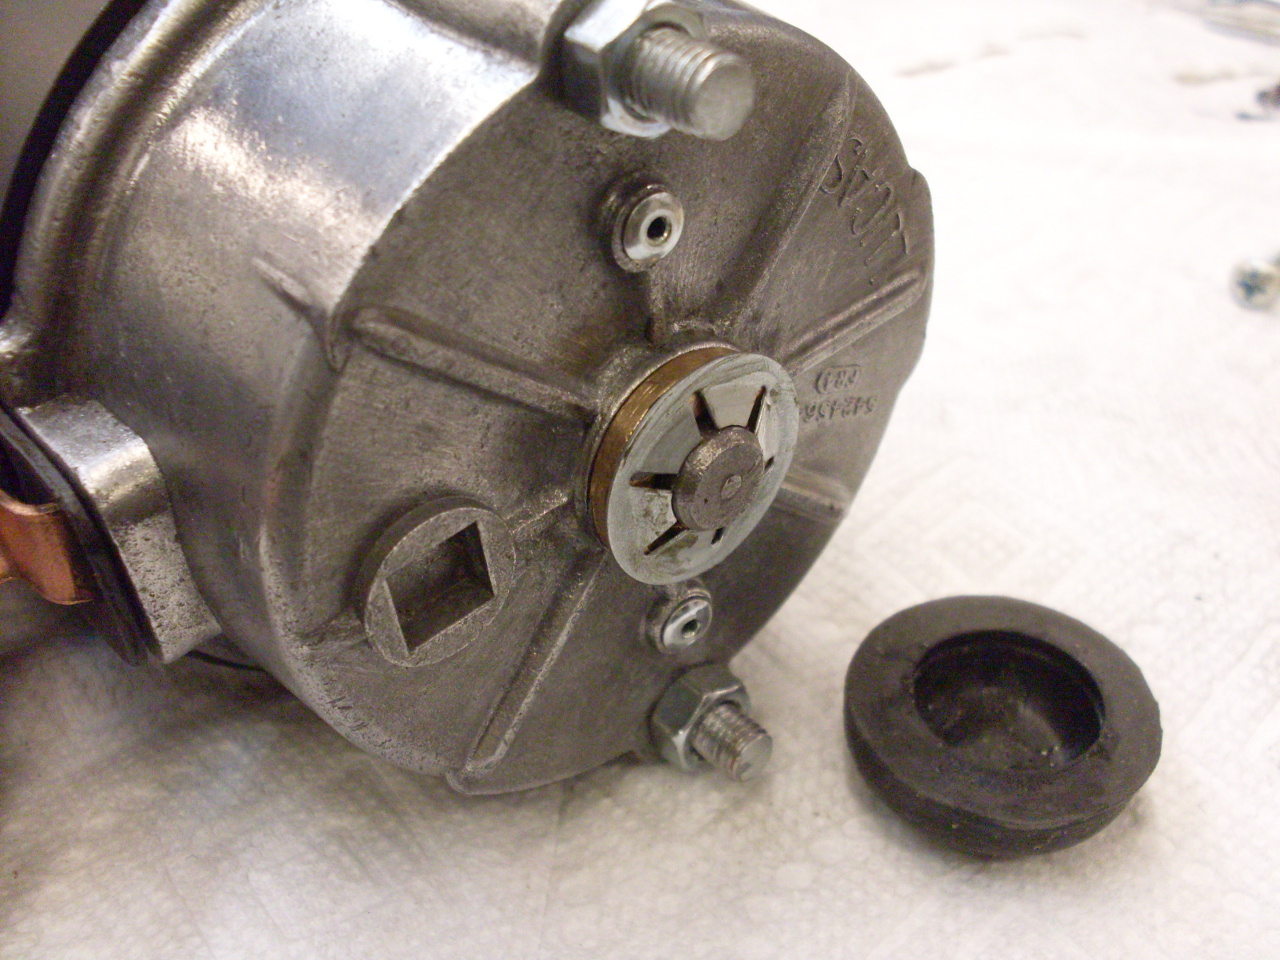
around the edge of a push nut that goes on the starter armature spindle.
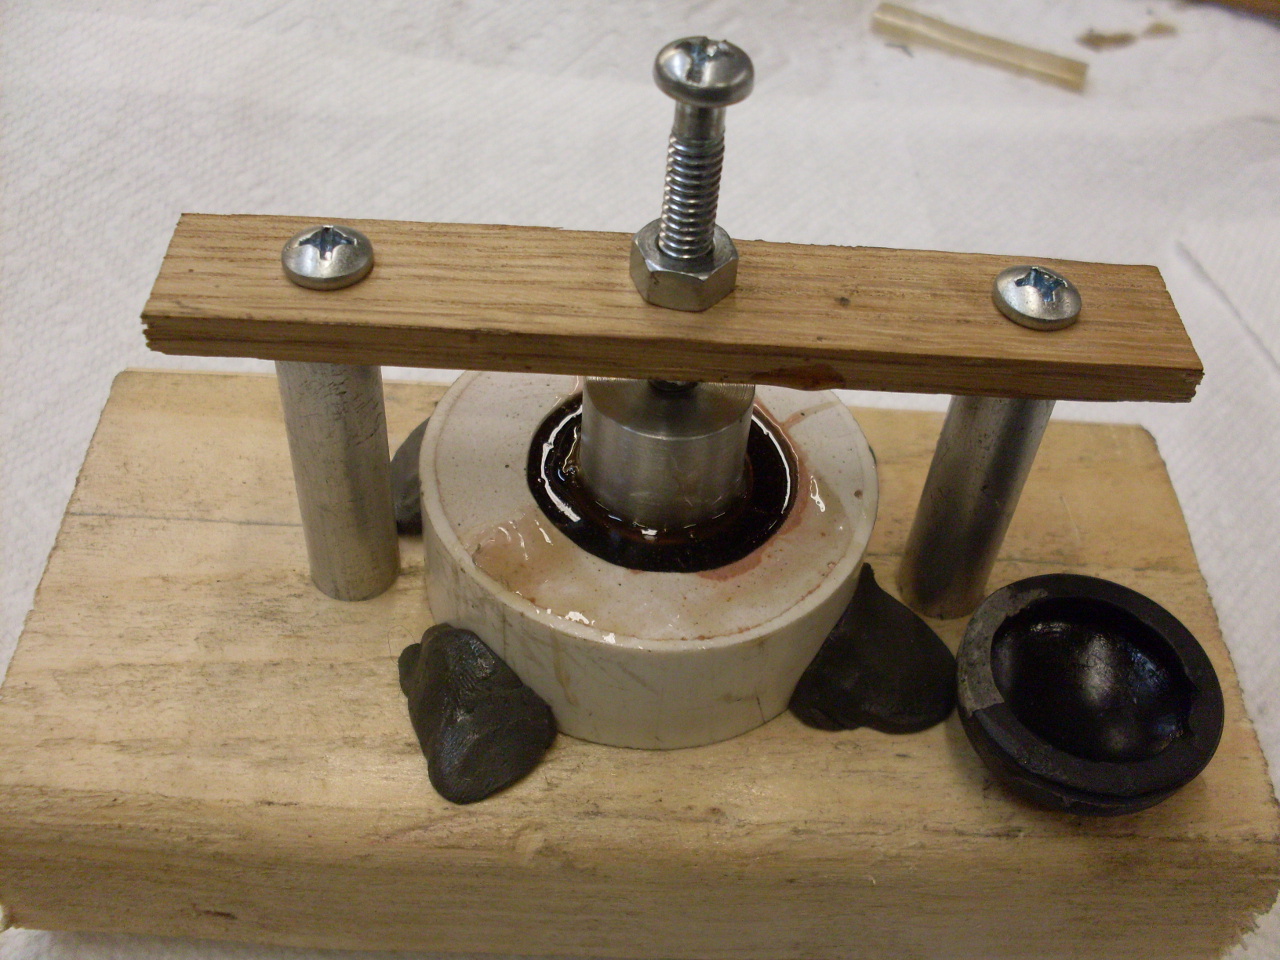
Here
is the arrangement to hold the core part of the mold in the right
relationship to the exterior part. The Urethane resin I used sets
in about 24 hours.
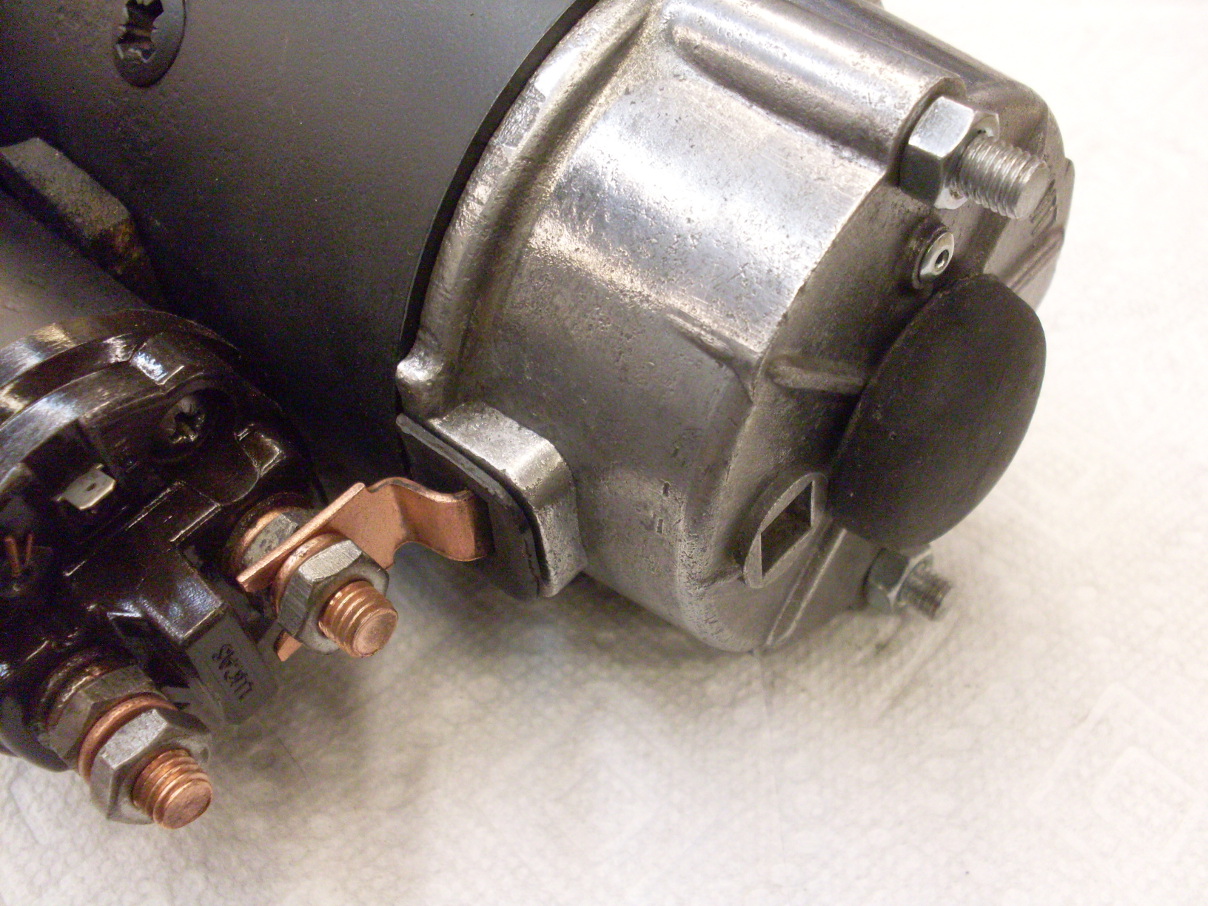
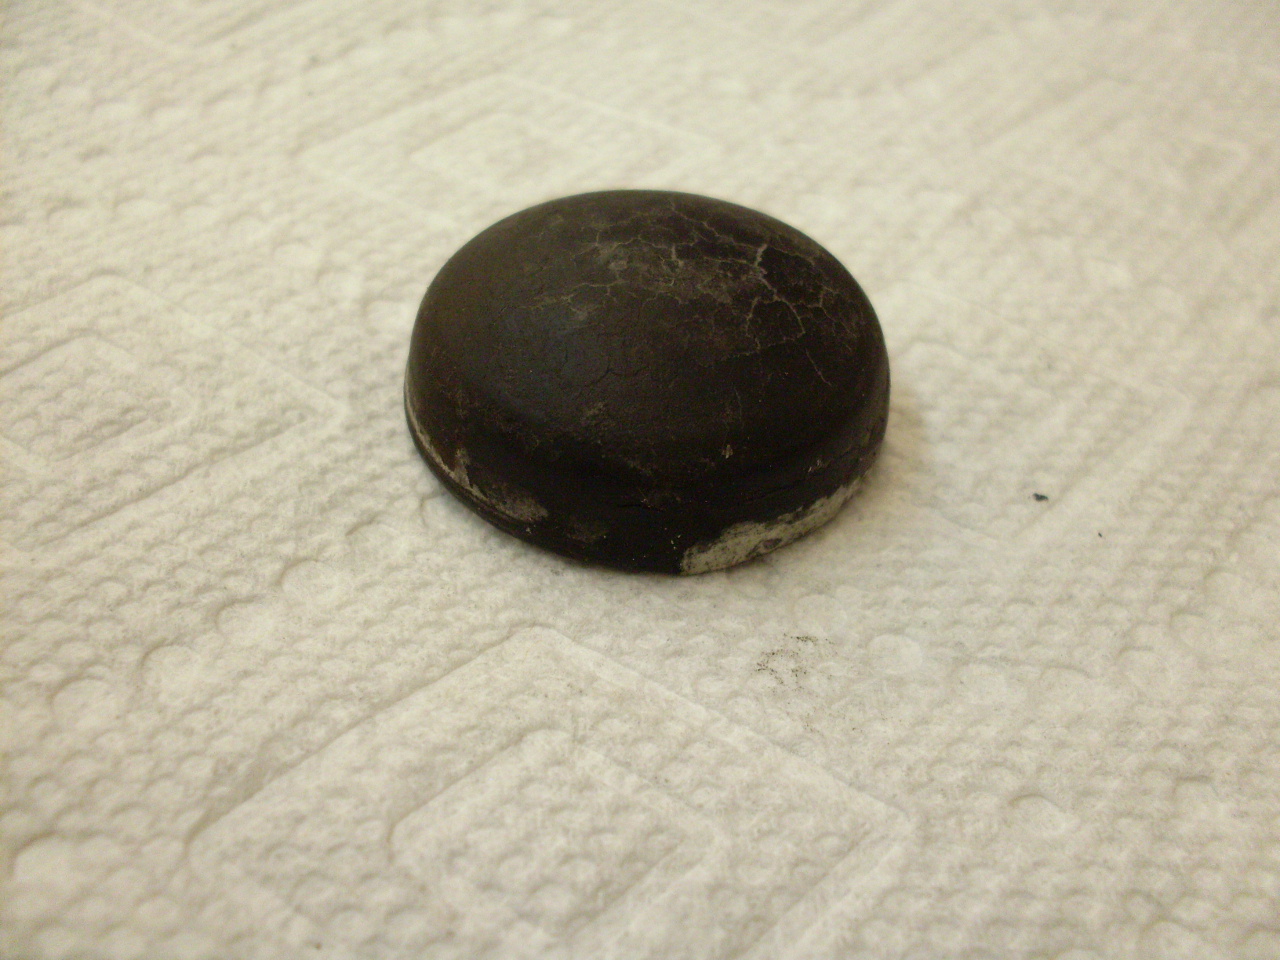
The new part is on the left in each picture. The thicker wall in the new part is intentional.
Here is the part installed on the starter: