Inexpensive Blast Cabinet Mods
To
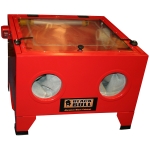
help with the rebuilding of my old Triumph Motorcycle, I bought this
small benchtop blast cabinets from Tractor Supply. It was
around $100, and is similar to one offered by Harbor Freight, but has the chamber door on the top rather than on the side.
[Click pictures to get a bigger view. Except this one]
While
the cabinet worked passably well, I soon discovered a number of annoyances.
First, the cabinet leaked media. I was using glass beads,
and after using it for half an hour, there was media everywhere on he
bench and the floor. I know now that glass beads on the floor
behave a lot like millions of tiny ball bearings when someone steps on
them.
Second,
the fluorescent lignt in the cabinet is worthless--it was sometimes
hard to tell whether it was on or off. It was also towards the
back of the cabinet, putting the front of larger pieces in shadow.
Third,
the bottom of the cabinet has two sloping sides to form a trough for
the media to collect in. The pickup tube lays in the bottom of the
trough. After blasting for a while, the media tends to collect at
the end of the trough away form the pickup end of the tube, causing the
tube to suck air. When this happens, you can't just scoop the
media over to the other side because of the mesh screen. I
resorted to tilting the entire cabinet to move the media to the other
side.
Fourth, after using the unit for a while blasting flaky rust, the blast nozzle started getting clogged with big flakes of rust.
Lastly,
the interior of the cabinet got very dusty after a few minutes.
Some sort of vacuum would help clear the dust for better
visibility.
I finally reserved a weekend to improve the performance of the cabinet.
The
first thing I did was to take the entire cabinet apart and reassemble
it with gaskets and/or RTV to attempt to make it media-tight.
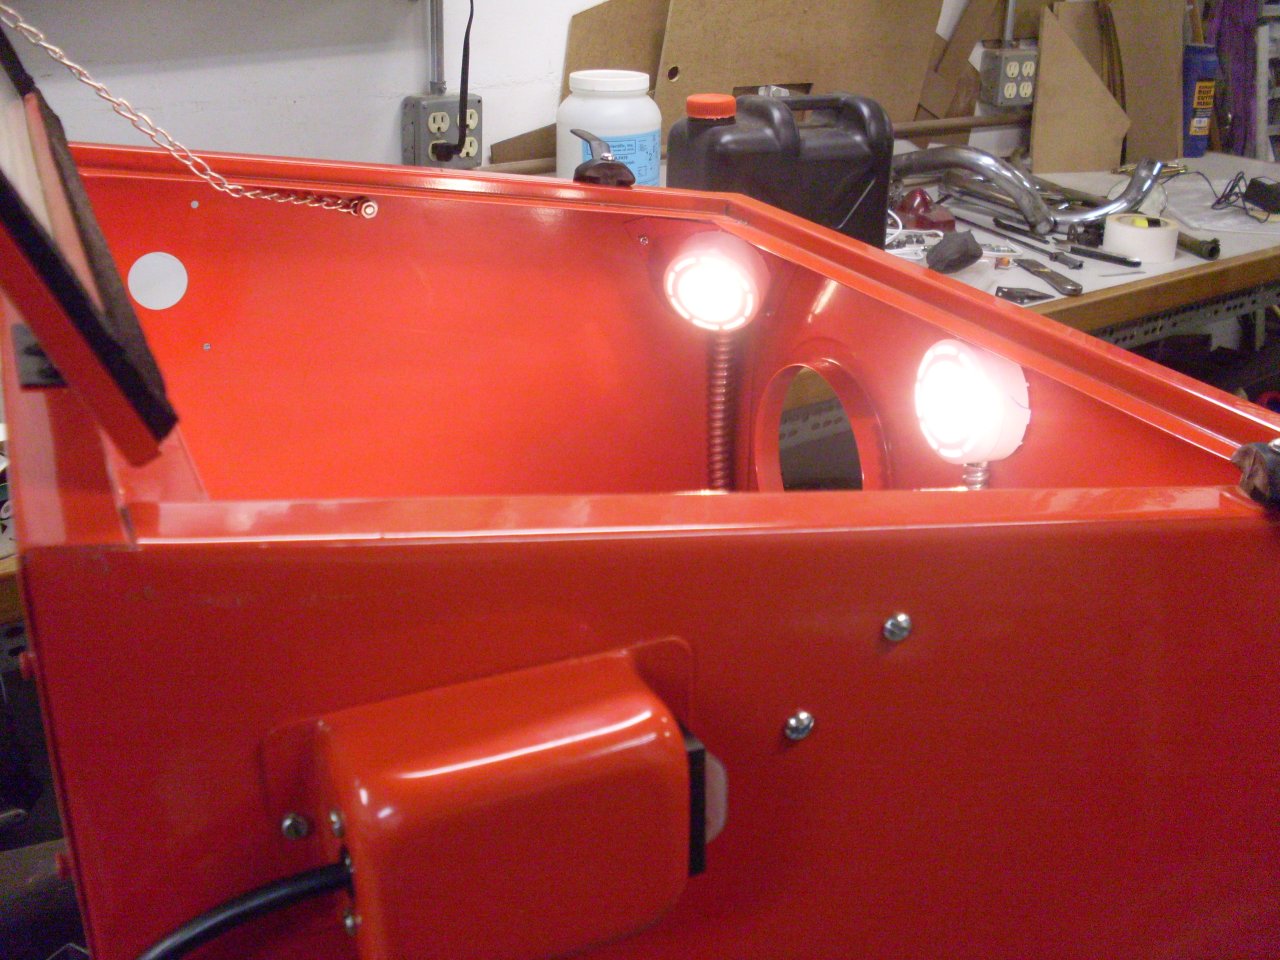
The
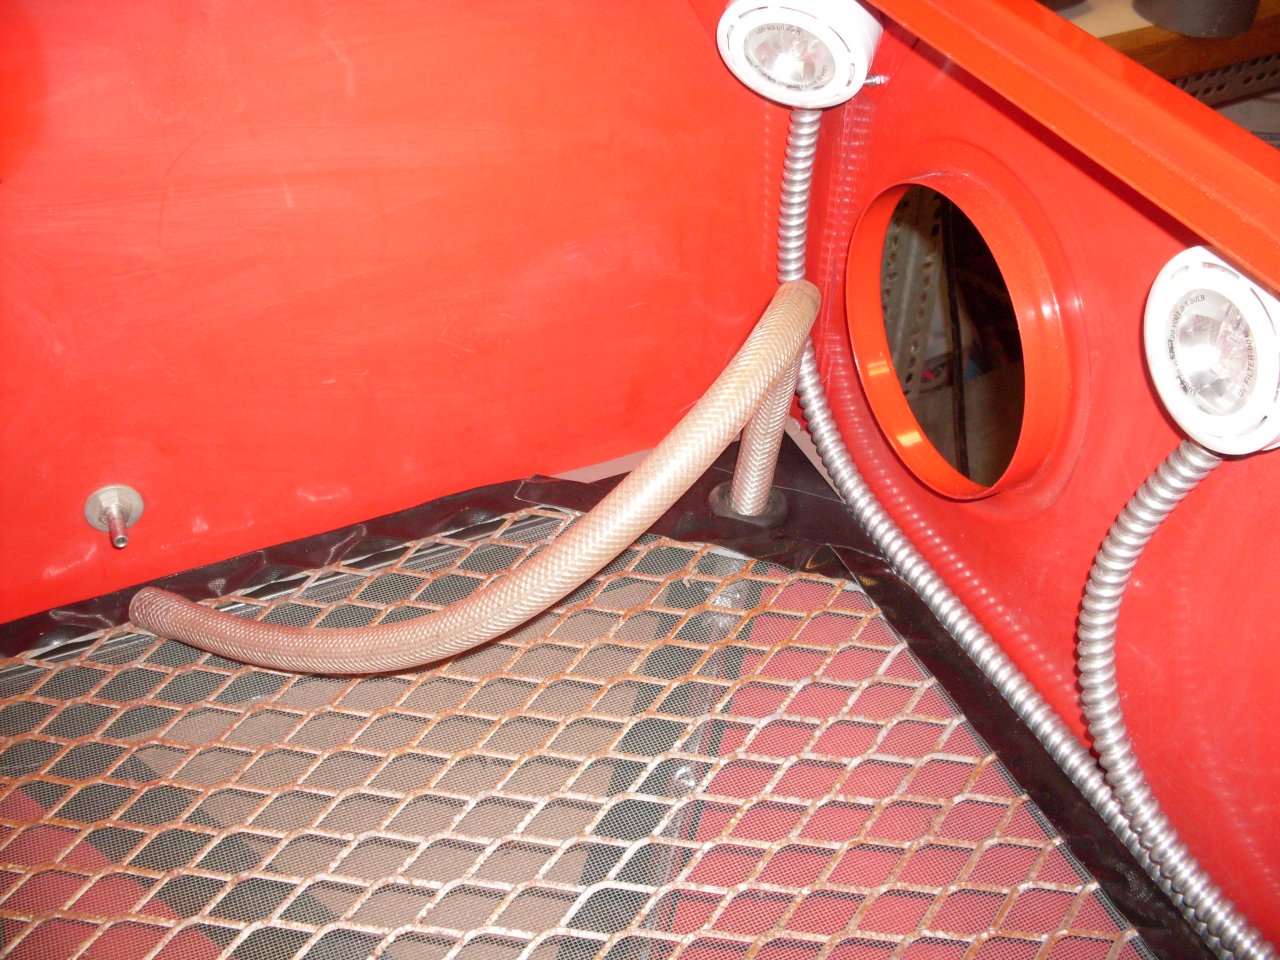
next thing was to improve the lighting. I had a set of five
20-watt halogen under cabinet lights that I never used on a remodeling
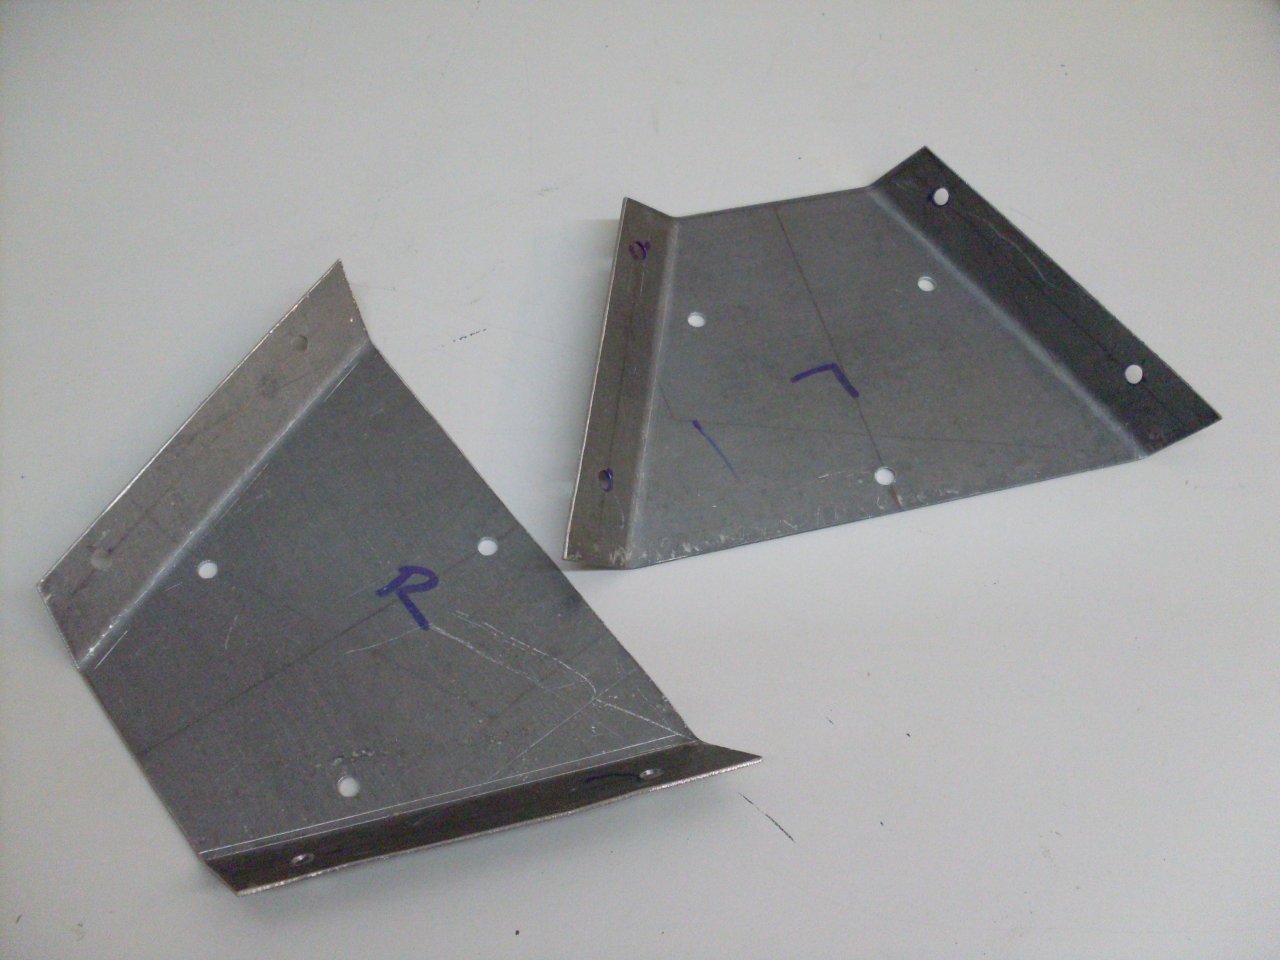
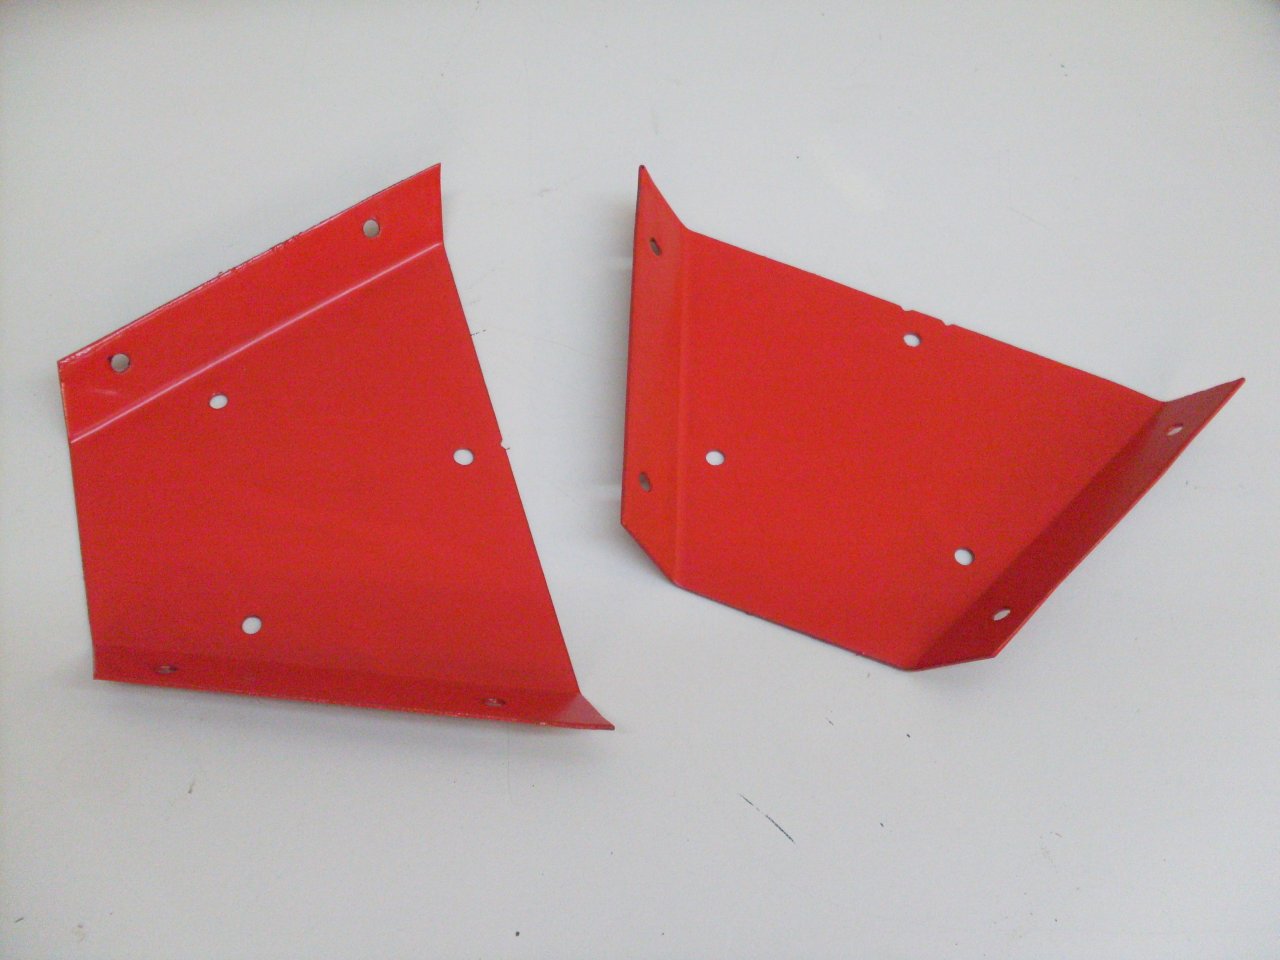
project, and decided to use three of them. I placed one light in
the center of the front wall, just under the lid latch. The other
two lights went on custom corner brackets that aimed the light toward
the center of the blasting space.
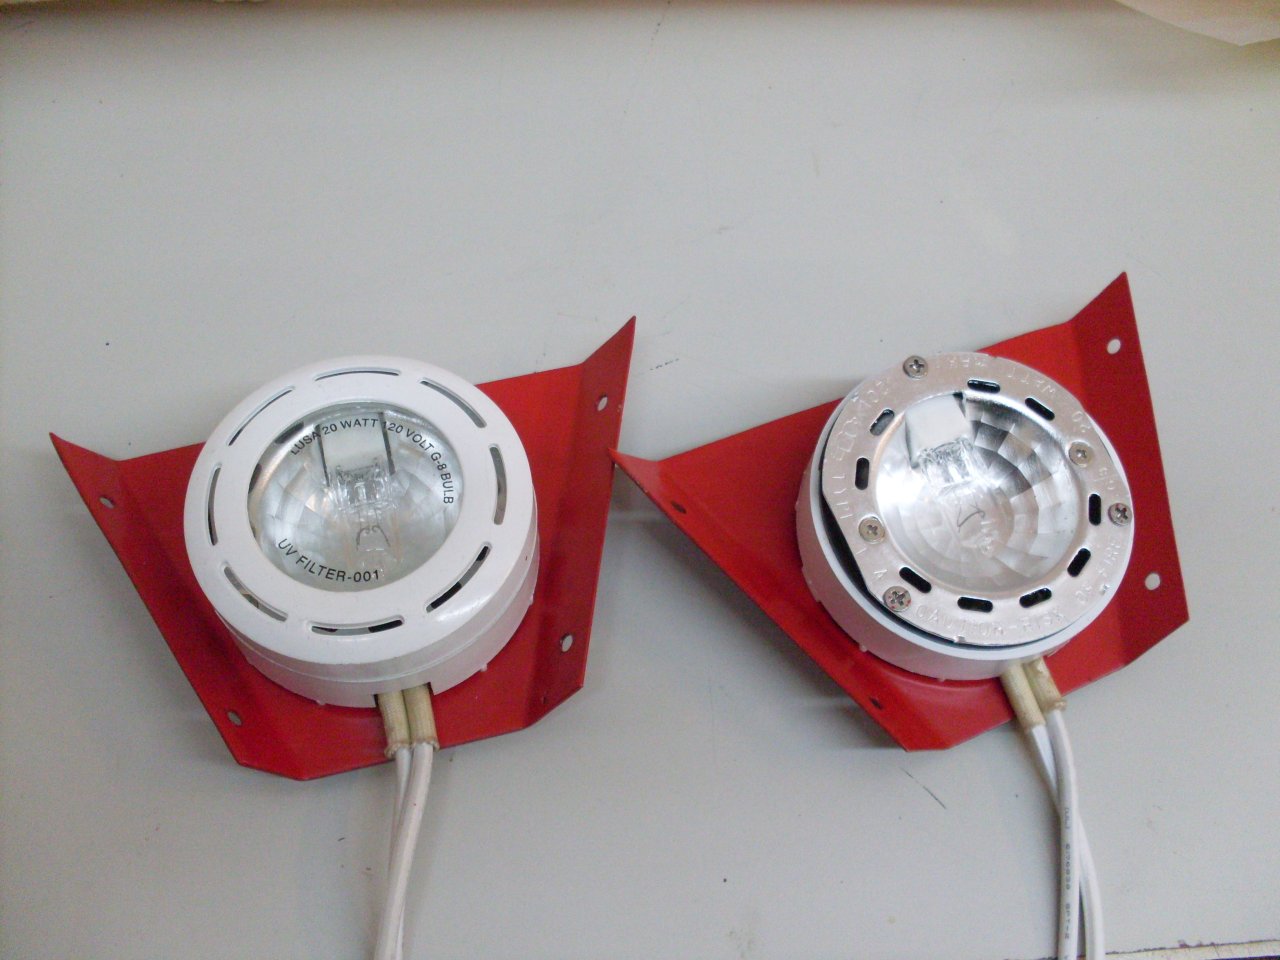
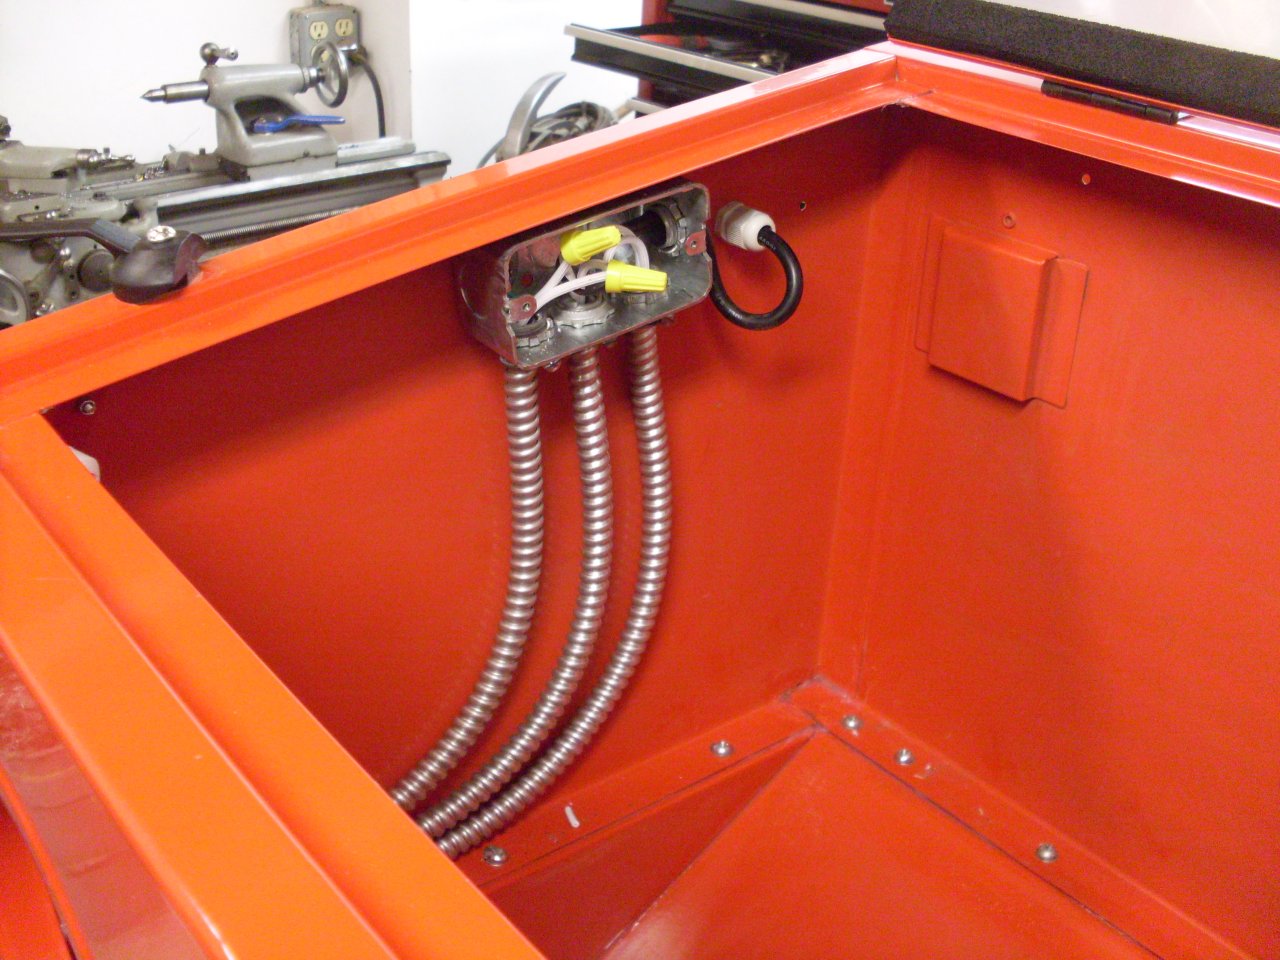
These
lights are 120 VAC, so no transformer was needed, but for safety, I put
the wiring in flexible conduit. The conduit connected to an
internal box that hooked to the original exterior light switch.
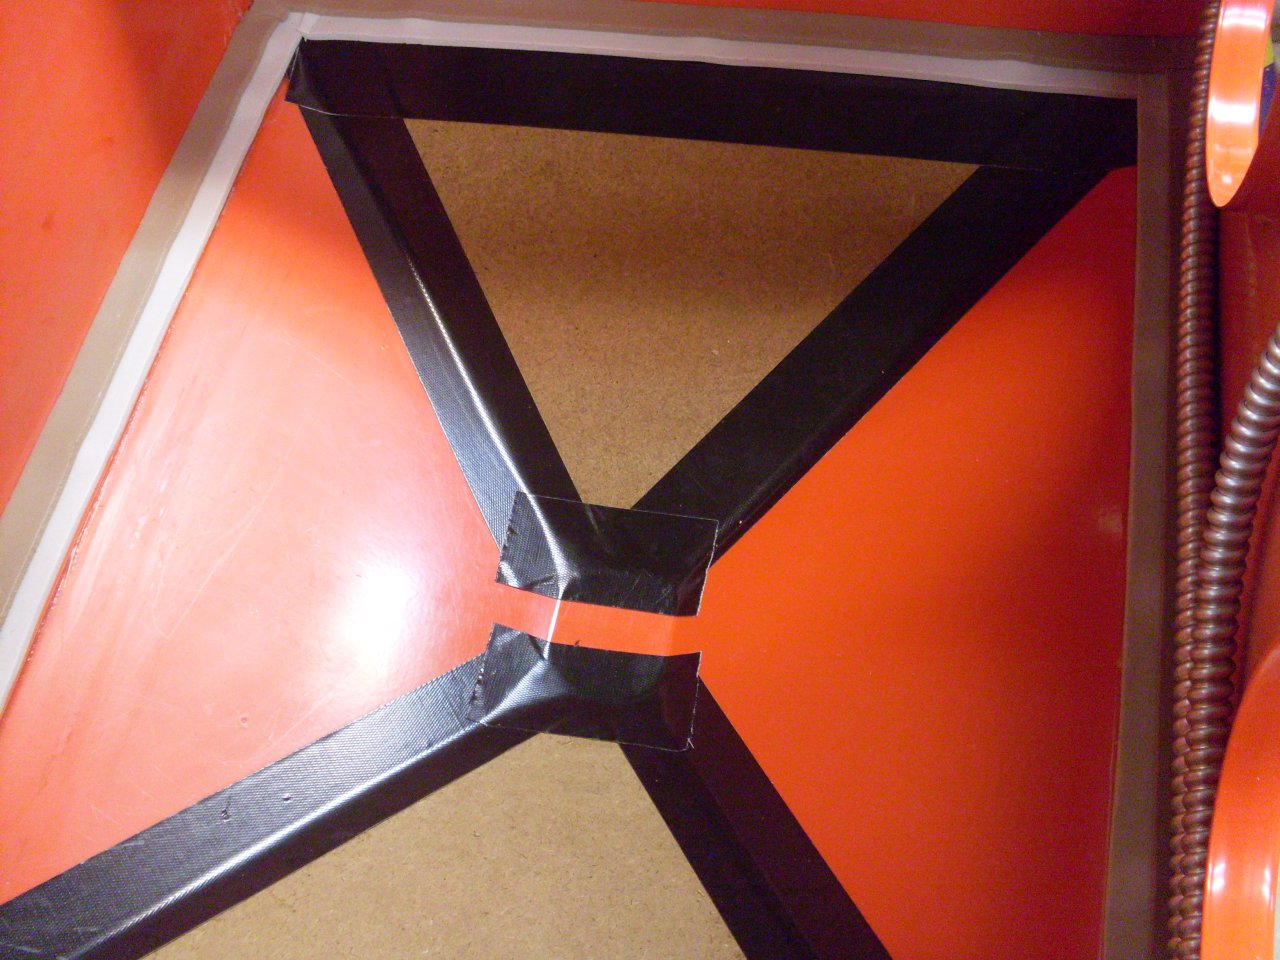
Next
up was to improve the way the media collects at the bottom of the
cabinet. Larger floor model cabinets have a four-sided
inverted-pyrimidal hopper that seemed a better shape to keep the feed
tube supplied with beads. I cut two triangular pieces of 1/8"
hardboard and fastened them in place with Gorilla Tape.
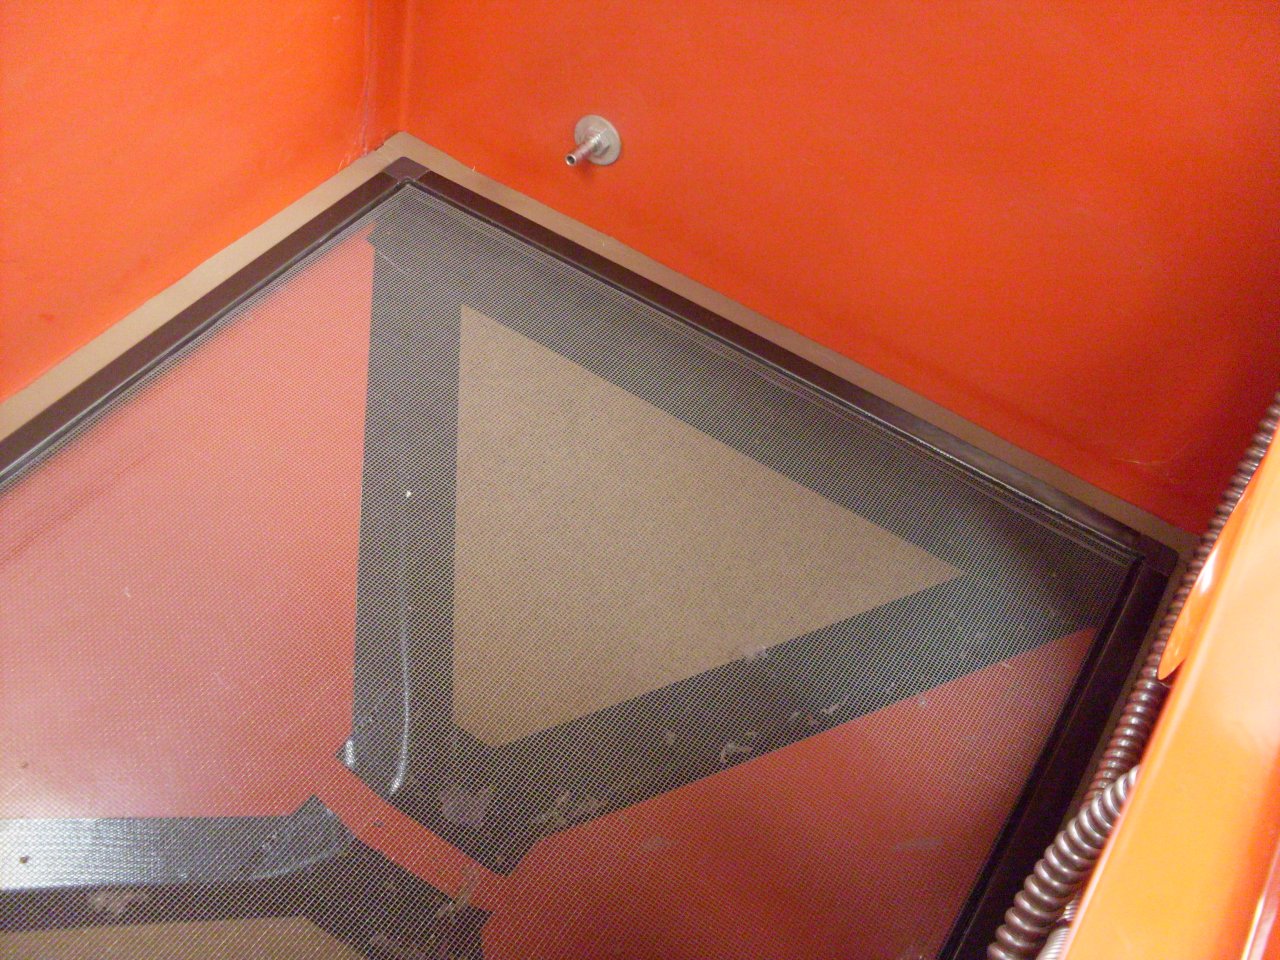
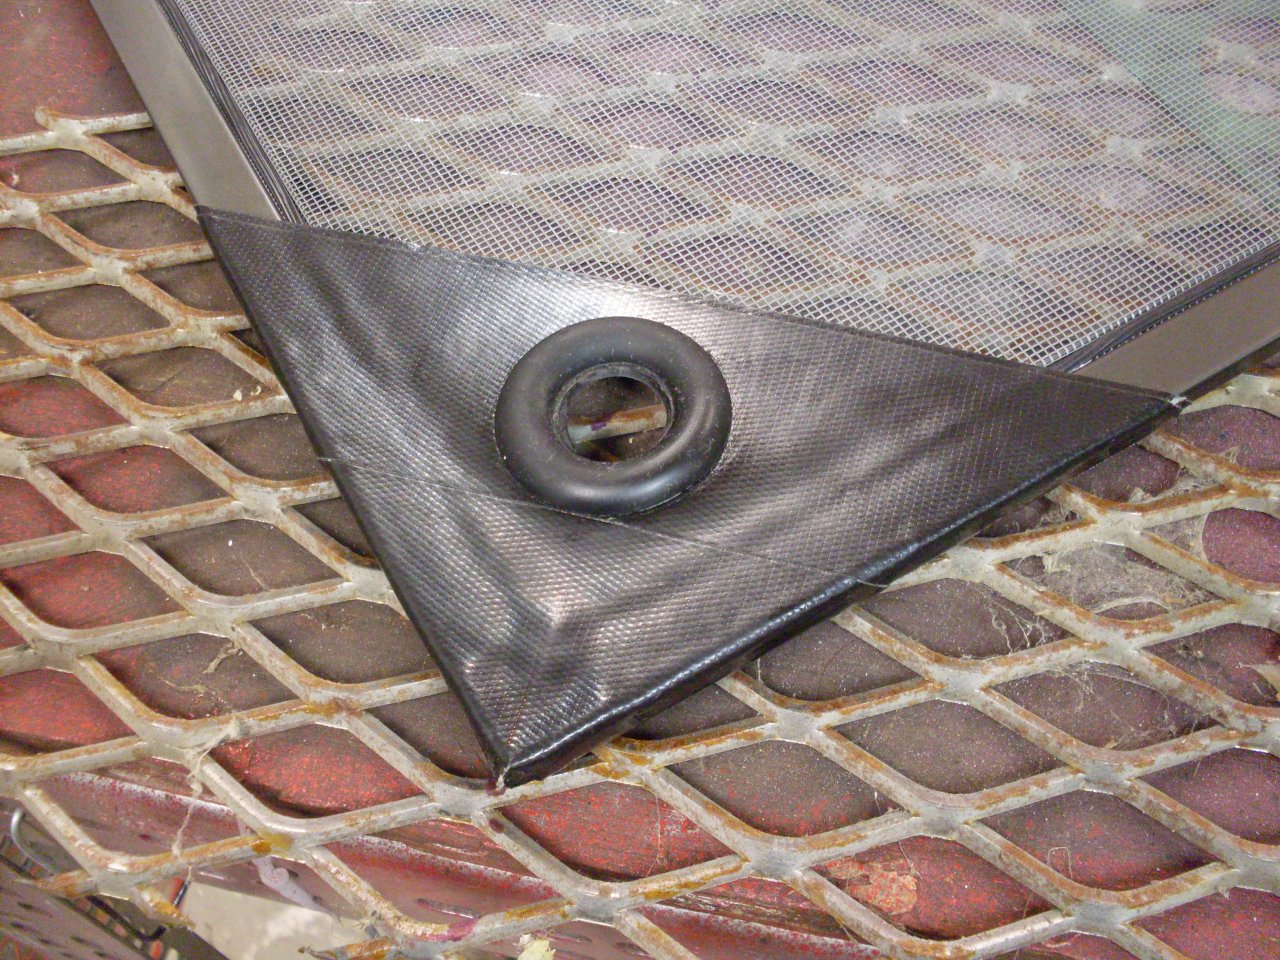
Next,
to keep the grit cleaner, I decided to put a screen under the support
mesh to keep back the larger crud. There is a layer of 1-1/4-inch
foam tape on the ledge around the perimiter of the box. On top of
that is a 3/4-inch wide foam tape. I made a framed screen out of
standard window screen materials, sized so that it fits snugly on top of
the 1-inch foam, inside the narrower tape. For the pass-through
for the media feed hose, I fortified one corner with several layers of
Gorilla Tape, then cut a hole for a rubber grommet.
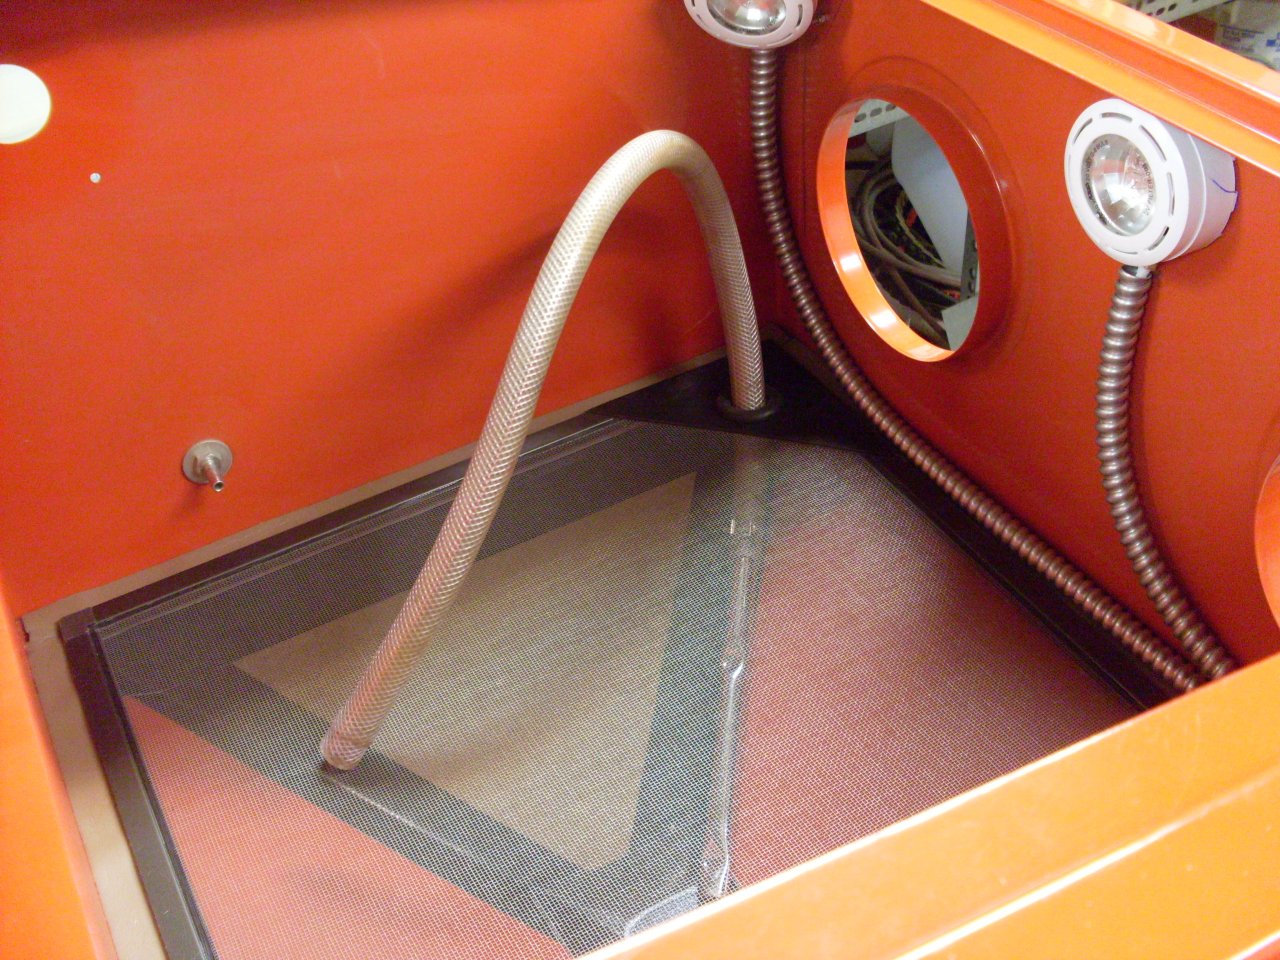
Then
made a new, stouter mesh floor out of expanded steel. Edged it
with folded over Gorilla Tape to softent he sharp edges.
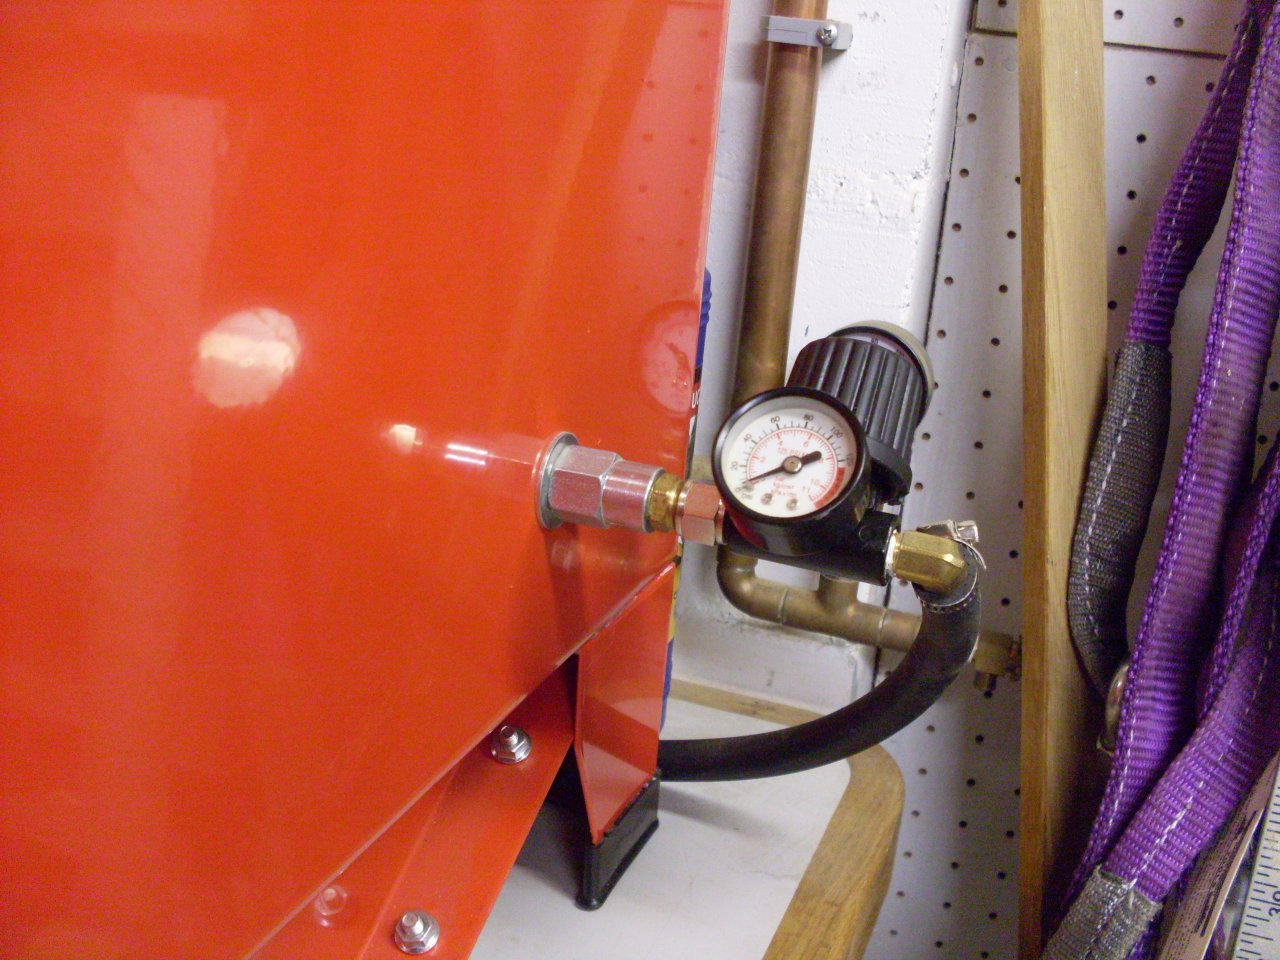
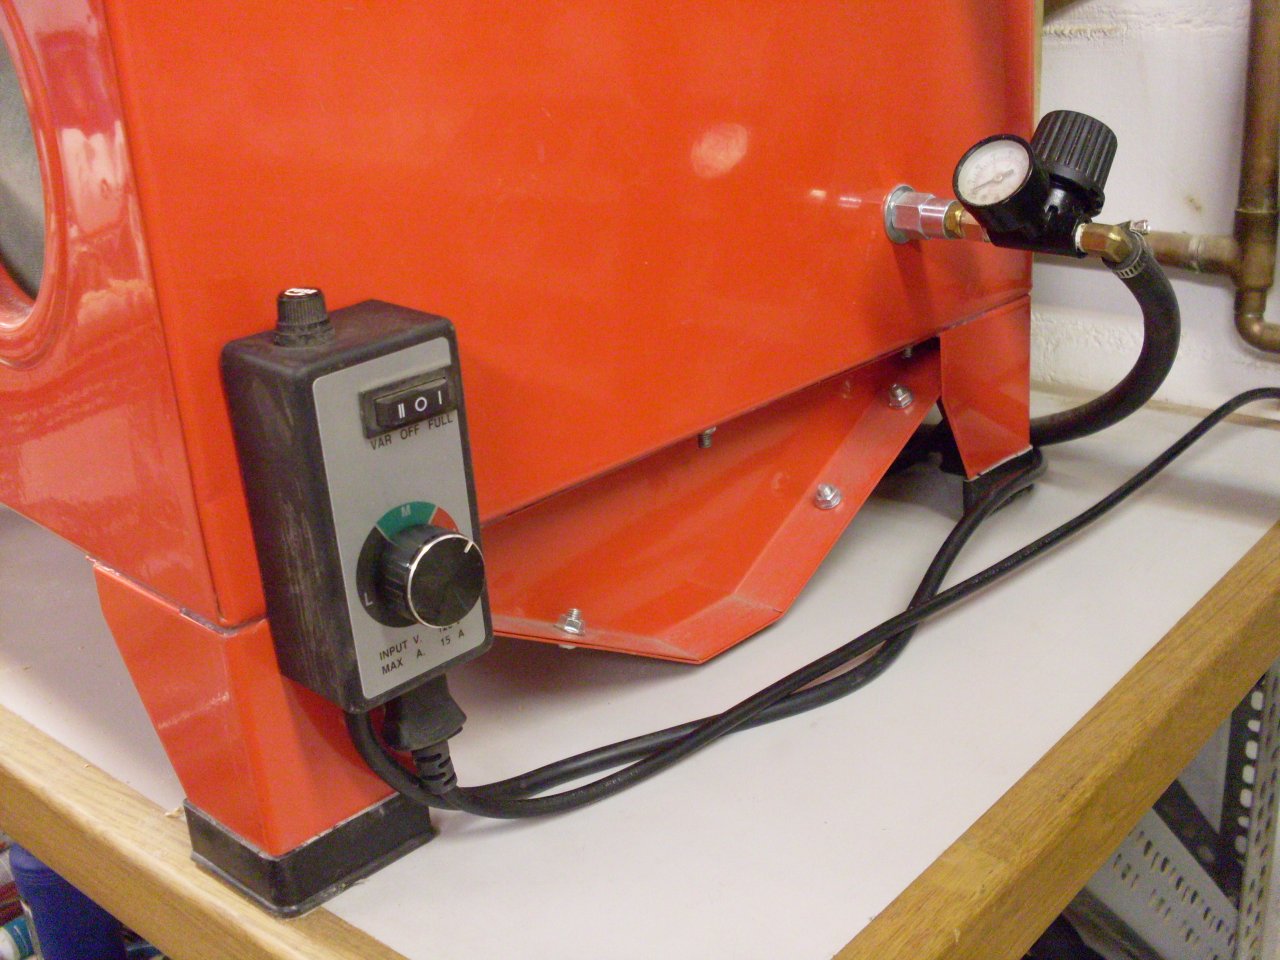
A couple of other fittings were an adaptor on the side vent to accept a vacuum hose, and a pressure regulator at the air inlet.
After
all of this, the cabinet was much more usable, but I had a little
trouble with the media feed being intermittent sometimes. After
looking closely at the feed tube, it occured to me that the double wall
tube was that way for a reason. The only thing I could think of
was that the annular space between the two tubes must be a vent to bring
air down, either to replace the volume of media sucked up the feed
tube, or to assist the flow of media by supplying air for an airstream
up the feed tube. This was confusing, since the configuration
before I did anything to the cabinet had the entire feed tube buried
inthe media. Possibly this explains why intermittent feed is a common
complaint for these units. My feed tube ran up the corner at the
edge of one of the new hardboard baffles, but the vent opening was often submerged under
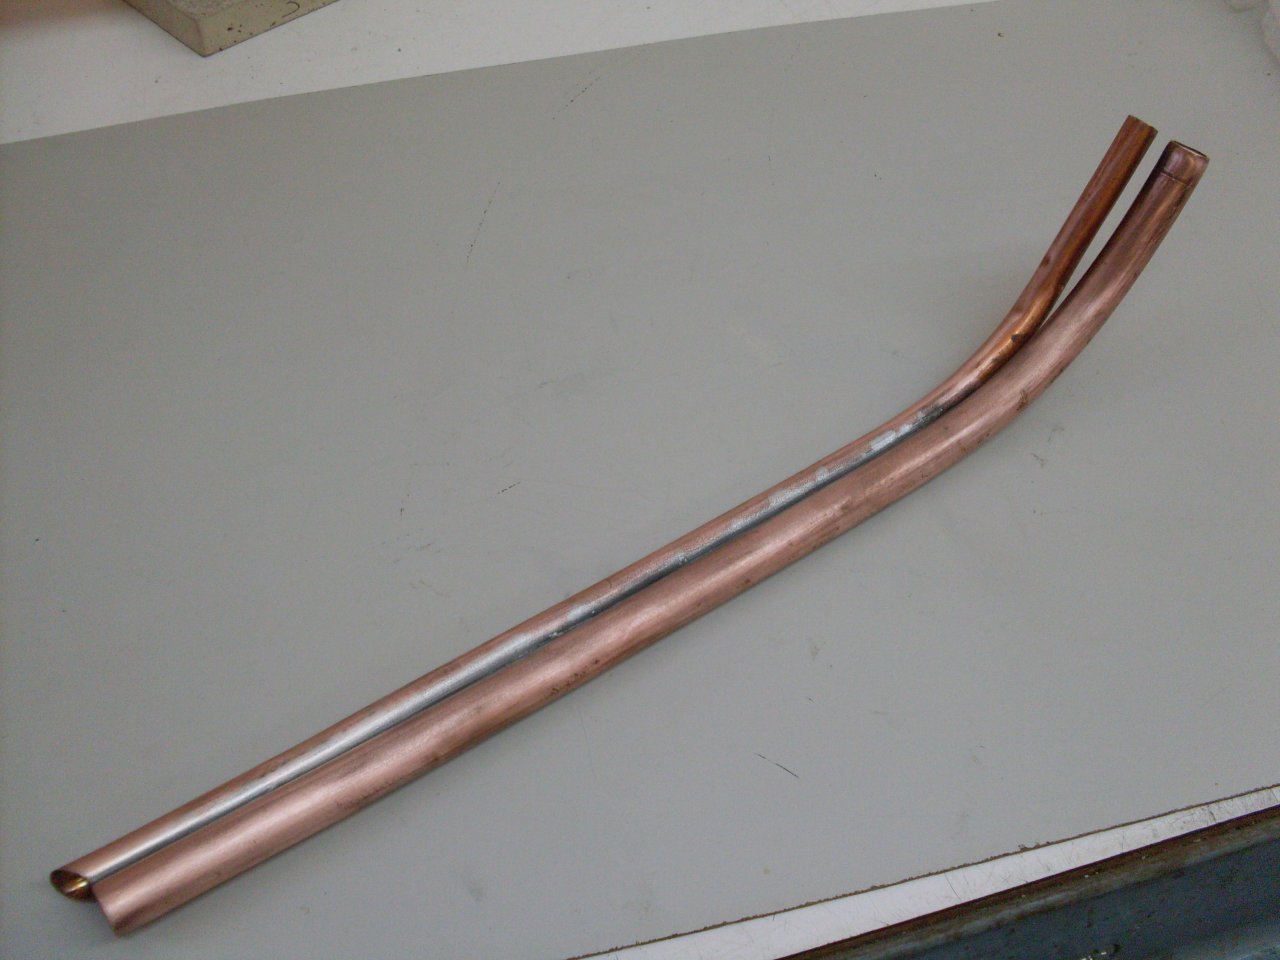
media in the corner of the box. To test my theory, I made a new
feed tube arrangement that would ensure that the top end of the vent
tube would always be above the media. It is just two pieces of
copper tubing soldered side by side--one 1/2" for the media, and one
3/8" for the vent. The top ends pass through the grommet where
the feed hose for the gun connects to the media tube, and the vent tube
is in free air. This seems to have improved the media feed to the
gun.
The
only remaining problem was that my large shop vac is too powerful for the
exhaust. It creates enough vacuum inside the cabinet to
inflate the gloves like baloons.
The problem was that the existing filtered port on the cabinet
was really designed to be an exhaust for the blasting air. With a
lot of air being pulled by the shop vac, the port becomes an inlet, and
it's not big enough to supply air for the vacuum, especially with a
filter on it, so the pressure in the cabinet drops drastically.
While low pressure in the cabinet is good for keeping the door
seal tight, I had too much of a good thing.
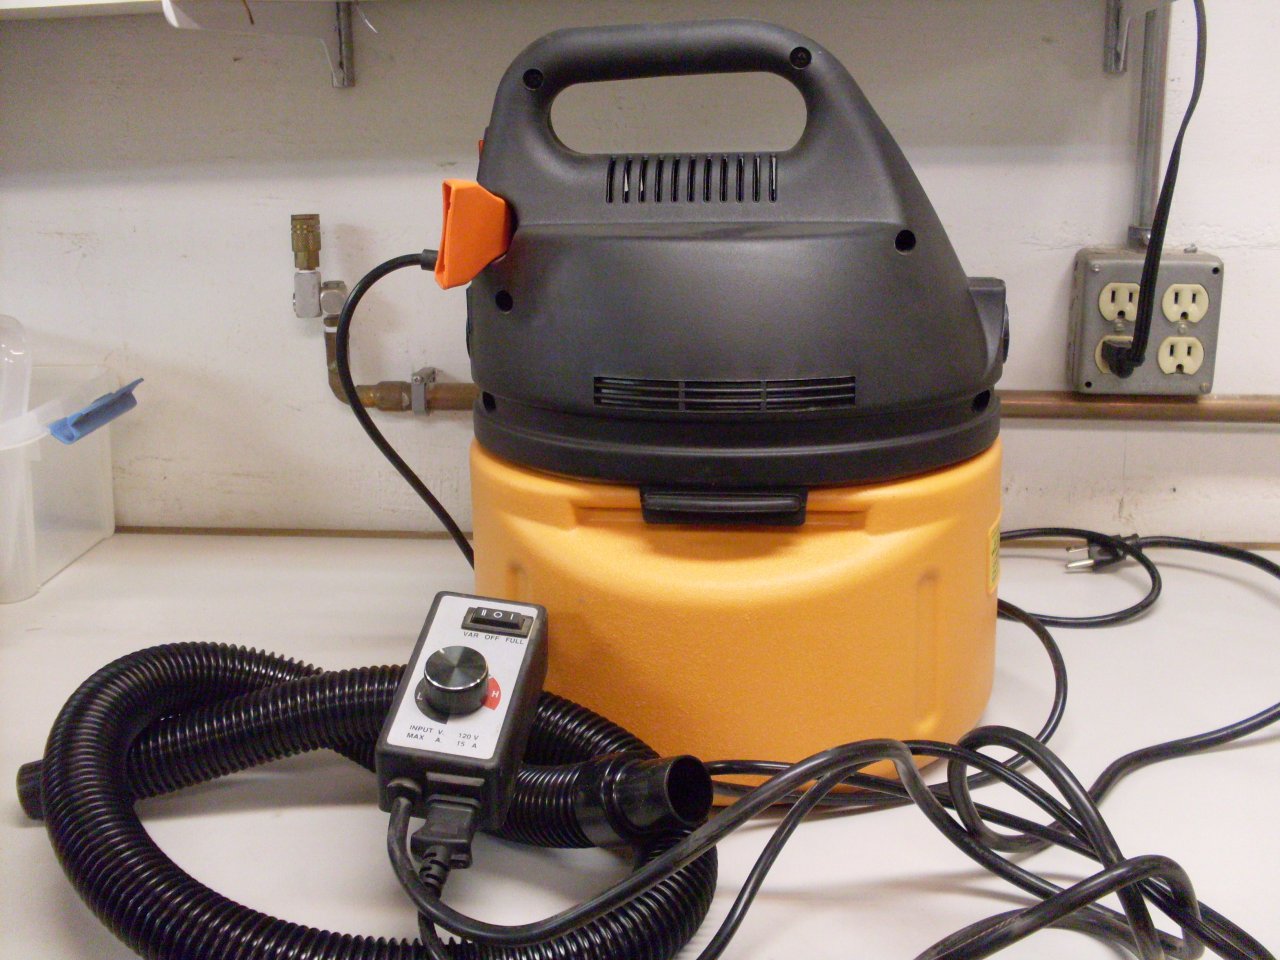
Thinking that my
main shop vac was overkill anyway, I bought a small vac to dedicate to
the cabinet, and also put a speed control on it so I could control the
process. With this setup, I can keep the cabinet clear while
maintaining a reasonable negative pressure in the cabinet.
Right
now there is no good way for me to exhaust the vac to the outside, so
I'm looking into what filter media I can put in the vac.
Comments to: elhollin1@yahoo.com